This post may contain affiliate links. Please see disclosure form more information.
How to Make Maps from Salt Dough
For this project you will need:
- Salt dough (you can use your favorite recipe)
- Cardboard (we used the bottom from a case of water bottles)
- Sharpie
- U.S. Map
- Knife or instrument for making the borders
- Crayons, water colors or markers
- Stickers
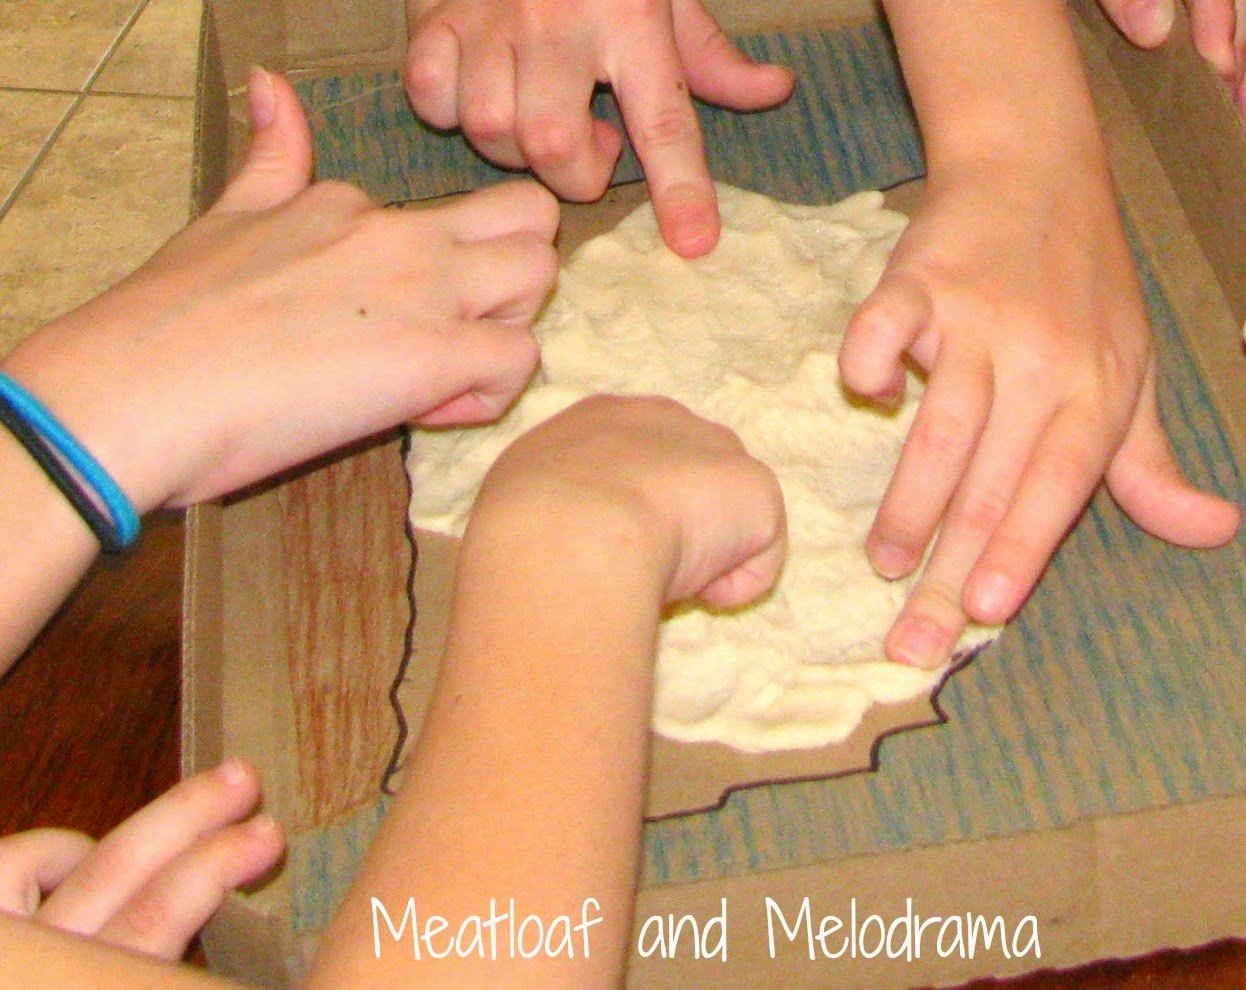
Trace an outline of the United States on the cardboard with the Sharpie. We printed out an image and then cut it out so that the kids could do the outline. Then, mix and need the salt dough. We put the most of the dough on the outline and smushed it into the shape of the map as best as we could.
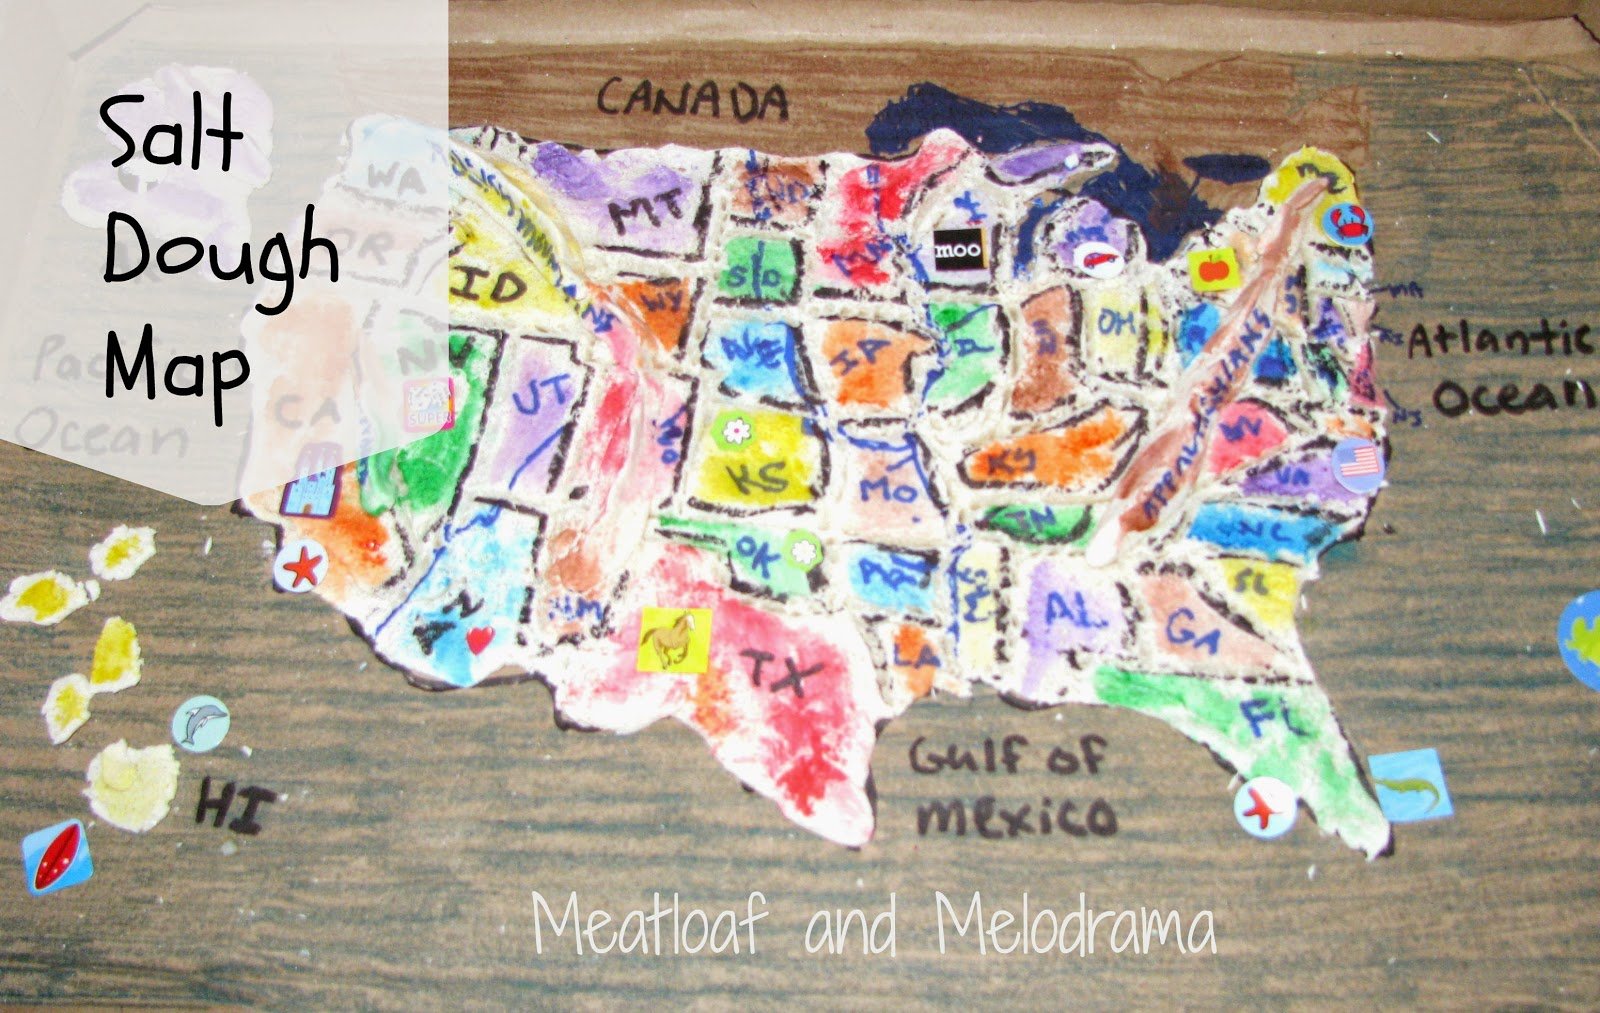
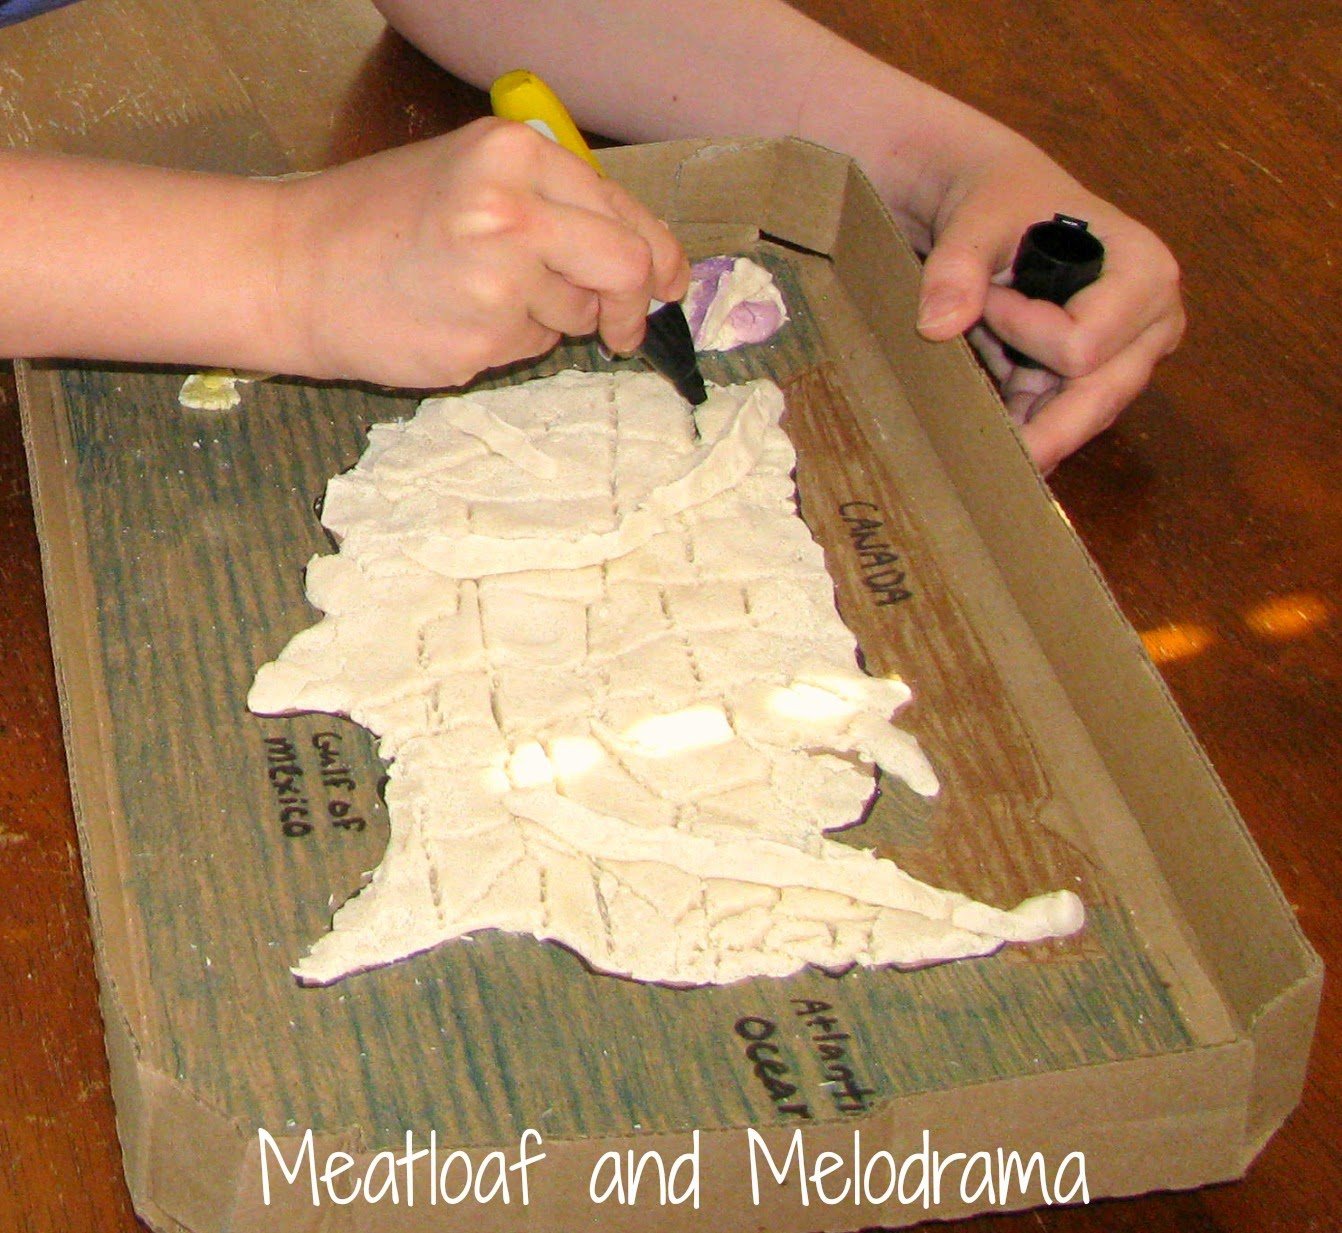
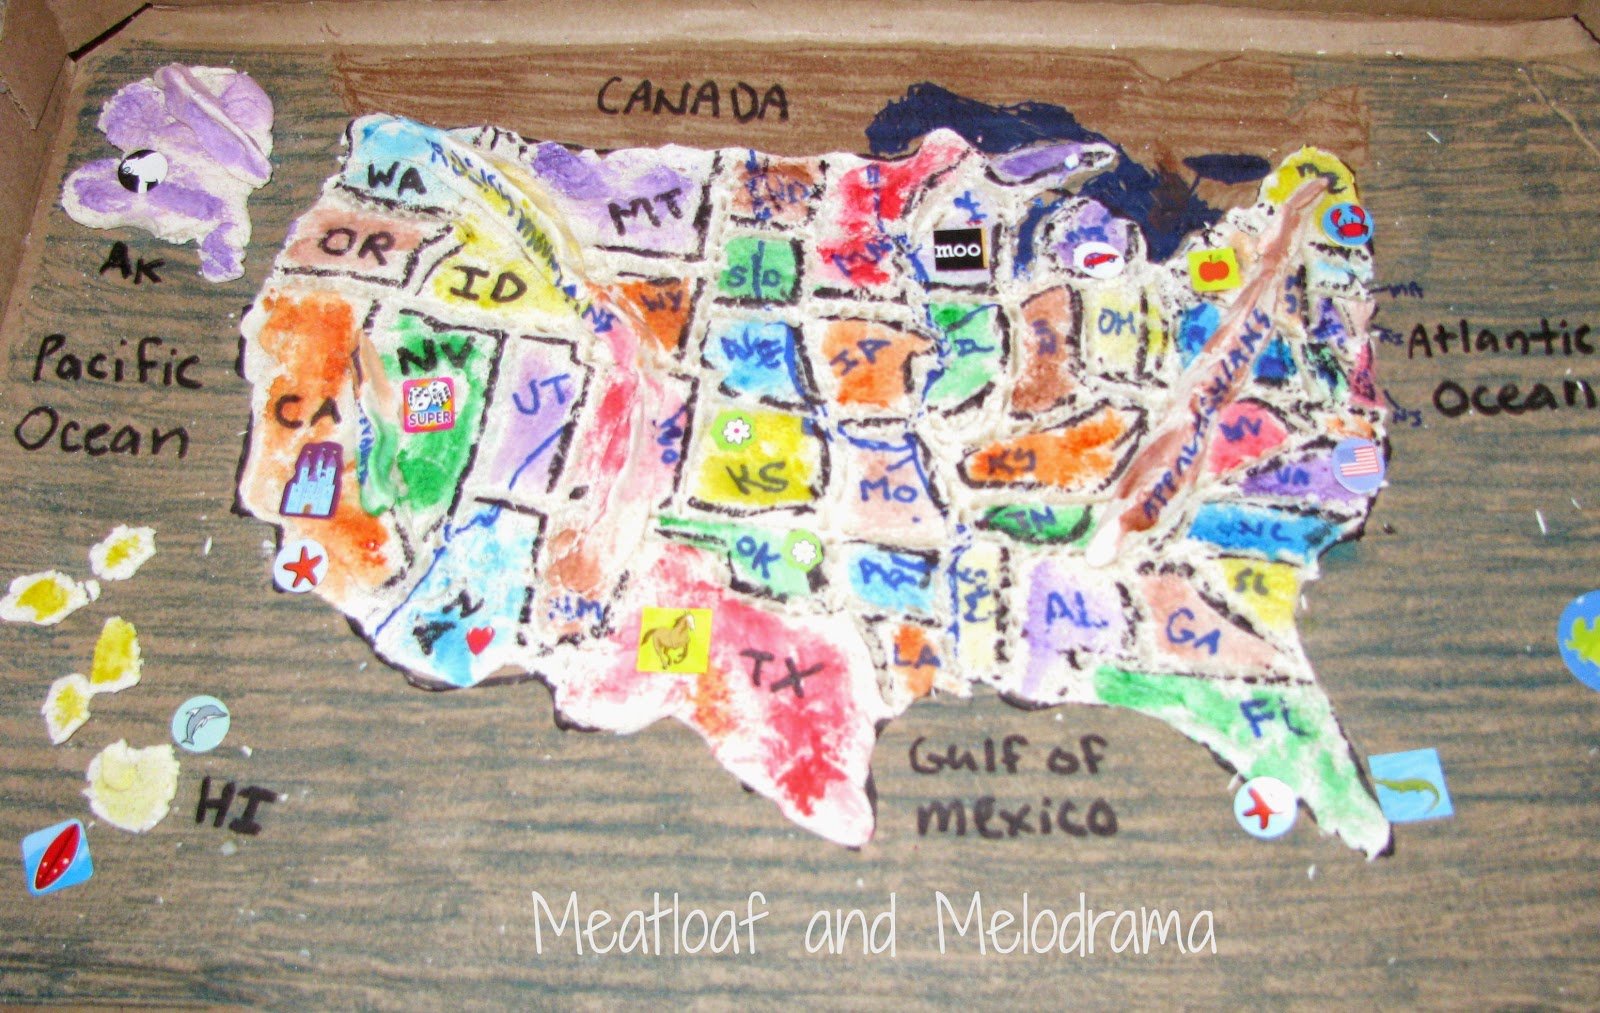
Then, we outlined the borders with a dull knife and let the map dry in the sun. In Arizona, this does not take long at all! When the map was dry, the kids took turns filling in the borders with a Sharpie, painting the states with water colors and then labeling the states.
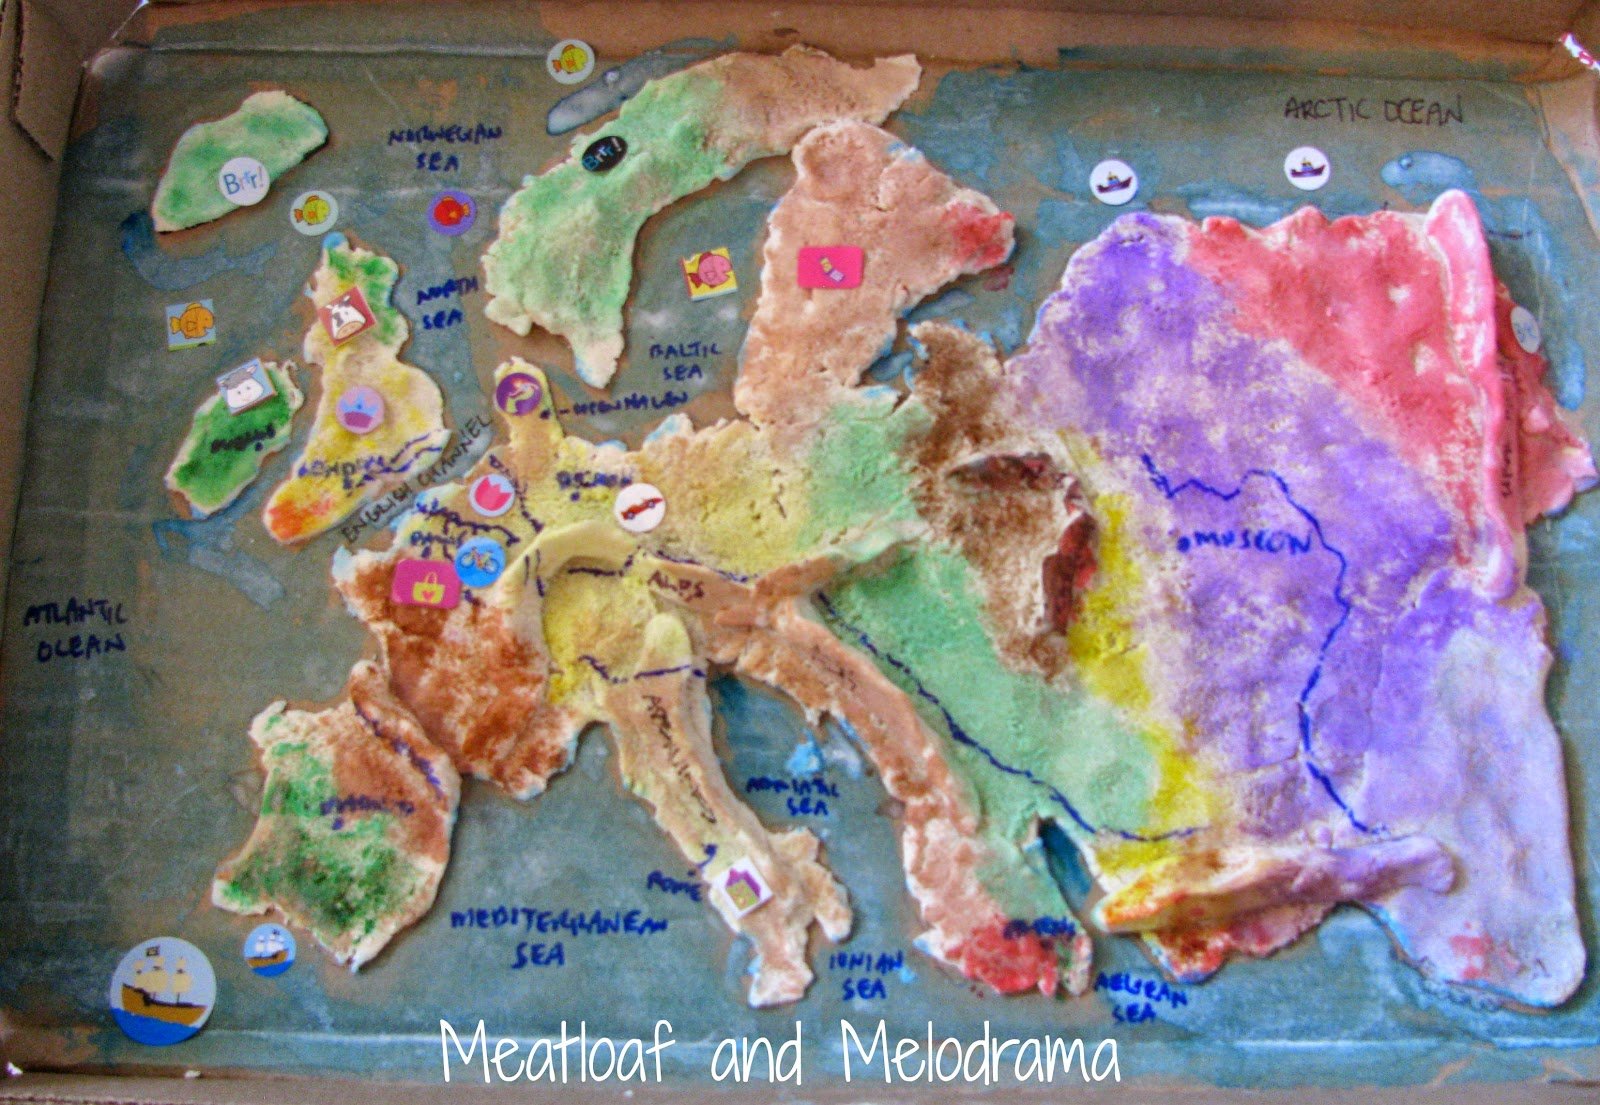
We also made the major mountain chains, and this led to a discussion on how mountains are formed! The kids added major rivers and bodies of water. Then, they added stickers to represent different areas — for example, Southern California got a Disneyland castle.
This is not the most accurate map, but we didn’t have a lot of room. And, one of the kids filled in the area for Canada, but another one colored everything south of the map blue because she said it looked better that way.
It was a lot of work, but the kids had fun with this. The next day, we made a map of Europe!
A salt dough map is also a fun way to teach geography and geology and make these subjects interesting and fun for the kids. Our maps lasted for quite a long time, but eventually, they got brittle and broke. Now, if I can get them to make another map, I’ll update these pictures!
Thanks for visiting my school room — have a great day!
Dee 🙂
