This post may contain affiliate links. Please see disclosure form more information.
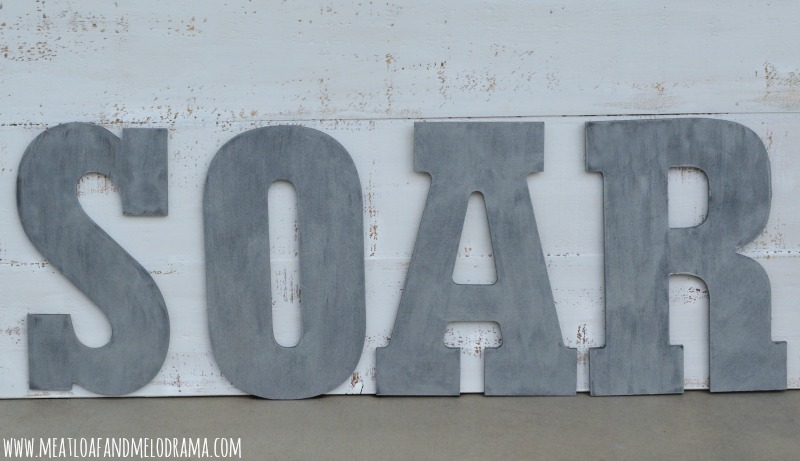
Hi friends! You’ve probably seen those metal letters that are so popular right now. I mean, they’re everywhere — except in my house! Yep, I was slow to get on board with this trend. For one reason, they aren’t cheap, but when I decided to add some to my little guy’s room, I knew I had to find a way to make my own and save some cash. So, I bought some inexpensive chipwood letters from the craft store and made these easy DIY faux metal letters, with some creative painting.
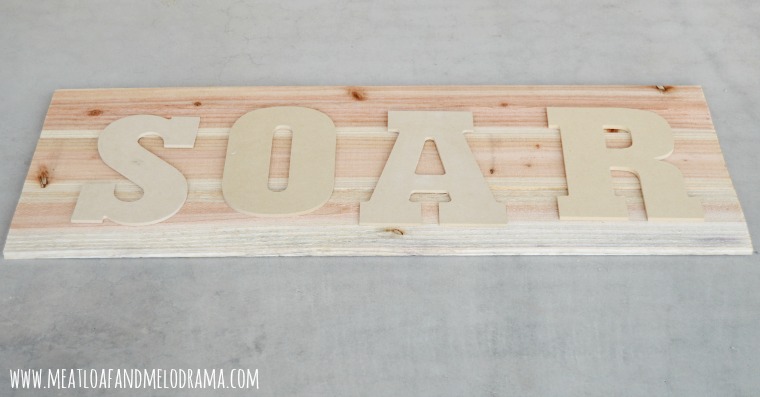
My little guy has an airplane-themed room, and I thought the word SOAR would look awesome on his wall. But instead of just adding the letters to the wall, I thought they would look better if they were on some sort of background.
Hubby cute some pine boards and glued them together for the background, and since the bedroom wall is dark blue, the little man thought that it would be fun to paint it white, like a cloud. We’re still working on getting the boards to meet with the little guy’s approval, so I’ll show you the letters instead.
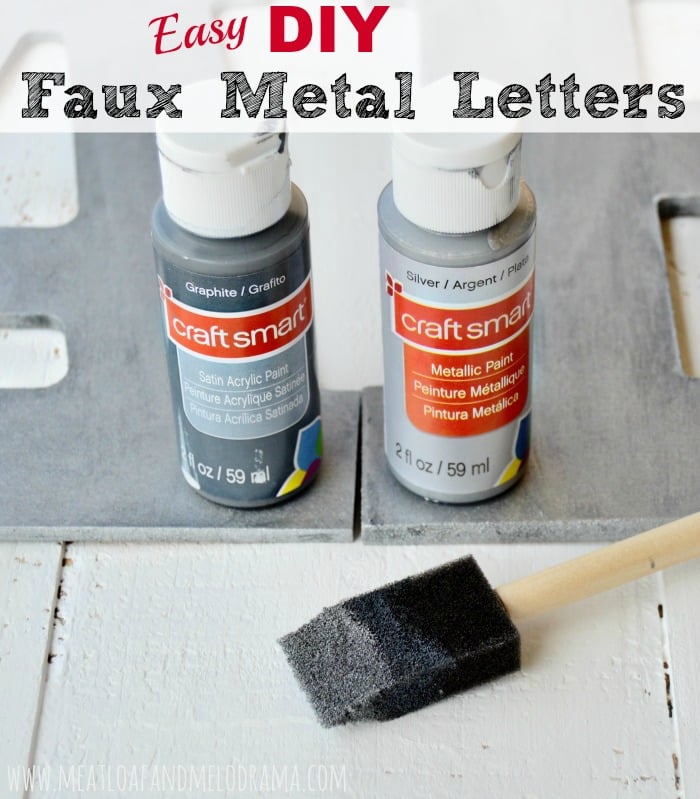
I bought some regular craft paint in graphite and metallic silver, and to start, I gave the letters a light coat of graphite. You could also use black paint, but I really like this shade, and I think it goes really well with the silver.
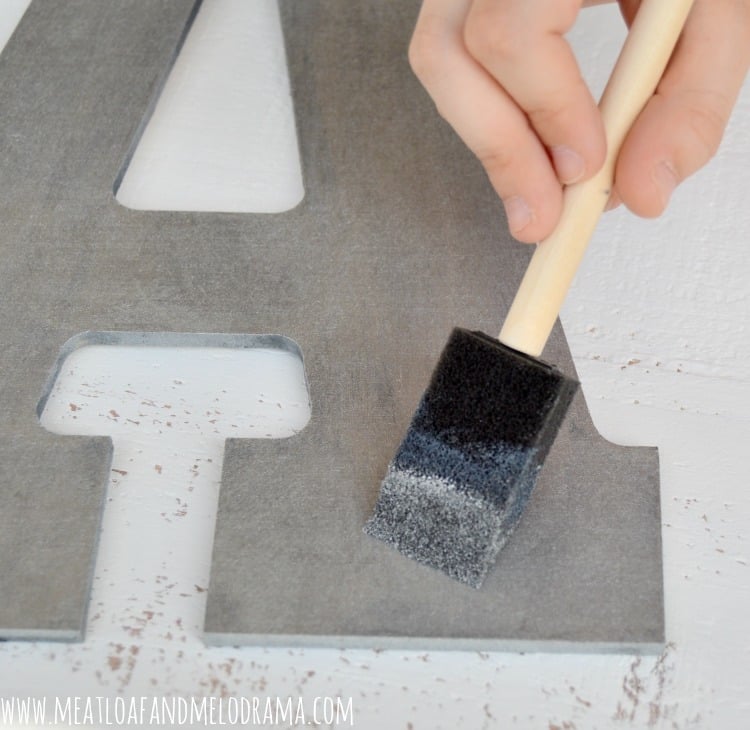
Then, I applied two thin coats of the silver paint over the graphite. I wanted the letters to look slightly worn, and the darker color underneath helps achieve this look.
I used the same foam brush for both colors, and since it was slightly dry the second time around, it helped allow the graphite to show and also gave the finish a rough texture, which looks like metal.
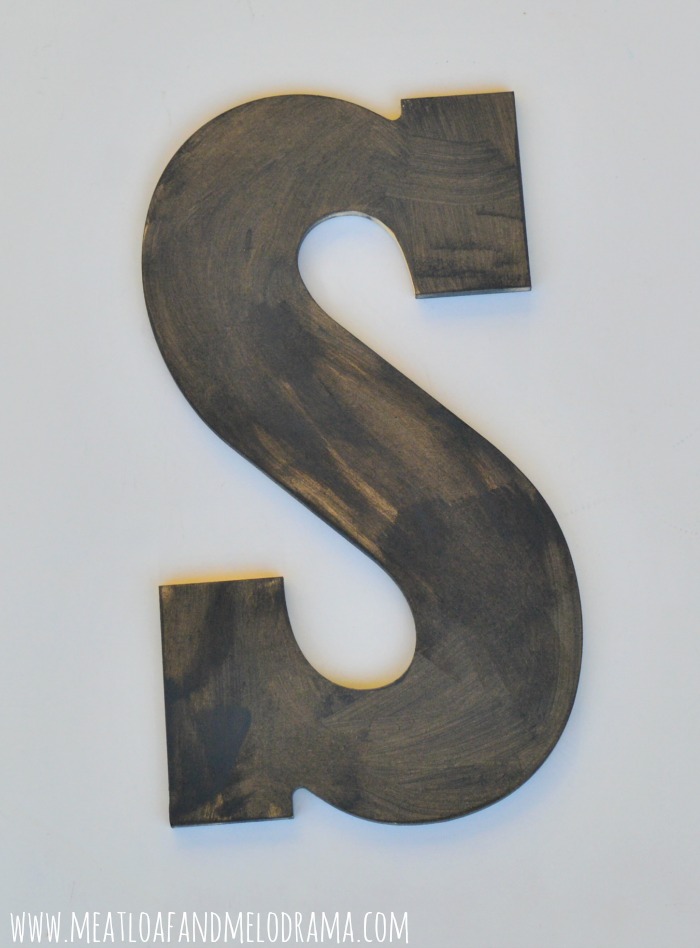
And, here’s the finished faux metal letters. It’s hard to tell in the picture, but the finish is shinier than it looks. Still, the little guy and I are happy with the results!
You can see the white board in the background. When I get it to look more like a cloud, I’ll show you how it looks on my son’s wall.
Making the faux metal letters cost less than $10 — really! The chipboard letters were on sale, and I had a coupon for the entire purchase, which included the paint. Not bad at all, considering how much the real metal letters cost in most stores. Plus, this was so easy to do. And that’s why I love DIY projects!
Thanks so much for stopping by.
Met Monday , Tweak It Tuesday, Inspire Me Tuesday, The Scoop , Wow Us Wednesdays, Share Your Style, Thrifty Thursday, I Heart Naptime, Monday Funday, Before and After




Love it,I've been trying to think of something to do in my grandsons room this is a great idea,I really think he would this
What a great, inexpensive decor idea! I love it! And your step-by-step tutorial is so very helpful. I'm featuring you this week as one of my favorite picks at Merry Monday! We hope to see you again starting Sunday at 6p PST! 🙂
They look just like the metal letters I've been seeing around. I want some too, lol. Great tutorial!!
These are so awesome!!! I love metal letters but hate paying the high price! Wonderful substitute! Thanks so much!!
Love these! Cheap, easy, and cute– my favorite combination. 😉