This post may contain affiliate links. Please see disclosure form more information.
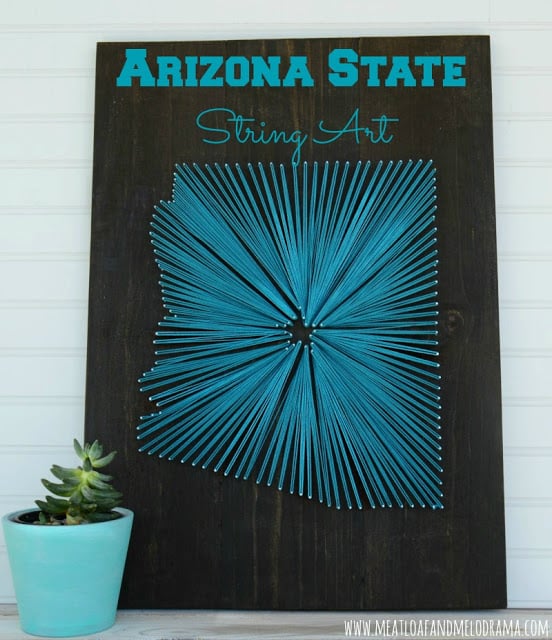
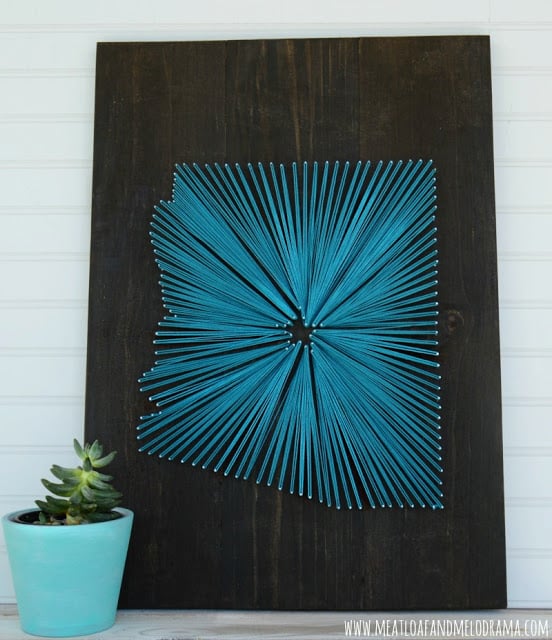
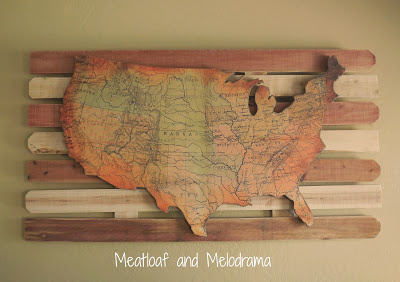
Hi friends! Do you like string art projects? I know it’s been popular for a while now, but I just decided to try it out in our home. I needed something to cover one bare spot on the wall in the family room next to the giant USA wall map we have, and I thought that having something in the shape of Arizona would be perfect for that area. Instead of having another map on the wall, I decided to make some Arizona state string art, and I love how it turned out!
Actually, this state string art ended up being more of a family project, but that’s fine by me! I love it when we can work together, and honestly, it makes things go much faster. And maybe that’s why the older kids tend to disappear whenever I announce that I have a project in mind!
Anyway, since I’ve been adding so much aqua to the family room, I knew that I wanted the string art to be aqua as well. The hubs asked why I didn’t just use that colors from the state flag, but hey, we’re taking about creativity here. And now that the project is complete, I’m glad I went with the aqua because it fits in perfectly with the rest of the room.
Making string art isn’t hard, but it does take time to prepare everything before you even start using the string. This took me a few days to complete, but then again, I wasn’t in a hurry either. Here’s how I made the Arizona state string art.
Supplies
- 1 large board for the background ( I used a large board made from pine slabs that we already had.)
- Wood stain in the color of your choice
- Paint brush
- Small nails
- Hammer
- Paper
- Pencil
- Ruler
- String
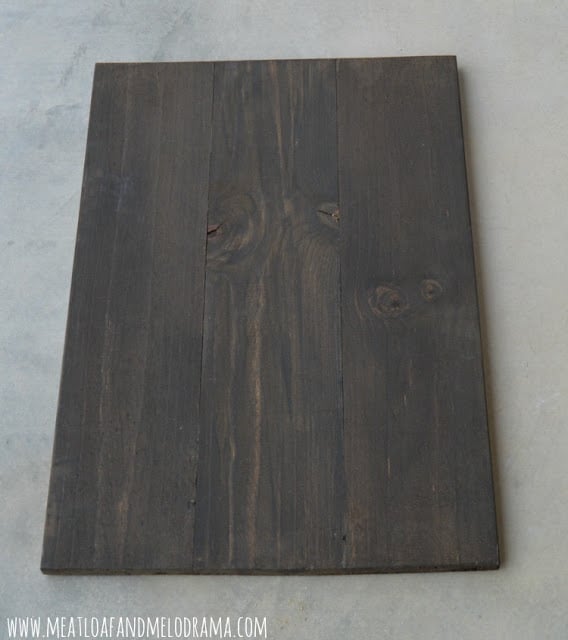
First, we had to stain the board and let dry. You could also use paint, but I wanted this to match the wood mantel we just built, so I used the same dark walnut shade.
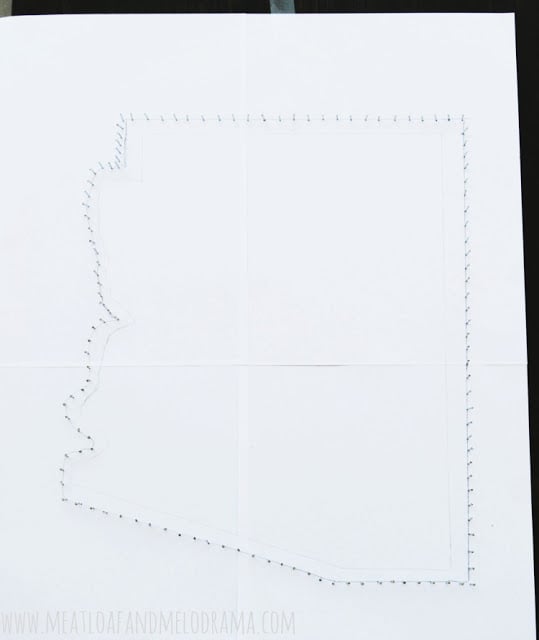
Next, I had my artist daughter sketch a rough map of Arizona. She’s amazing at drawing and sketching, so I talked her into helping. Because the board is so large, we used four sheets of 8 x10 paper and just taped them together.
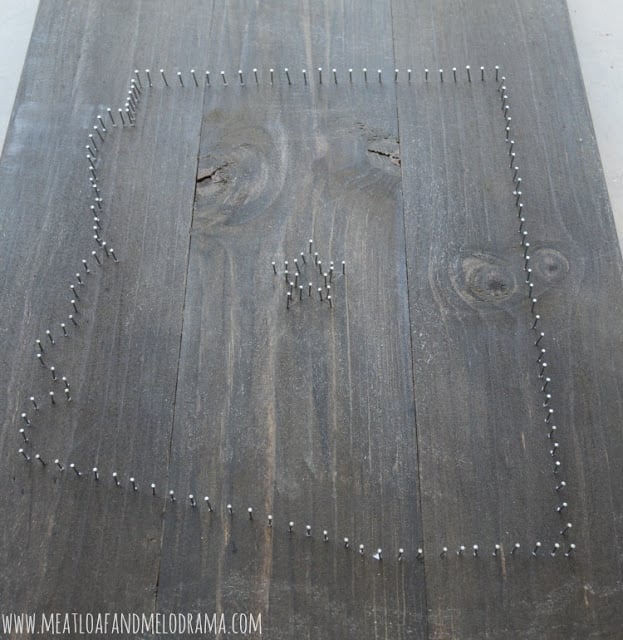
Then, I taped the map to the board and started pounding the nails on top of the pencil marks. Hubs very generously helped with this part too since he’s just nice and sweet that way! And this is how it looked after the nails were in.
I ended up making the shape of Arizona a little larger, so that’s why you see the double lines.
I just tore the paper off, and then I used a star stencil to add the shape of a star to the center of the state. Then, I added more nails.
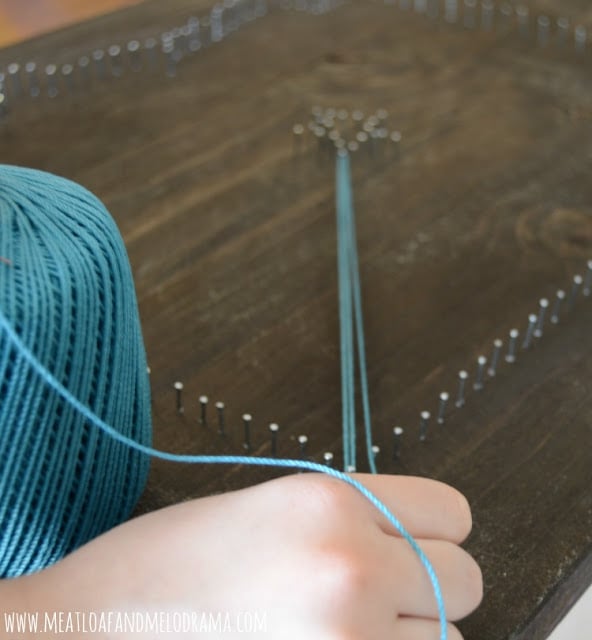
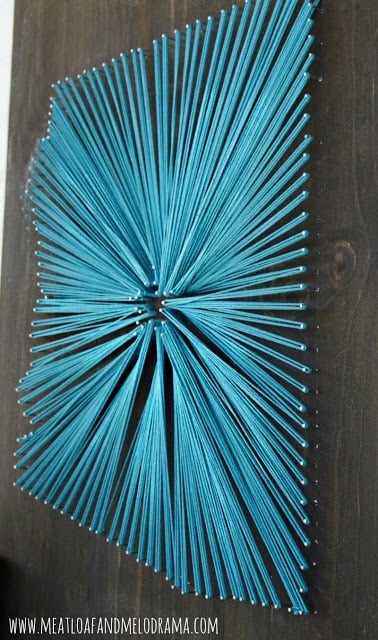
Now, here’s the fun part — adding the string! I took one end of the string and knotted it around the nail in the lower right corner. Then, I began looping the string around the star and back down again.
My little Diva totally took over with this part, and she had a blast with it! Since her fingers are so small, I think it was pretty easy for her too, and I think this part took about 30 minutes, which isn’t too bad.
You do have to make sure to pull the string tightly around the nails.
Once the string was looped around all of the nails, I tied the string off at the bottom nail again, and our Arizona state string art was complete!
I love how it turned out, and I decided to show it off right away. I’ll have to take another picture once I have it up on the wall so that you can see what it looks like in the room.
My daughter enjoyed this project so much that she now wants to make some sort of dance-themed string art for her room — yikes! I’ll be sure to let you know how that goes.
Thanks for stopping by to take a peek at our Arizona state string art project. If you have your own state string art to show off, let me know. I would love to check it out!
You May Also Like






This is so cool! I would love to do one of my home state, Michigan. That would look really neat! So glad you posted this on Treasure Box Tuesday