This post may contain affiliate links. Please see disclosure form more information.
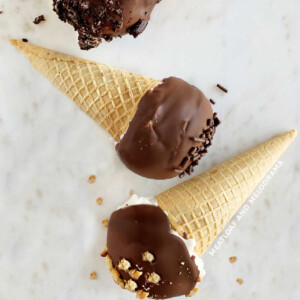
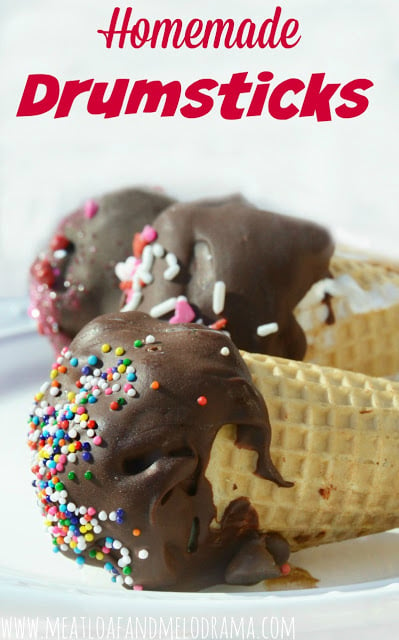
Homemade Drumsticks ice cream cones topped with a smooth chocolate shell are a delicious summer dessert or fun treat anytime. Use your favorite ice cream flavor and toppings, and get the kids to help make them! They’re so much better than storebought!
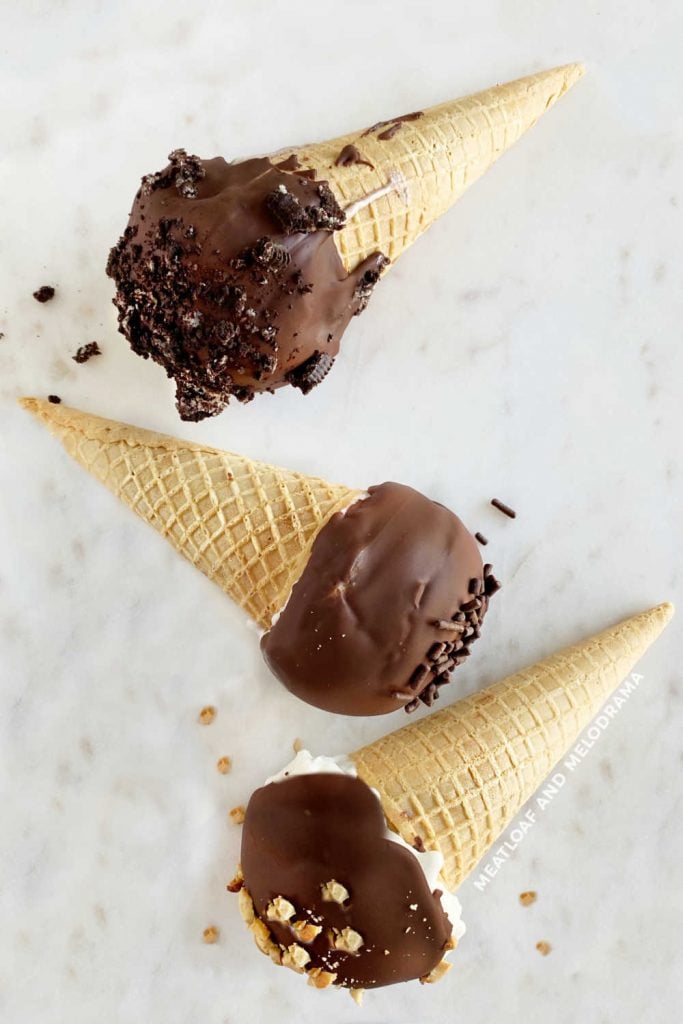
Every summer, I let the kids pick out their favorite frozen treats when we go shopping. Their selection varies each time, but Drumsticks seem to hop into the cart more often than any of the other ice cream novelties available.
I admit that I have a soft spot for these tasty chocolate covered cones too. We love making homemade ice cream, ice cream sandwiches and ice cream sandwich cakes, so we decided to try making our own Drumsticks. Although the process was a little tricky, our homemade drumstick ice cream cones were pretty amazing!
The kids and I tried making our own Drumsticks a few years ago, but they didn’t quite turn out like we expected. Since then, we have perfected the process. Now, making these homemade chocolate covered ice cream cones for dessert is a summer tradition!
Table of Contents
Ingredients
- 8 sugar cones
- Ice cream — Use your favorite flavor or multiple flavors
- Semi sweet chocolate chips
- Chopped peanuts, crushed cookies or candy sprinkles
- Coconut oil or Magic Shell for the topping
The chocolate coating needs to be thin — melted chocolate just doesn’t work right. You can make your own DIY magic shell by combining chocolate chips with coconut oil or vegetable oil.
Or, grab a bottle of Magic Shell from the store! Melted chocolate candy coating work too. It’s a little thicker than Magic Shell, but thinner than plain melted chocolate.
Holder
Before you start, you’ll need to have something to hold the ice cream cones while you make the drumsticks. I use a narrow popsicle or ice pop mold, which works really well.
You can also use tall glasses or whatever you have around the house to hold them. Or, create a drumstick holder by poking large holes in a clean box that’s small enough to fit in the freezer.
How to Make Homemade Ice Cream Drumsticks
First, melt the chocolate chips. You can do this on the stove or microwave. Then, pour a little bit into the bottom of the sugar cones.
I found that it was easier to get the chocolate to the very bottom of the cones by using a knife. Then, I just spread some chocolate around the inside of the cones for a little extra chocolate flavor.
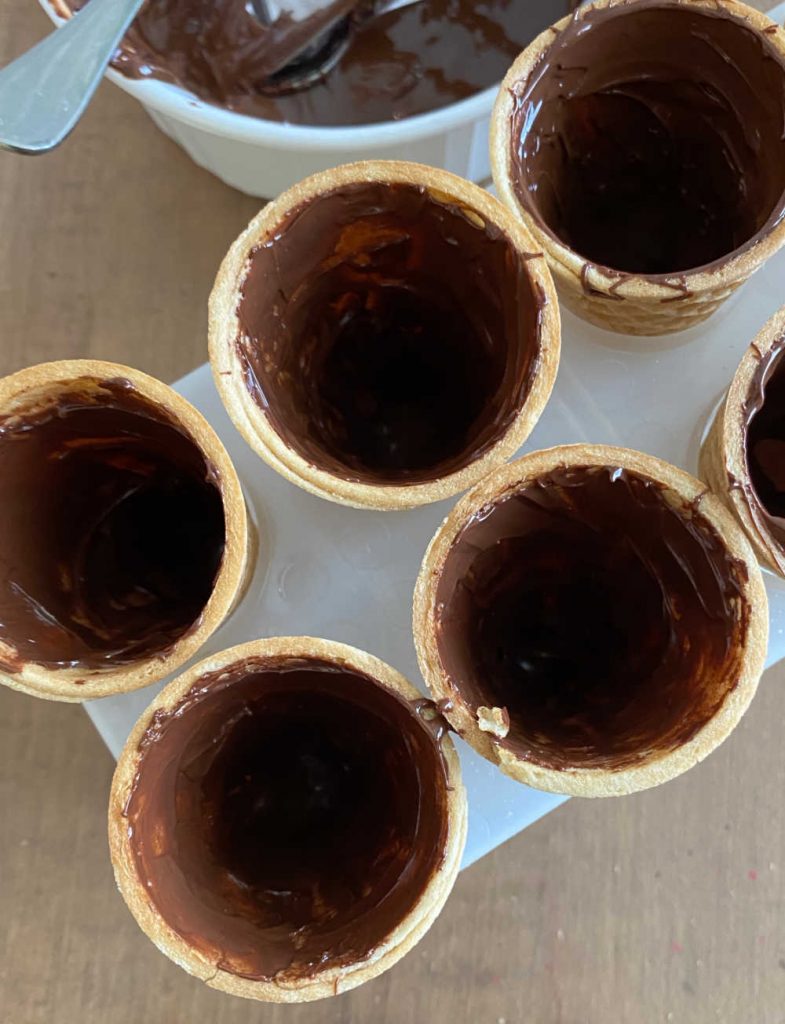
Freeze or refrigerate for a few minutes to let the chocolate firm up. Then, carefully pack each cone with ice cream. You’ll want to place the cones back into the freezer for a few minutes to keep the ice cream cold.
Next, make your DIY Magic Shell. Or, get out a bottle from the store if you have it.
Melt some chocolate chips with coconut oil, and stir until smooth. The coconut oil keeps the chocolate liquid at room temperature. When you top it over ice cream, it’ll harden — just like magic!
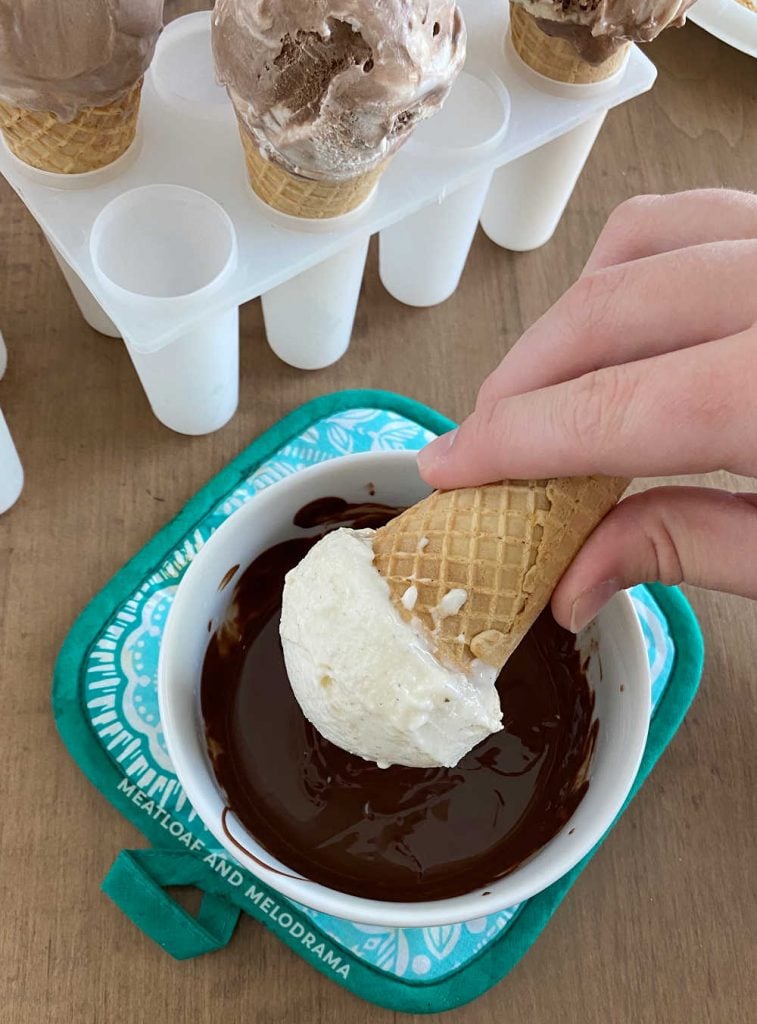
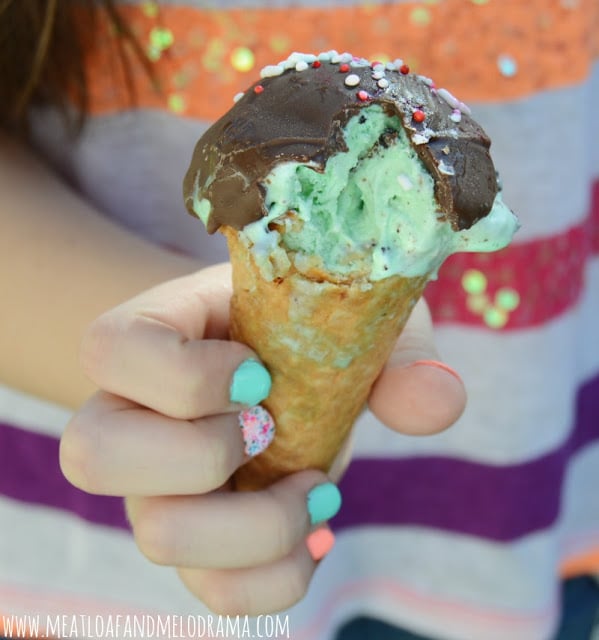
Quickly dip each ice cream cone into the melted chocolate until the ice cream is covered. Immediately, dip the cones into whatever toppings you have. We had a variety of topping — chopped peanuts, crushed Oreo cookies, mini M and M’s and sprinkles, or jimmies.
Pop the ice cream cones back into the freezer to let the ice cream firm up. Then, you can enjoy your own homemade Drumstick cones!
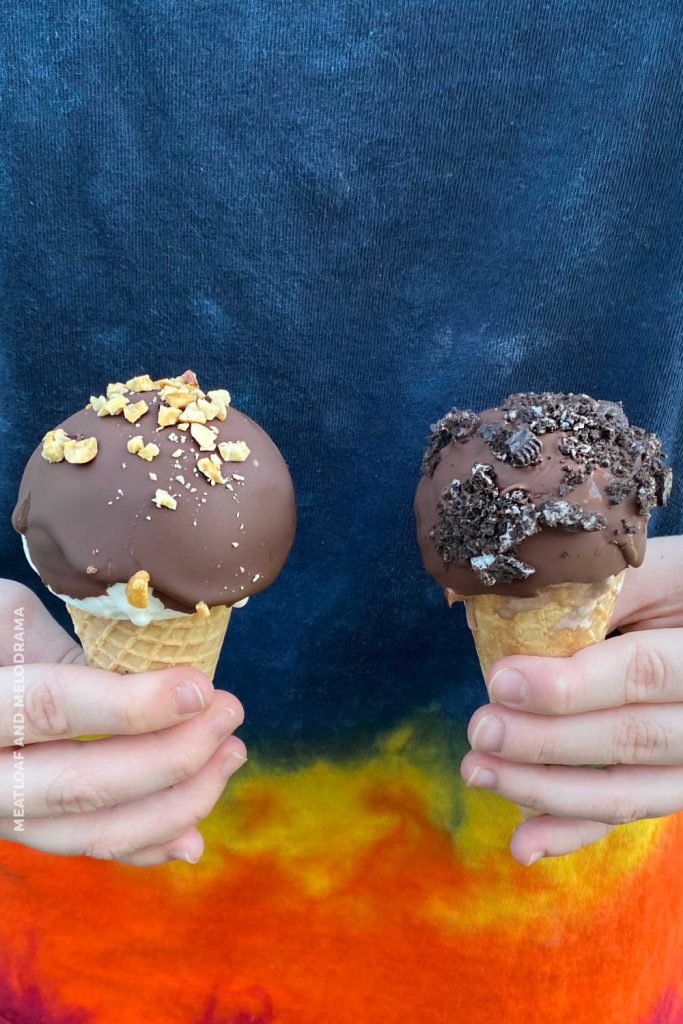
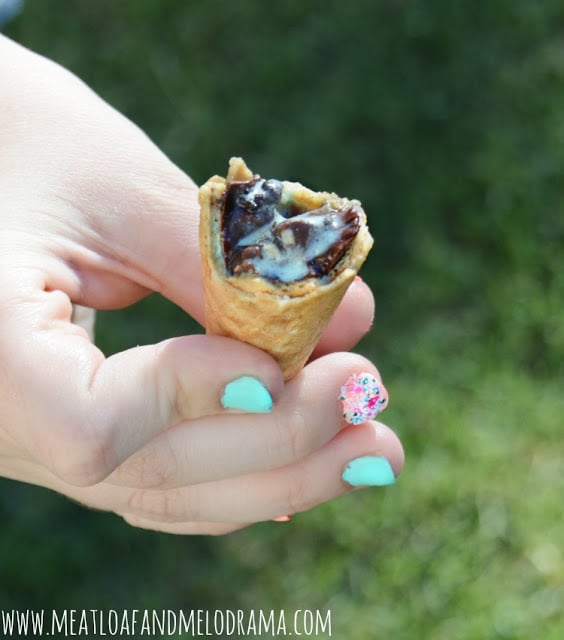
So why are Drumsticks so much fun? Well, I think everyone loves to get to the ice cream underneath that sweet first layer of chocolate. Then, you get more chocolate around the inside of the cone.
Finally, you get to that amazing nugget of solid chocolate at the very bottom, and it’s like all your efforts are rewarded. So, if you decide to make your own Drumsticks, there are a lot of trips to the freezer, and several steps to follow, but oh, is it ever worth it!
The kids and I had so much fun making our own frozen treats, and they were even better than the ones from the store. Really!
Homemade Drumsticks
Ingredients
- 2 cups semi-sweet chocolate chips divided
- 8 sugar cones
- 1½ quarts ice cream
- 2 tablespoons coconut oil
- toppings
Instructions
- Melt the 1 cup of chocolate chips, and pour some chocolate into the very bottom of each cone. You can also spread some around the entire inside of the cone.
- Place cones in freezer until chocolate is solid.
- Fill cones with ice cream, and carefully push the ice cream to the bottom of each cone. Top cones with more ice cream, then return to freezer until frozen hard.
- Melt remaining 1 cup of chocolate chips with 2 tablespoons of coconut oil, and stir until smooth. Quickly dip each cone into the chocolate coating so that ice cream is covered. Or, dip into Magic Shell, from the store
- Top with candy sprinkles, chopped peanuts, crushed cookies or your favorite toppings, and freeze until firm.
Notes
Nutrition
Nutrition information is automatically calculated, so should only be used as an approximation.
First published in June 2015 and updated last in June 2021


I made these last night, and they were amazing! I’ve always loved the store bought ones my whole life, but these homemade ones are just sooooo good! And the magic shell is just perfect! I’ll definitely be making these instead of buying them for the rest of my life.
So happy you liked the drumsticks! Thanks for the wonderful review!
My favorite dessert ever! They’re better than the store bought ones too!
Ooooh I’ve always loved Drumsticks! Never thought to make my own!!
My kids loved this so much! They enjoyed making and eating it!
My teens loved this after they were outside for a bit! So glad to have come across this post! Perfect for summer and to cool off!
Thanks so much, Beth. I’m glad you liked the Drumsticks!
These Homemade Drumsticks are so pretty! I gotta make this!
My kids and I had the best time making these! And they were so delicious.
Thanks, Amanda! I’m glad you had fun making them!
Such a delicious summer dessert! I can’t believe I can make it at home now!
Drumsticks are one of my favorite novelties, especially when there’s cookies ‘n cream involved. Yum!
Oh my I so love this idea! I'm a sucker for drumsticks! Lol! Thank you so much for sharing this pin on the P3 party Board! We loved your pin and it will be featured this Friday on Made in a Day! So expect a little traffic from me on Social Media tomorrow.
Kim