This post may contain affiliate links. Please see disclosure form more information.
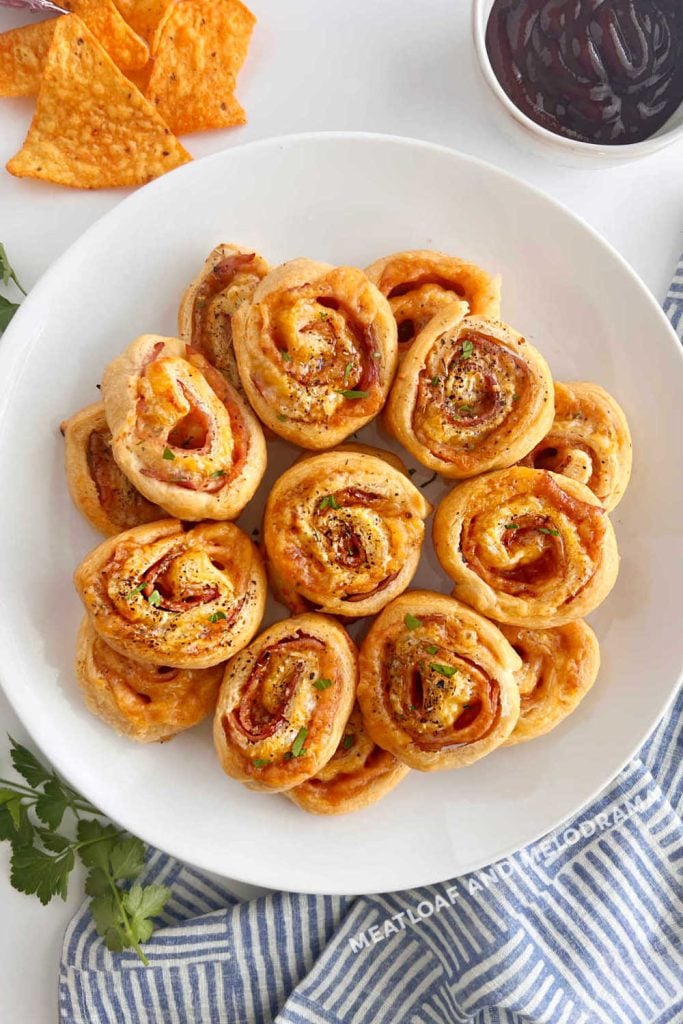
Baked Ham and Cheese Crescent Roll Ups are filled with sliced ham, melty cheese and BBQ sauce for a delicious appetizer or game day snack! Your whole family will love these ham and cheese pinwheels!
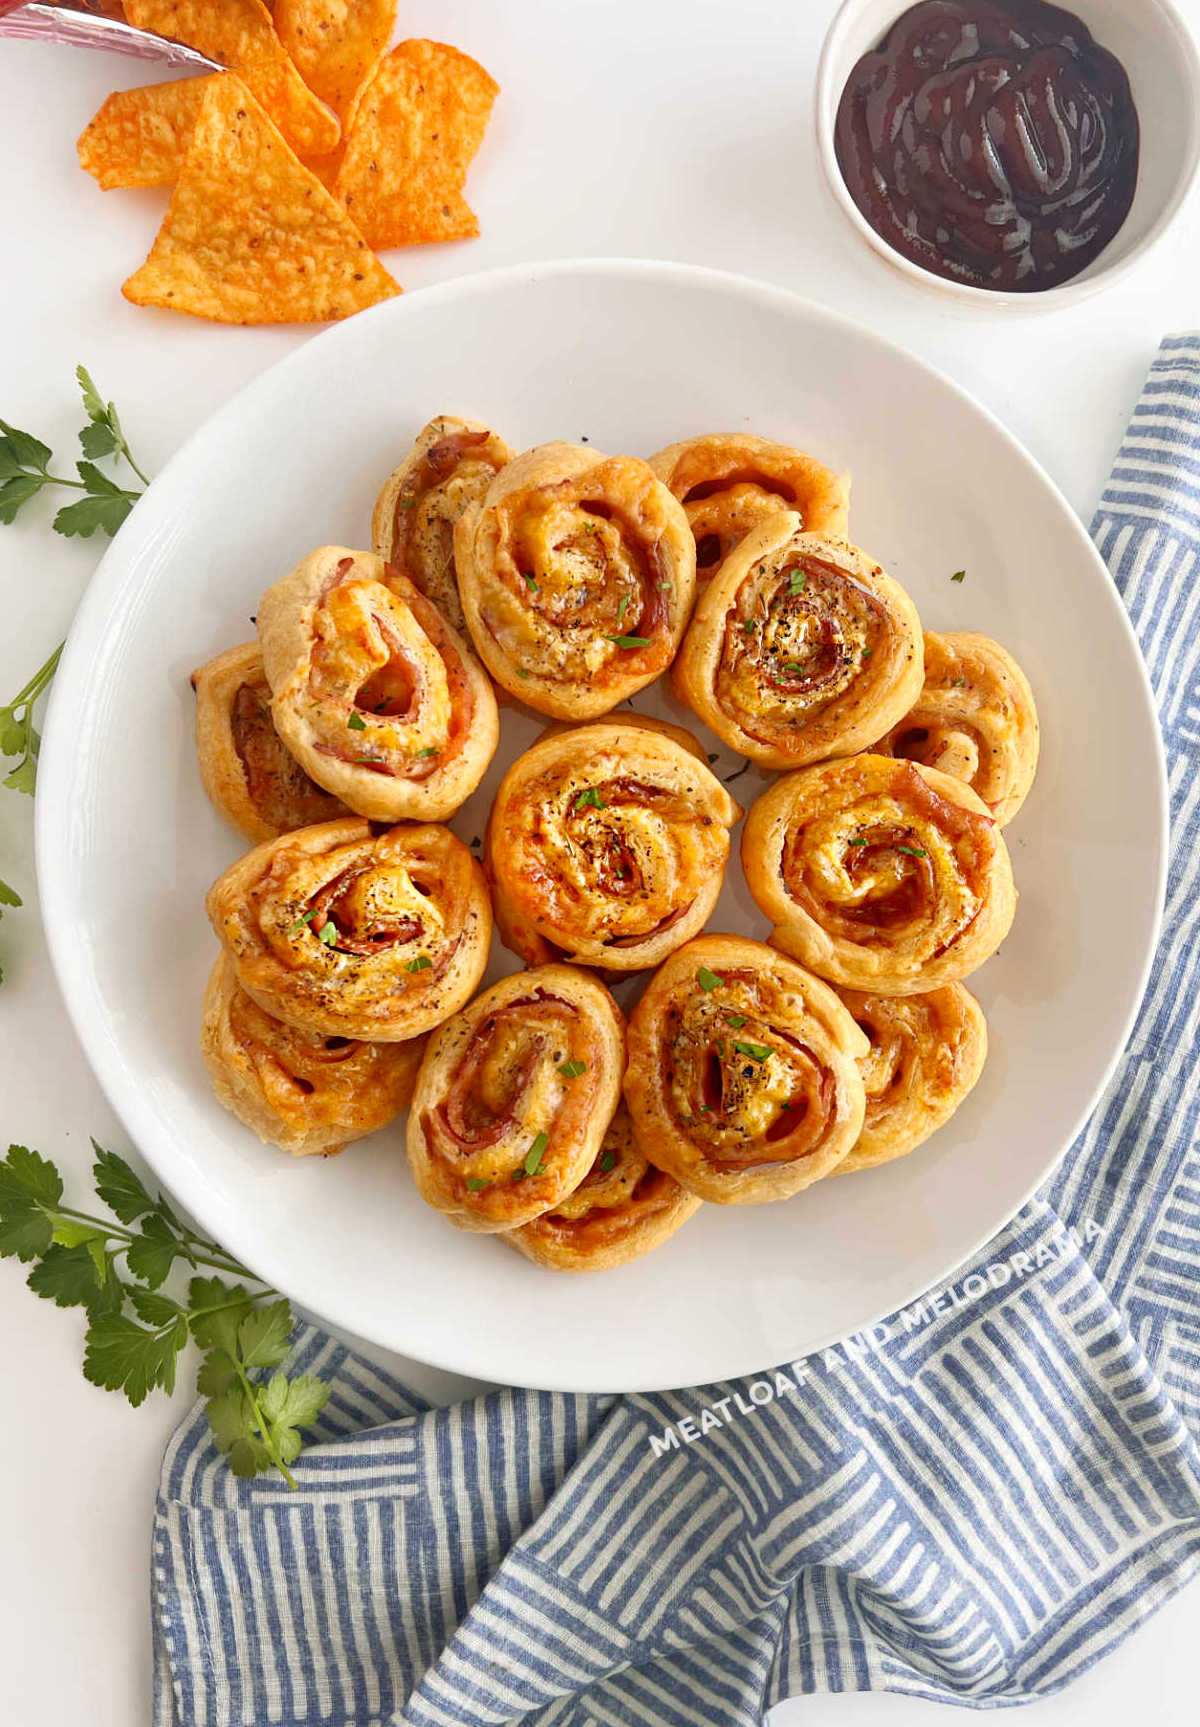
Crescent Roll Ham and Cheese Roll Ups
These easy ham and cheese crescent roll ups are loaded with deli ham, cheese and barbecue sauce. They’re actually a variation of one of my most popular recipes, baked ham and cheese sliders with barbecue sauce, only they’re easier to eat!
You’ve probably seen similar recipes before. I know I have. But, the ham and cheese roll ups I’ve seen usually have Swiss cheese and, maybe, a honey mustard sauce for extra flavor. So, this version is just slightly different!
I was getting ready to make my go-to sliders for dinner the other day, but when I found an extra tube of crescent roll dough left over from making mummy dogs, I decided to try something different. Instead of making ham and cheese sandwiches, I made these hot ham and cheese crescent rolls, instead.
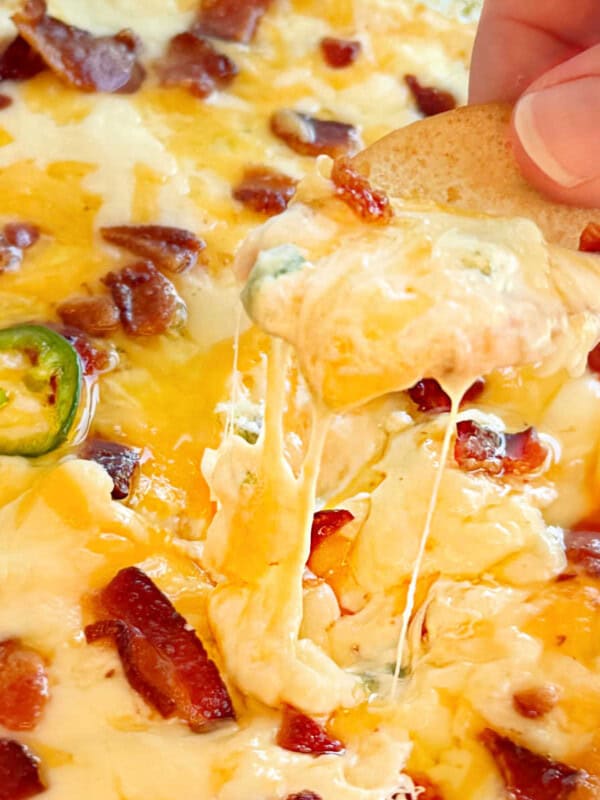
These easy appetizers are perfect for parties, game day or a quick dinner! Serve them with a taco ring or Buffalo chicken dip for variety!
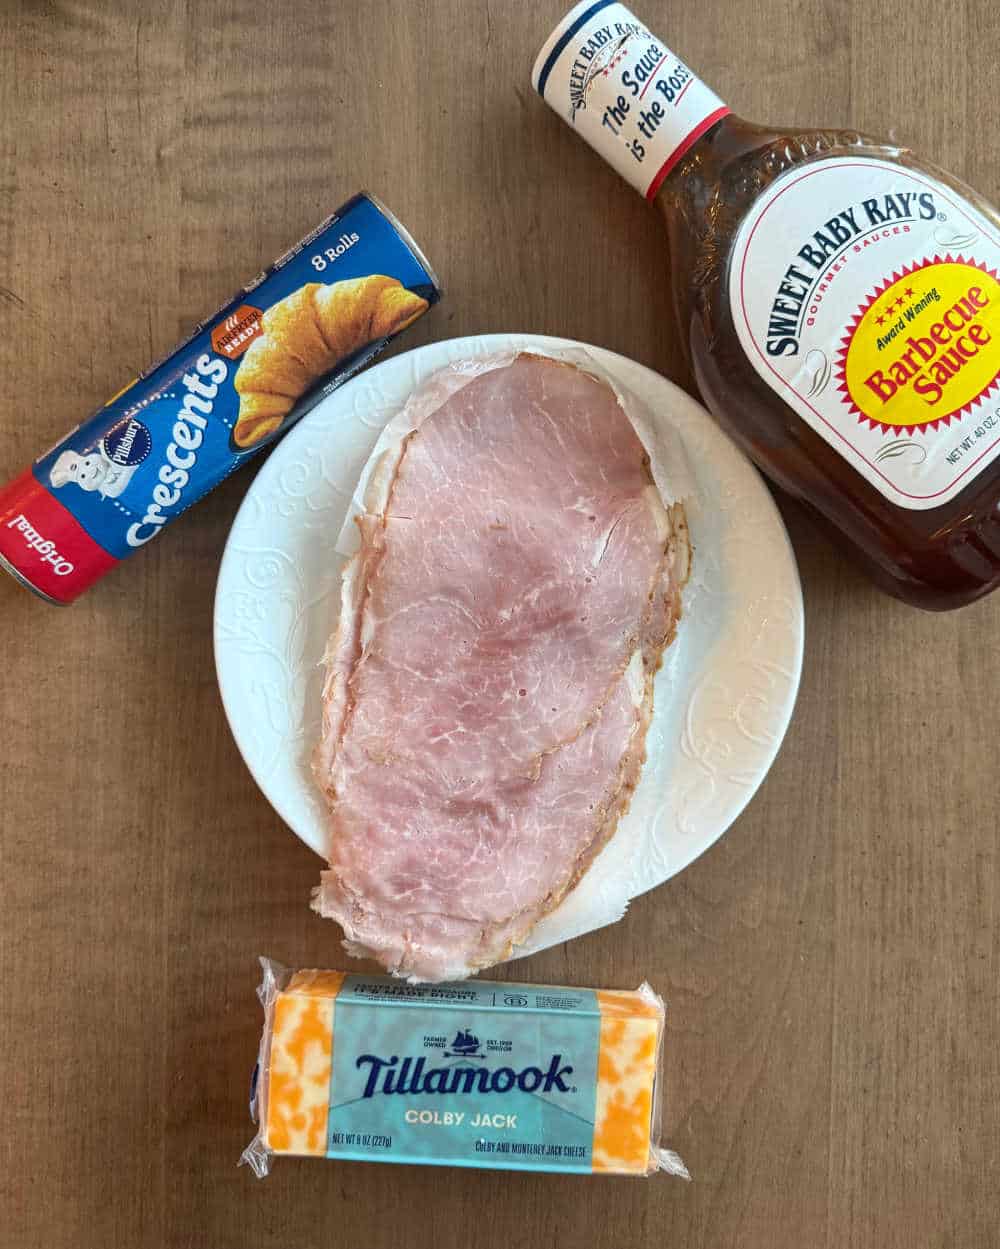
Ingredients
You only need a few simple ingredients for these pinwheels. Full amounts are in the printable recipe card below.
- Refrigerated crescent roll dough — I use Pillsbury, but any brand is fine
- Shredded cheese — Use cheddar, Colby, Monterey Jack or your favorite cheese
- Sliced deli ham — thinly sliced
- Barbecue sauce — any brand
How to Make Ham and Cheese Crescent Roll Ups
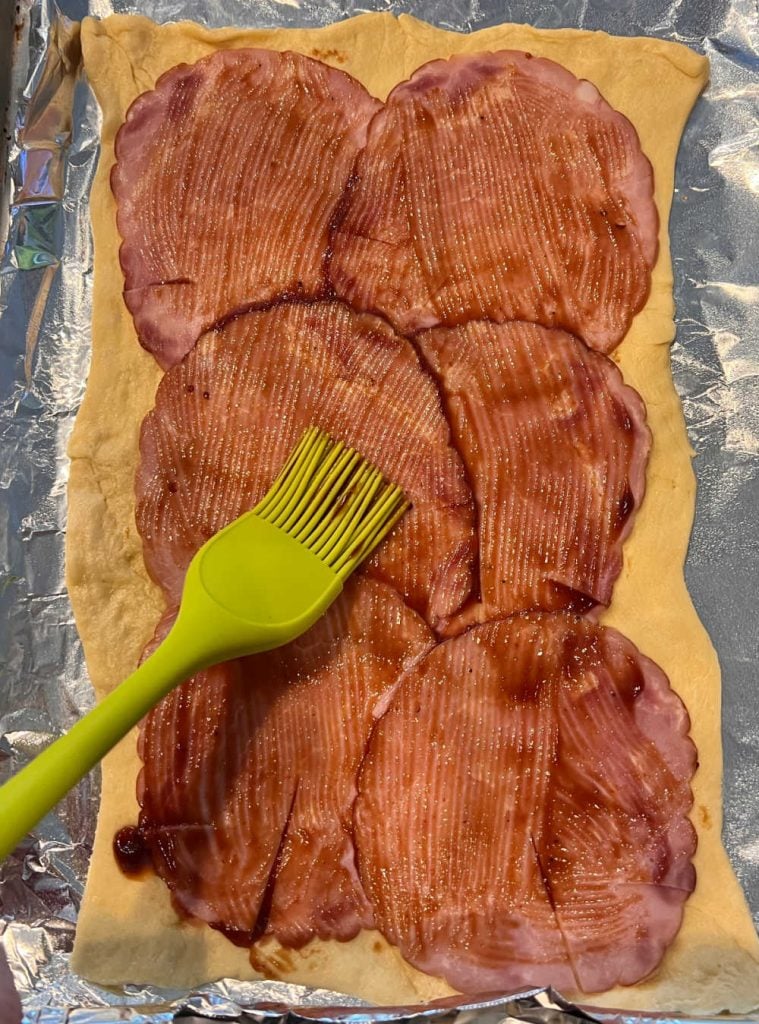
Basically, all you do is take the crescent dough out of the tube and roll it out so that it’s one big rectangle. If you can find the crescent sheets, you can use those instead. Then, you layer the sliced ham evenly so that it covers the dough. Brush a thin layer of the BBQ sauce over the ham.
How many slices of ham you add depends on the length and thickness of whatever deli cut you’re using. Usually I add between 6 and 8 slices. The key is to keep your ham and cheese layers thin, so that the roll ups cook evenly!
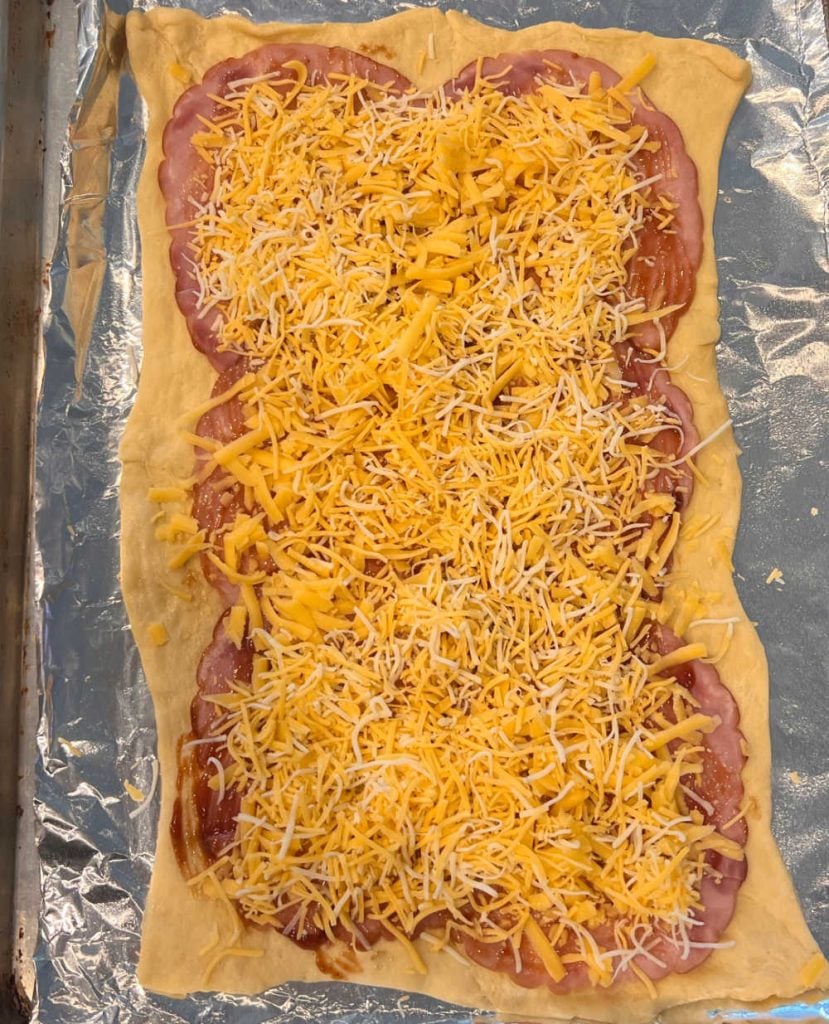
Next, sprinkle the shredded cheese evenly over the ham. Don’t add too much, or your roll-ups will be runny. I usually stick with about a half cup cheese. It’s tempting to add more cheese, but it’s not fun to clean up burnt on cheese from your baking sheets!
Finally, you roll the dough up into a log, starting with the long end. Just like you would for cinnamon rolls. Try to roll the dough up as tight as you can. Then, slice the roll into and cut it up into smaller pieces using a sharp knife or serrated knife.
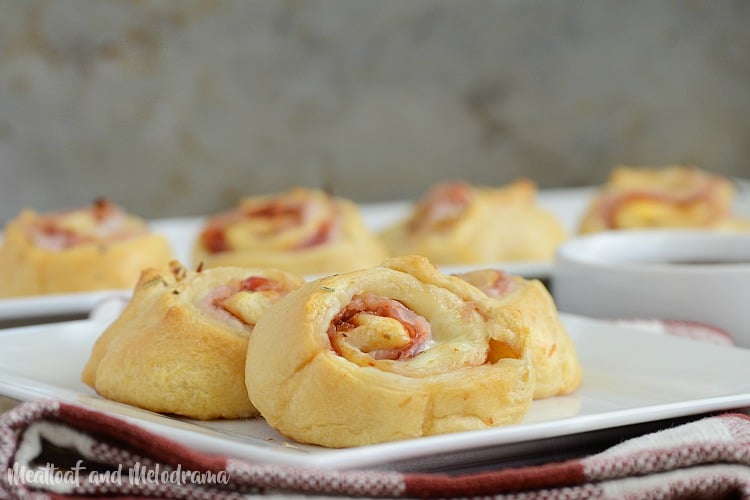
I made mine about 1/2-inch thick. This is the perfect size for finger food! The ham and cheese crescents take about 12 to 15 minutes to bake. Be sure to keep an eye on them so they don’t overbake. and then, they’re ready to go!
Recipe Tip
One tip I recommend is using cold dough. Dough straight from the fridge is much easier to use for these pinwheels, because it won’t get too stretchy when you’re rolling it.
Make sure that the baking sheet you’re baking the roll-ups on is lined with parchment paper or aluminum foil. It’s also good to spray the sheet with cooking spray.
If your kitchen is warm, it’s a good idea to let the roll-ups chill in the refrigerator before you bake them. This will help them keep their shape.
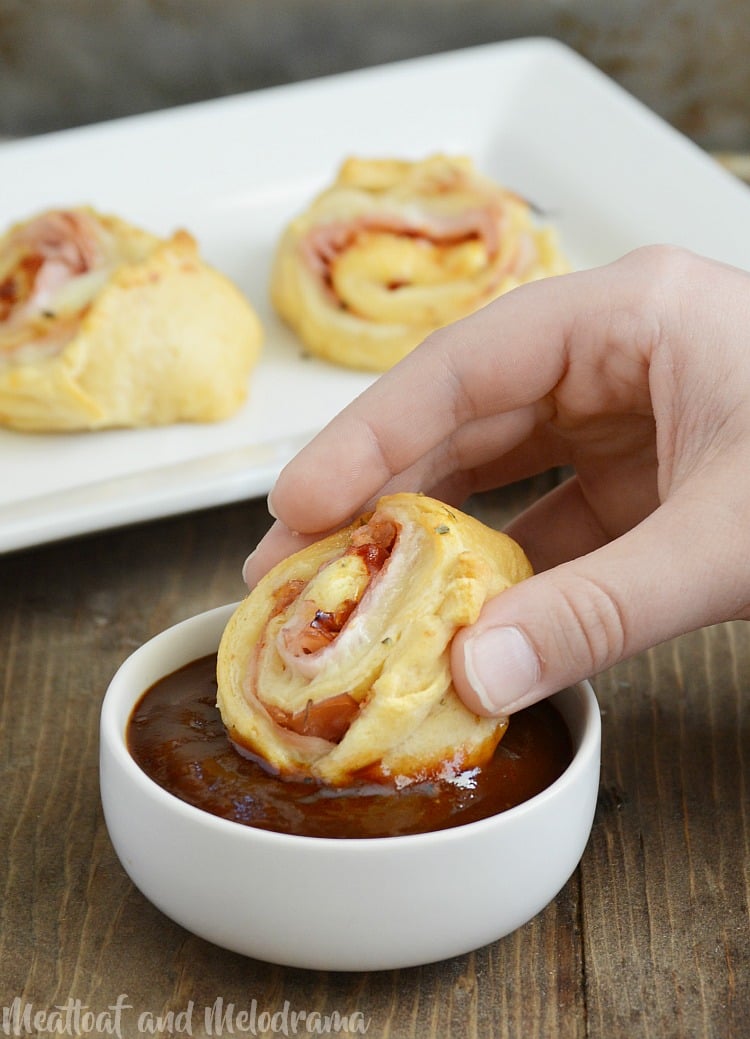
My family loves barbecue sauce, so I served the roll ups with some sauce on the side. My kids like to dunk these bite-size BBQ roll-ups in the extra sauce, but honestly, they taste perfectly fine straight from the oven. Let them sit at room temperature for a bit after taking them out of the oven, and they’re ready to be enjoyed!
Variations
The best part of changing things up is simply using whatever kind of ham and cheese is your favorite. Hickory honey ham and black forest ham are my go-to’s. As for the cheese, pepper jack cheese, a Mexican blend or only cheddar cheese are delicious! You can use sliced Swiss cheese or Provolone, but make sure they are thinly sliced.
You can also vary the sauces and spices you make the pinwheel sandwiches with. Instead of BBQ sauce, use dijon mustard, ketchup, or hot sauce. Horseradish sauce and Worcestershire sauce also complement baked ham very well.
Depending on what flavor profile you’re going for, Italian seasoning, garlic powder, red pepper flakes, or brown sugar make great seasonings!
Make Ahead and Storage
Store any leftover ham and cheese crescent dinner rolls in an airtight container or zip-top bag in the refrigerator. They’ll keep for 2 to 3 days.
You can also make these ham and cheese crescent snacks ahead of time! Just assemble the roll ups, and bake them just a bit, taking them out of the oven before they’re fully cooked. Leave these underbaked crescents in the fridge until right before serving.
When you’re ready to serve, pop the rolls back into the oven and let them bake fully. Just like that, your cheesy ham appetizers are fresh and ready!
Baked Ham and Cheese Crescent Roll Ups
Ingredients
- 1 8-oz container refrigerated crescent roll dough
- 6 slices deli ham, thinly sliced
- ½ cup shredded cheese
- 1 tablespoon barbecue sauce
Instructions
- Preheat oven to 350℉
- Place aluminum foil or parchment paper on cookie sheet. If using foil, spray with cooking spray
- Open tube of dough, place on clean, flat surface and roll dough out with rolling pin to form one large rectangle
- Layer ham evenly over dough
- Lightly spread BBQ sauce over ham
- sprinkle cheese evenly over ham
- Roll dough up tightly, starting at the long side, and slice into ½ inch pieces
- Place on greased baking sheet, and bake for 12 to 15 minutes, or until golden brown and firm
- Serve with additional barbecue sauce for dipping, if desired
Notes
Nutrition
Nutrition information is automatically calculated, so should only be used as an approximation.
For more easy recipes be sure to subscribe to the newsletter!
Happy Munching,




My kids love these! And they’re so quick and easy.
Thanks, Amanda. My kids love these, too!
Everyone at my house loved this! A new addition to our favorites!
These were so much easier than I expected to make. Genius!
This is such an easy and delicious meal or appetizer!