This post may contain affiliate links. Please see disclosure form more information.
Cool Whip Easter Eggs are a fun way to dye hard boiled eggs for Easter. Learn how to dye Easter eggs with Cool Whip and food coloring with these simple step by step instructions.
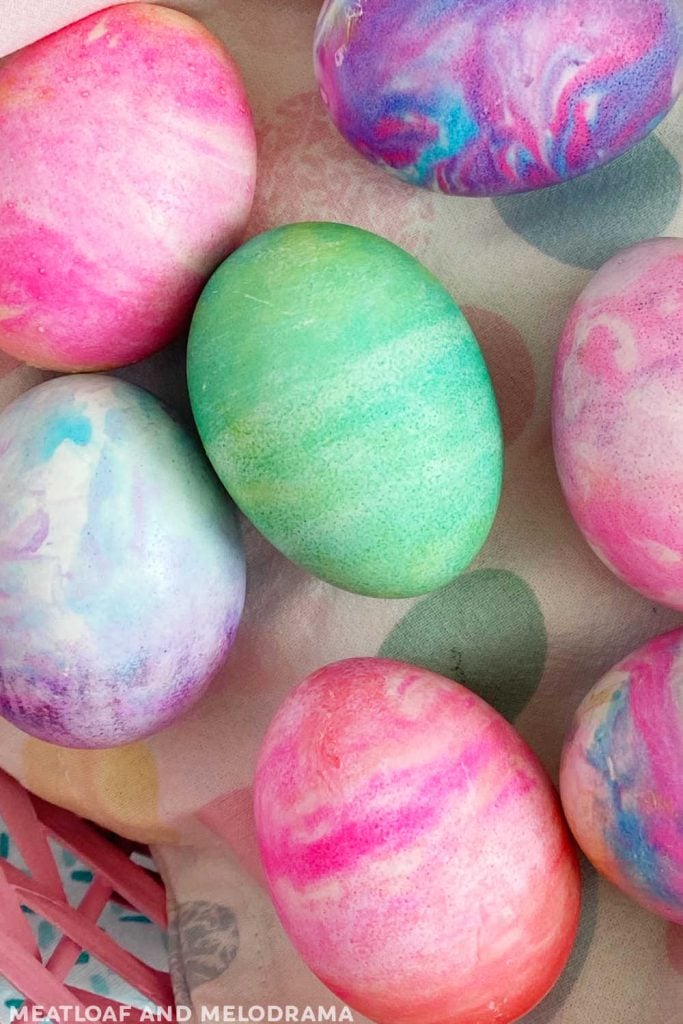
Looking for a fun and easy way to dye Easter eggs? You can make the prettiest eggs with just Cool Whip and food coloring. No measuring, no spilling, no mess!
My kids love using Cool Whip to color eggs for Easter! We have been using this method for a few years now, and I finally got around to posting this.
We usually make hard boiled eggs in the Instant Pot and dye eggs the Saturday before Easter. But this year, we planned ahead!
Not only do you get gorgeous, vibrant colors with this method, but it’s much easier than using the traditional food dye, white vinegar and water method. No spills or messes either, other than purple fingers!
And since you are working with completely edible ingredients, it’s much better than using the shaving cream method.
Ingredients
You only need a few simple ingredients to dye Easter eggs with Cool Whip. You can find them in most grocery stores.
- Hard cooked eggs or hard boiled eggs — White eggs are best for dyeing.
- Cool Whip or any brand of whipped topping
- Food coloring — either gel food coloring or regular food coloring
- Baking dish or casserole dish
- Paper towels
Note — Even though this is a great way to make DIY Easter eggs, your hands will get covered with dye. You may want to wear disposable gloves or plastic cloves to protect your hands.
How to Dye Eggs with Cool Whip
First, spoon the whipped topping into a baking dish. Spread the whipped topping in an even layer in the dish.
I use a 9 x 13 baking pan, but any deep dish will work. It just has to be deep enough to allow for about a 1-inch layer of Cool Whip to cover the eggs.
Next, add a few drops of food coloring in one corner of the baking pan. We usually use 3 different colors at a time and place dots of food coloring using 3 or 4 drops of each color.
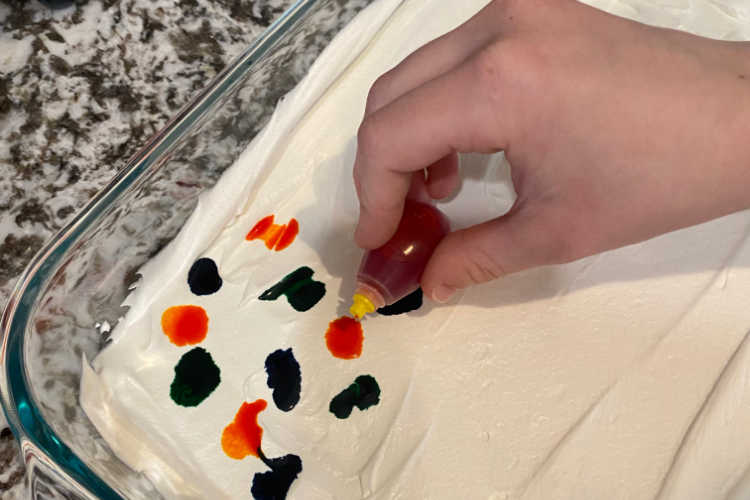
You can choose to use only 2 colors and use more of each if you want. For this egg, we used green, yellow and blue food coloring.
Then, take a toothpick, and gently swirl the colors together. You don’t want to mix them completely in one big blob, though. Otherwise, you won’t get that gorgeous marbled effect.
Just a quick swirl will do fine!
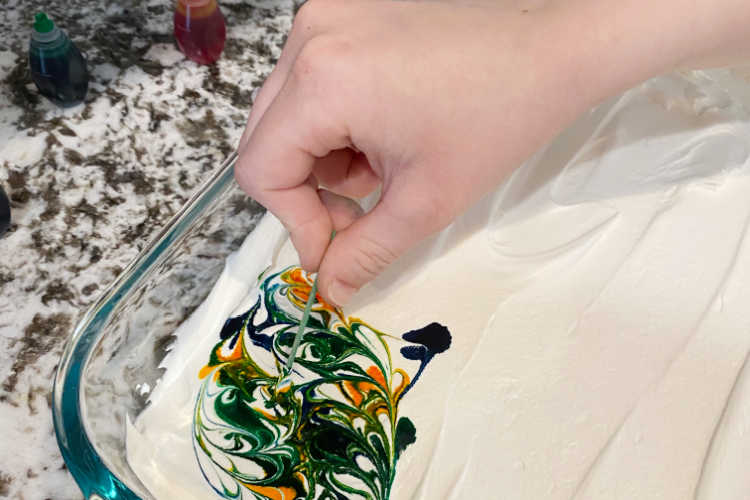
Next, take your egg, and gently roll it in the whipped topping. Make sure it’s completely covered in whipped topping and dye.
When it’s completely covered, let it sit there while you finish the remaining eggs. You can add all of the food coloring first, or you can add it as go.
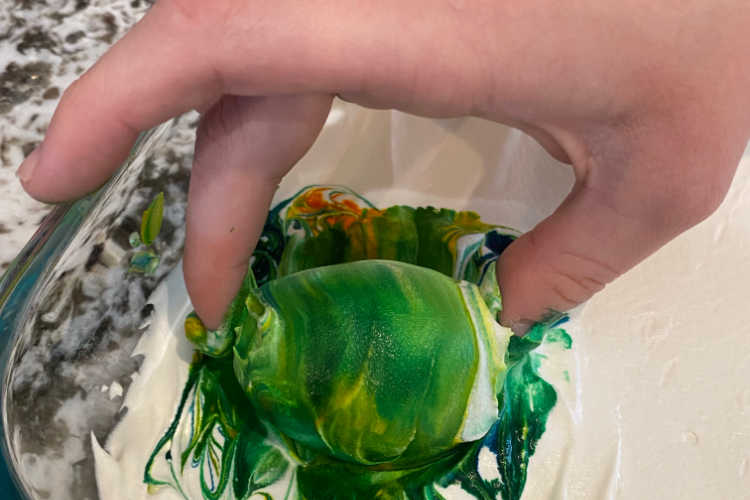
We got 8 eggs in one pan. Actually, we probably could have fit one more in! If you want, you can do a second batch using the same pan.
Or, you can use a second pan. You can really do as many eggs as you want with this method. There really are no rules here!
You can have fun experimenting with your favorite color combinations. We love using a mix of dark colors and brighter colors for the eggs.
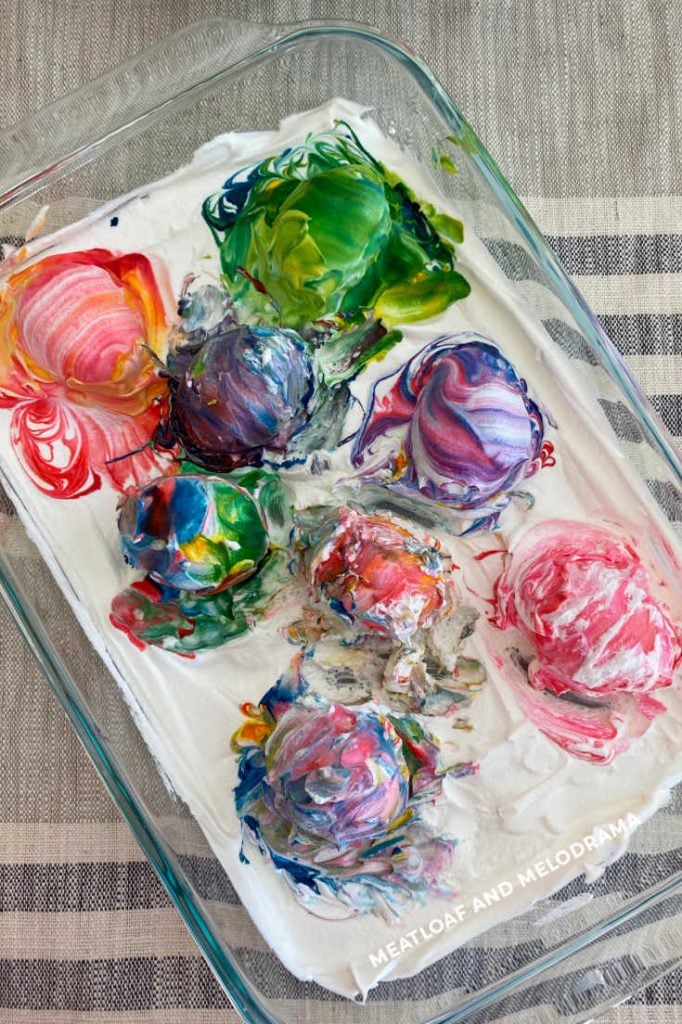
How Long to Dye Eggs
Leave the eggs sit for about 15 minutes to give the dye a chance to set. After that, wipe eggs off gently with a dry paper towel.
The end result is a batch of beautiful Easter eggs! These beautiful eggs are marbled, swirled and absolutely gorgeous! Almost too pretty to eat!
If you’re going to eat these colorful eggs for Easter Brunch, I recommend using them for Guacamole Deviled Eggs, Basil Parmesan Deviled eggs, egg salad or as a garnish for Instant Pot Potato Salad.
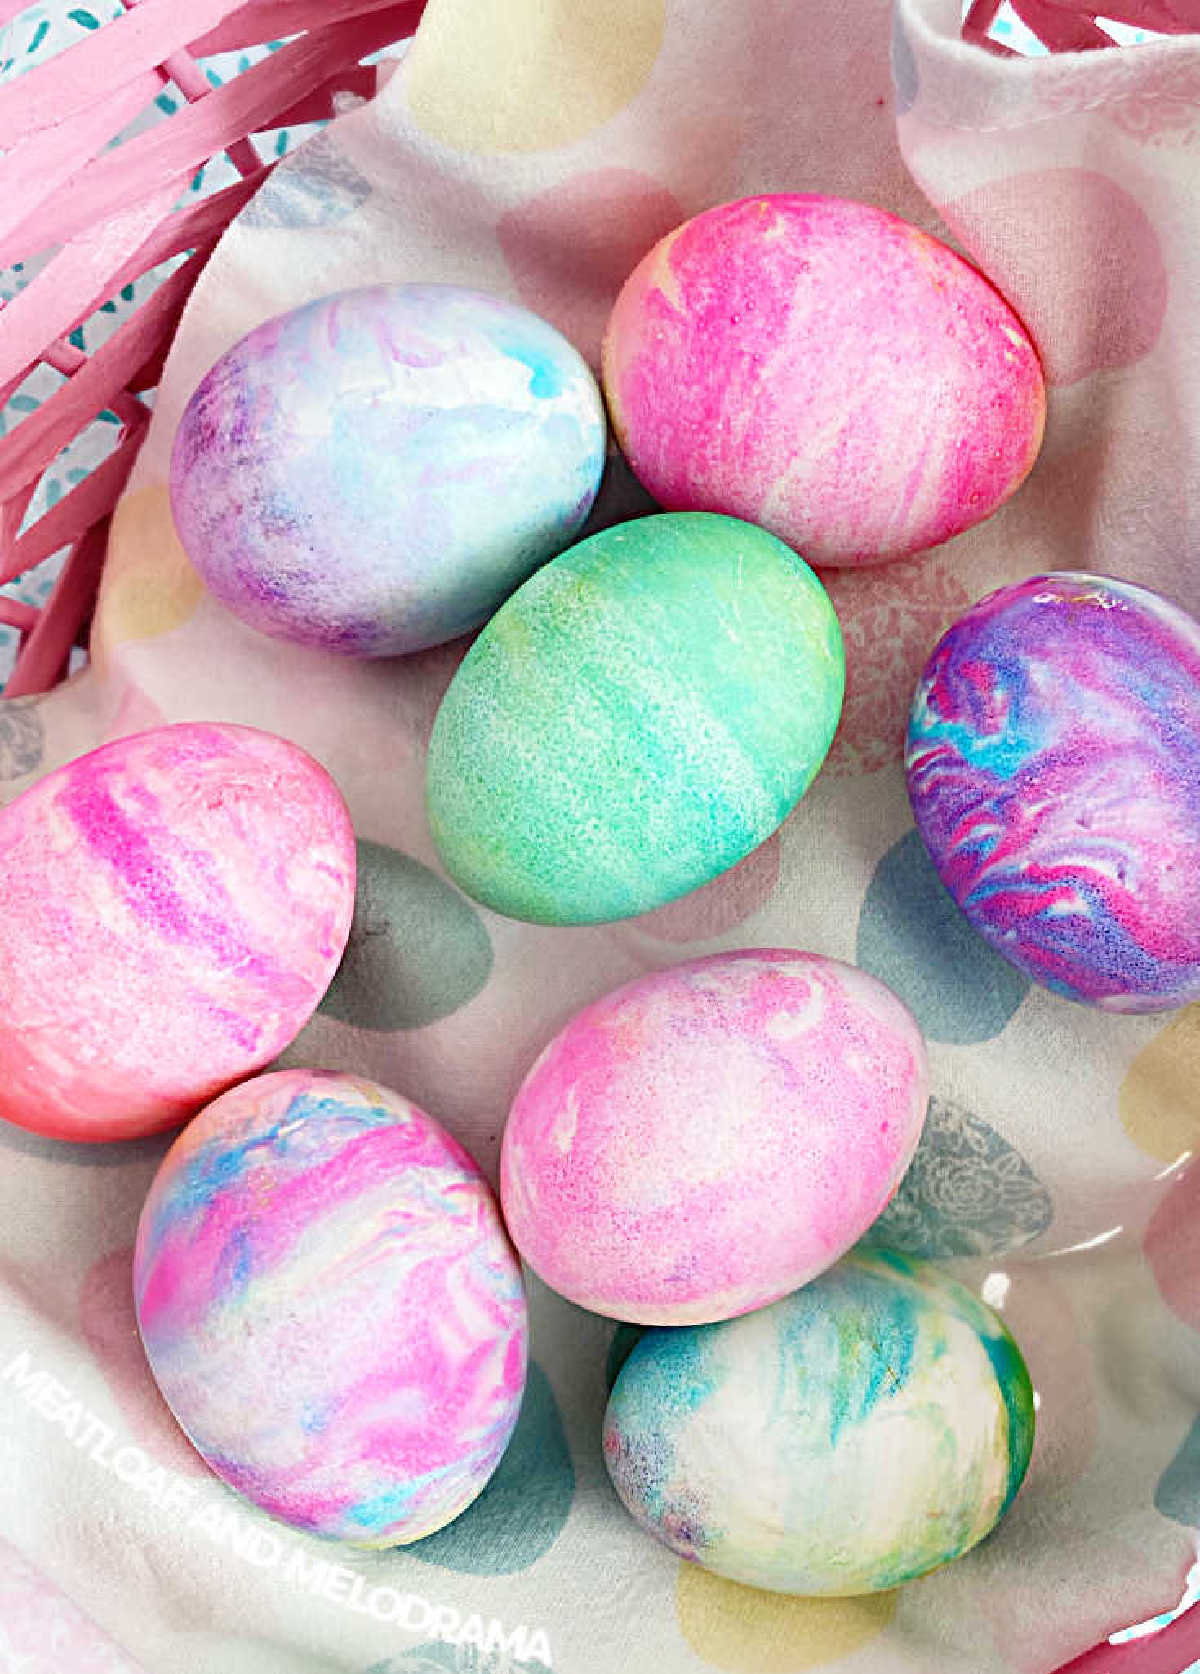
How to Store
Place these harboiled eggs in the refrigerator as soon as they are done. So how long do hardboiled eggs last in the refrigerator?
They will last for up to 7 days in the shell. Once peeled, the eggs are good for up to 5 days.
Cool Whip Easter Eggs
Equipment
- 9 X 13 baking pan or deep casserole dish
Ingredients
- 12 hard boiled eggs
- 8 ounces Cool Whip or any whipped topping
- 1 package food coloring in various colors
- 1 toothpick
- paper towels
Instructions
- Spread the Cool Whip evenly in a baking dish
- Add drops of food coloring to 1 corner. Use 3 or 4 drops of 1 color and use 2 or 3 colors for best results
- swirl food coloring together with toothpick
- Roll egg in whipped topping and dye until completely covered. Allow to sit, and repeat until all eggs are dyed. Allow to sit 15 minutes
- Wipe egg off using a paper towel. Refrigerate until ready to eat
Notes
Nutrition
Nutrition information is automatically calculated, so should only be used as an approximation.
Cool Whip Easter eggs are a fun project for the whole family. Even younger kids can do this without much help from the Easter Bunny!
For more Easter recipes and easy recipes for any occasion, be sure to follow me on social media. If you enjoy this easy tutorial for the prettiest eggs ever, leave a comment and star rating!
Post published in 2021 and updated in 2022.




Had to try these with the Grandkids today! Lots of fun and they turned out great. Making more for Easter too!
03/19/2022
Way cool idea! Thanks. Judy
This is such a cool and cute idea!
Thanks! My kids love coloring Easter eggs with Cool Whip.