This post may contain affiliate links. Please see disclosure form more information.
Halloween Cake Pops are a fun Halloween treat made with cake, frosting and candy melts and decorated for spooky season. Perfect for a Halloween Party!
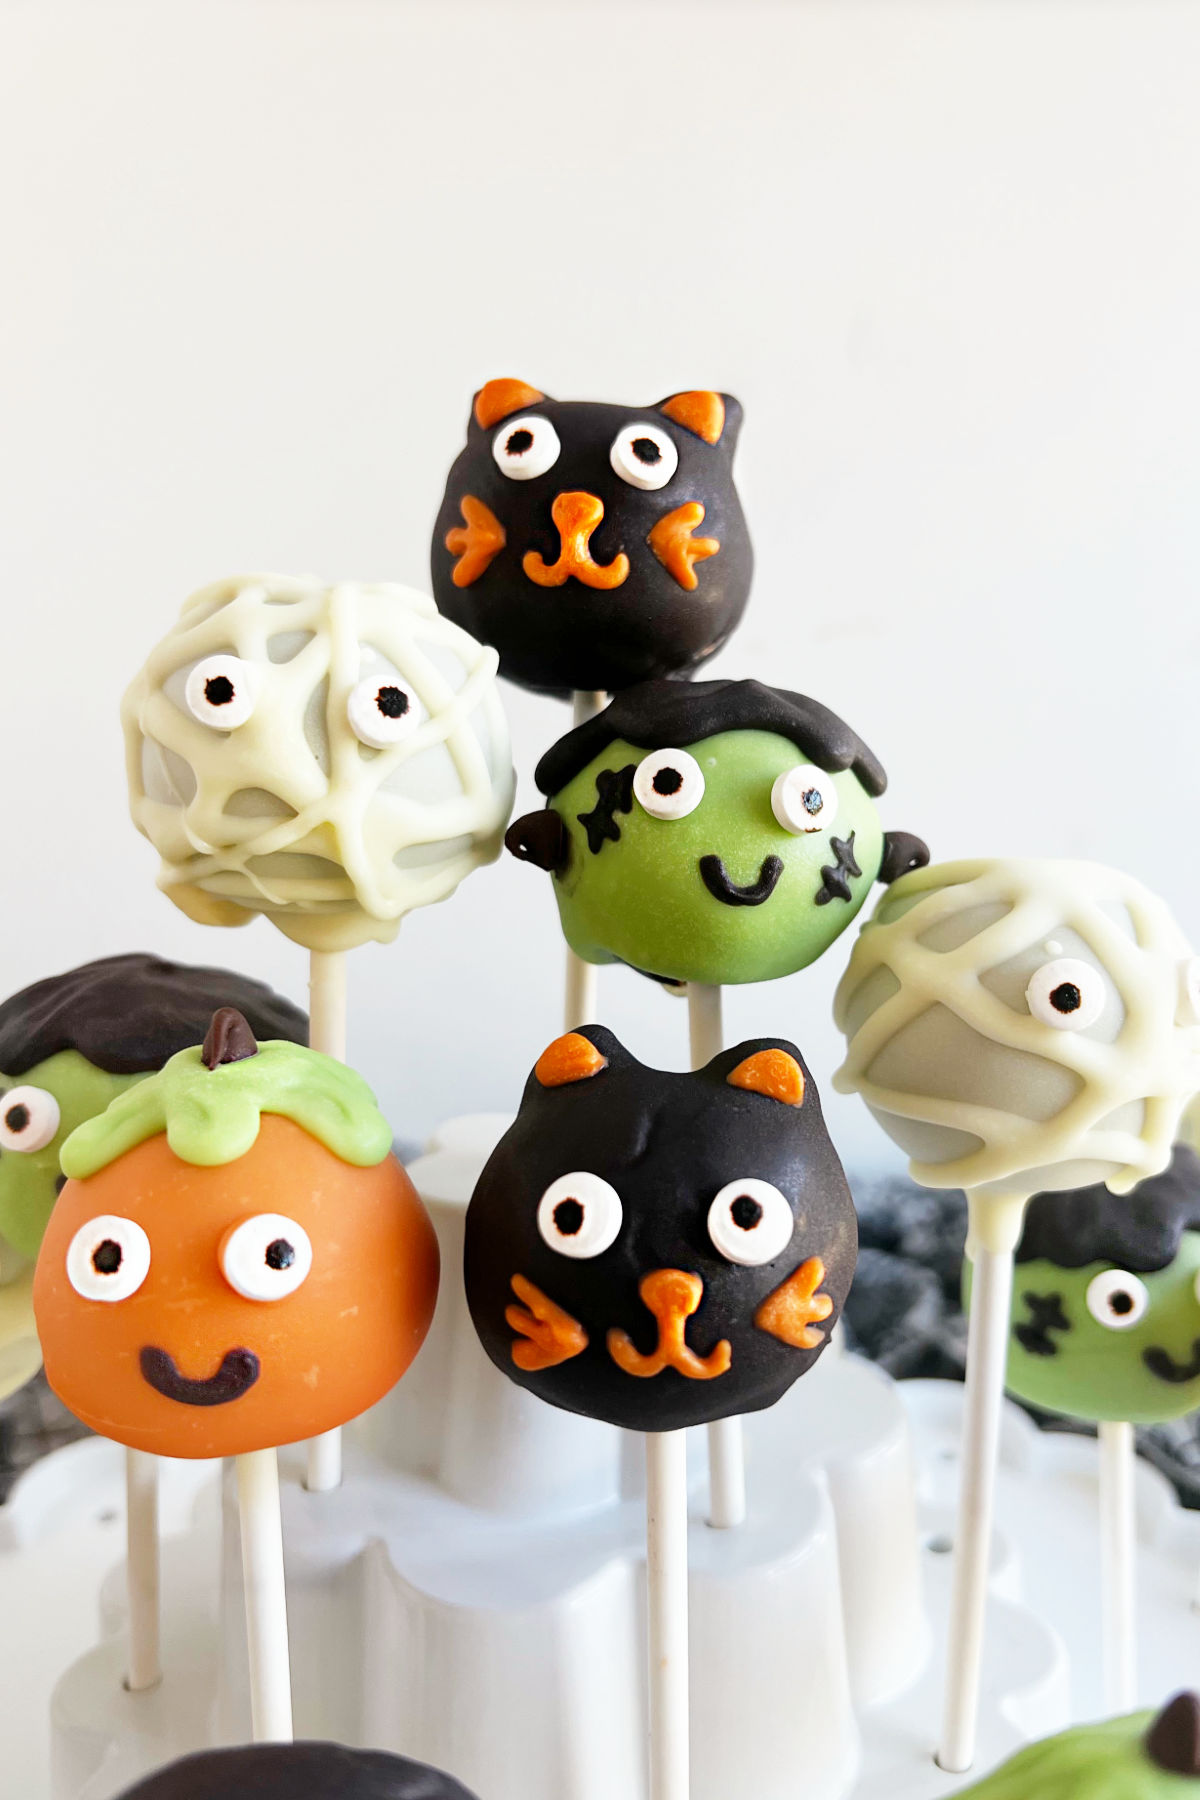
Table of Contents
If you are looking for a super cute Halloween dessert, try this easy Halloween cake pops recipe.
Simply crumble up a cake, mix it with frosting, form into balls and decorate as your favorite Halloween characters or in a Halloween theme.
You can make a cake using a box of cake mix or use leftover cake to make cake pops. To make this easy dessert easier, you can even use a plain cake from your local bakery or store.
Halloween Cake Pops Ingredients
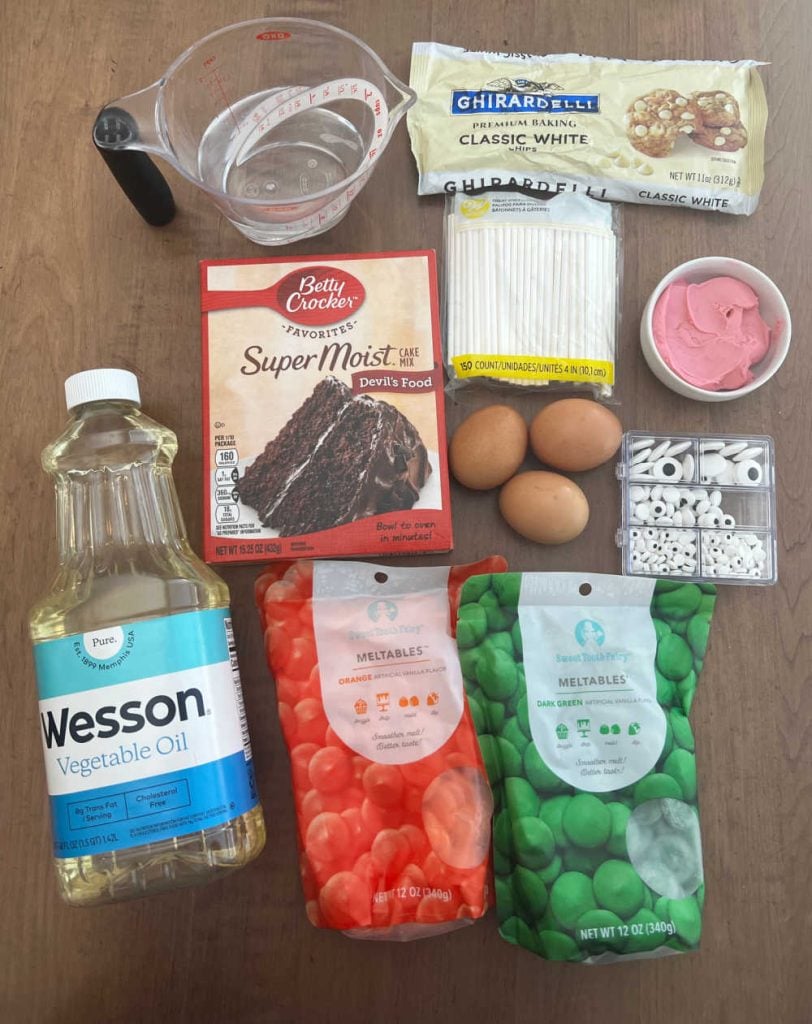
These simple ingredients are found in your local grocery store, craft store or online.
- Boxed cake mix — any brand. I used chocolate cake mix, but any flavor works.
- Eggs, oil, water — to make the cake
- Frosting — Use store-bought frosting or leftover homemade frosting if you have some.
- Candy Melts — We used orange candy melts, black candy melts and green candy melts
- White chocolate chips — You can use white candy melts or almond bark.
- Coconut oil — for smoother white chocolate. You won’t need the oil if you use white candy coating.
- Cake pop sticks — or popsicle sticks
How to Make Halloween Cake Pops
First, bake the cake according to directions on the box. Allow the cake to cool completely. Then, crumble the cake by hand or with an electric mixer or stand mixer in a large bowl.
Mix frosting with the crumbled cake, and form cake mixture into small balls. Keep the cake balls around 1 inch to 1 1/2 inches.
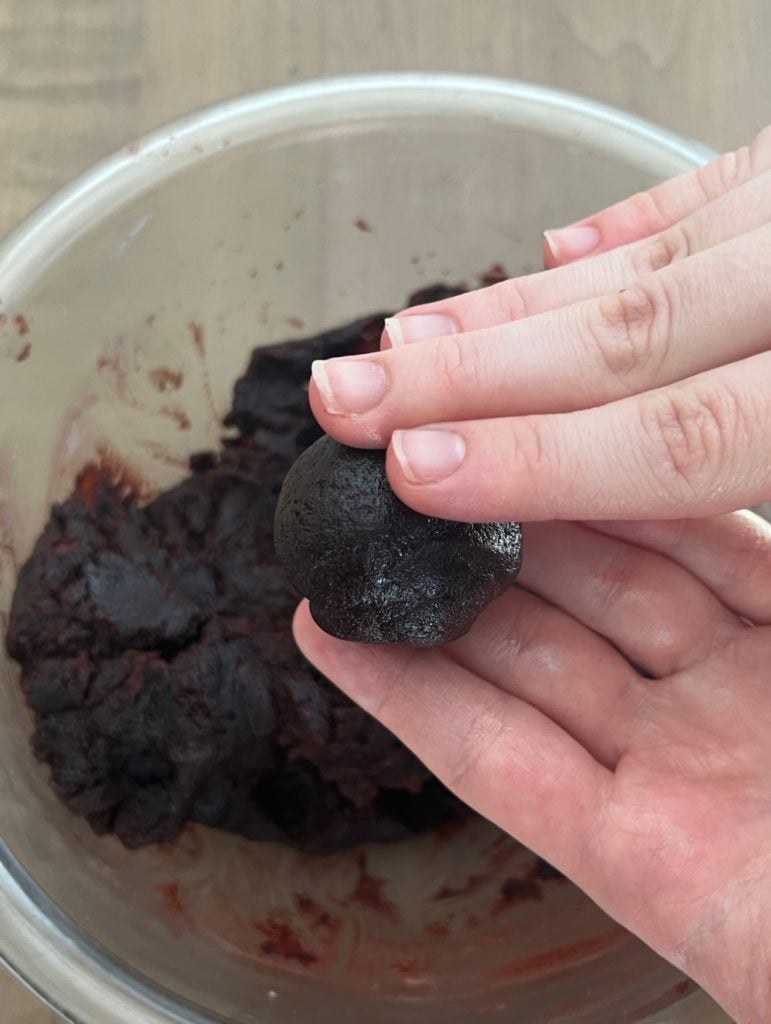
When the balls are formed, melt a little white chocolate in a microwave safe bowl.
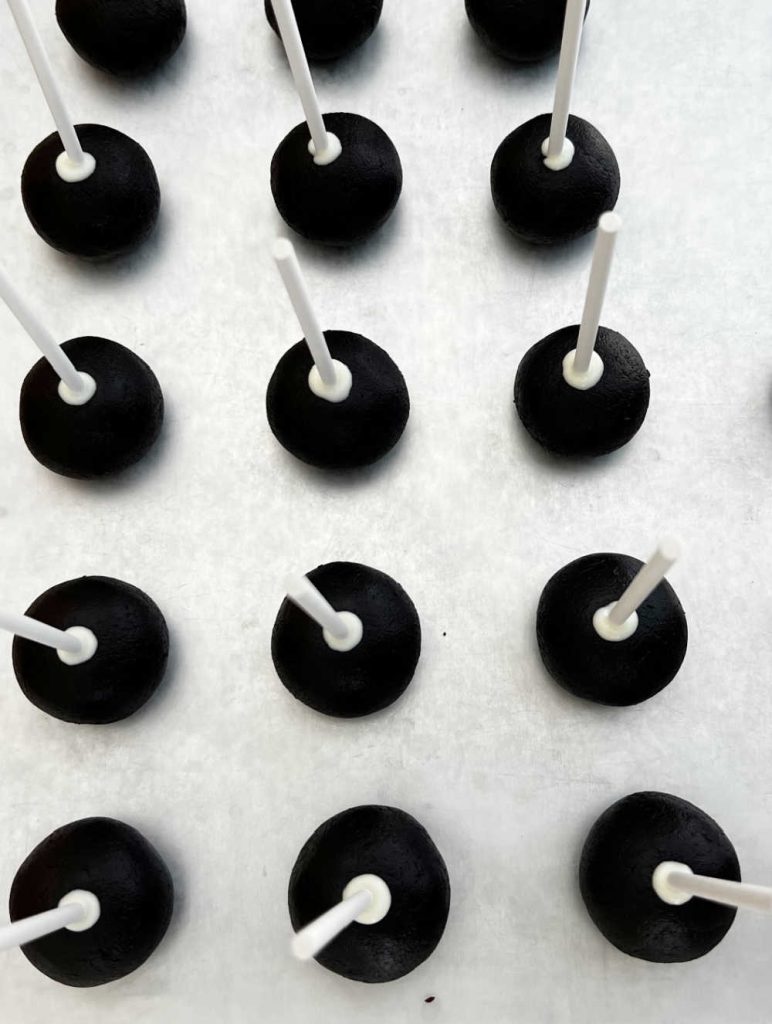
Dip a cake pop stick into the melted chocolate, and insert into the center of each cake ball. This will help the sticks stick to the cake balls.
Place the balls on a baking sheet lined with wax paper or parchment paper. Then, refrigerate until firm.
How to Decorate Cake Pops for Halloween
Add the candy melts to separate microwavable bowls or cups. Melt in 30 second intervals or according to package directions.
Dip cake balls into melted candy coating or chocolate, allowing excess chocolate to drip back into the bowl. Allow the coating to dry slightly, then decorate.
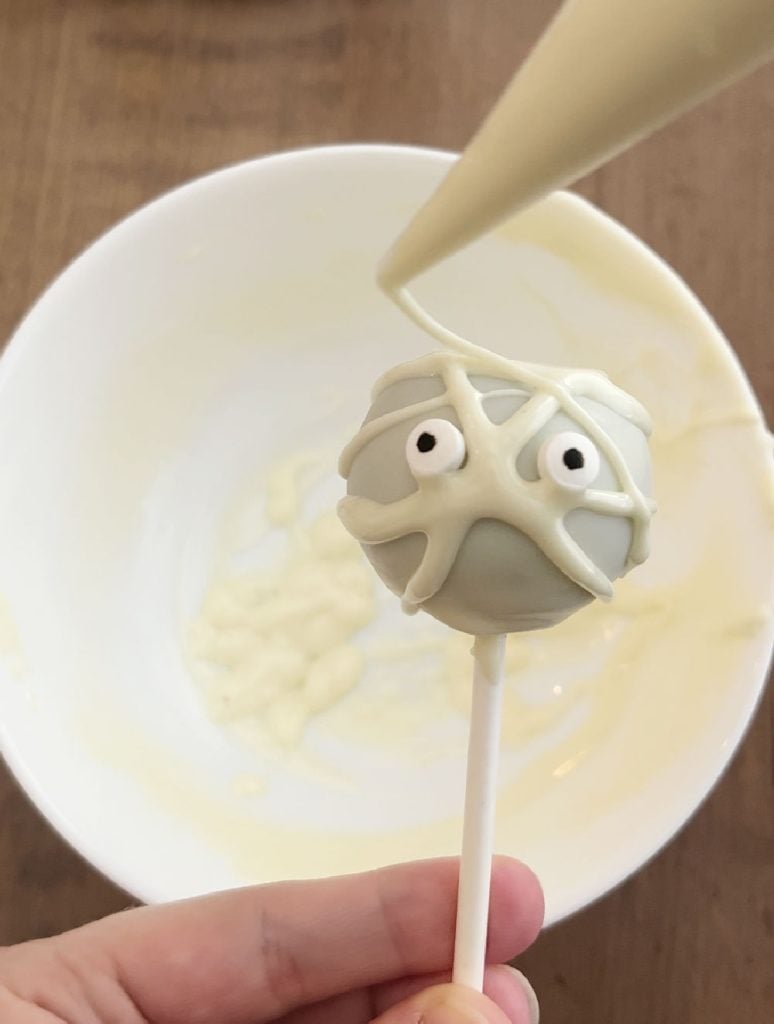
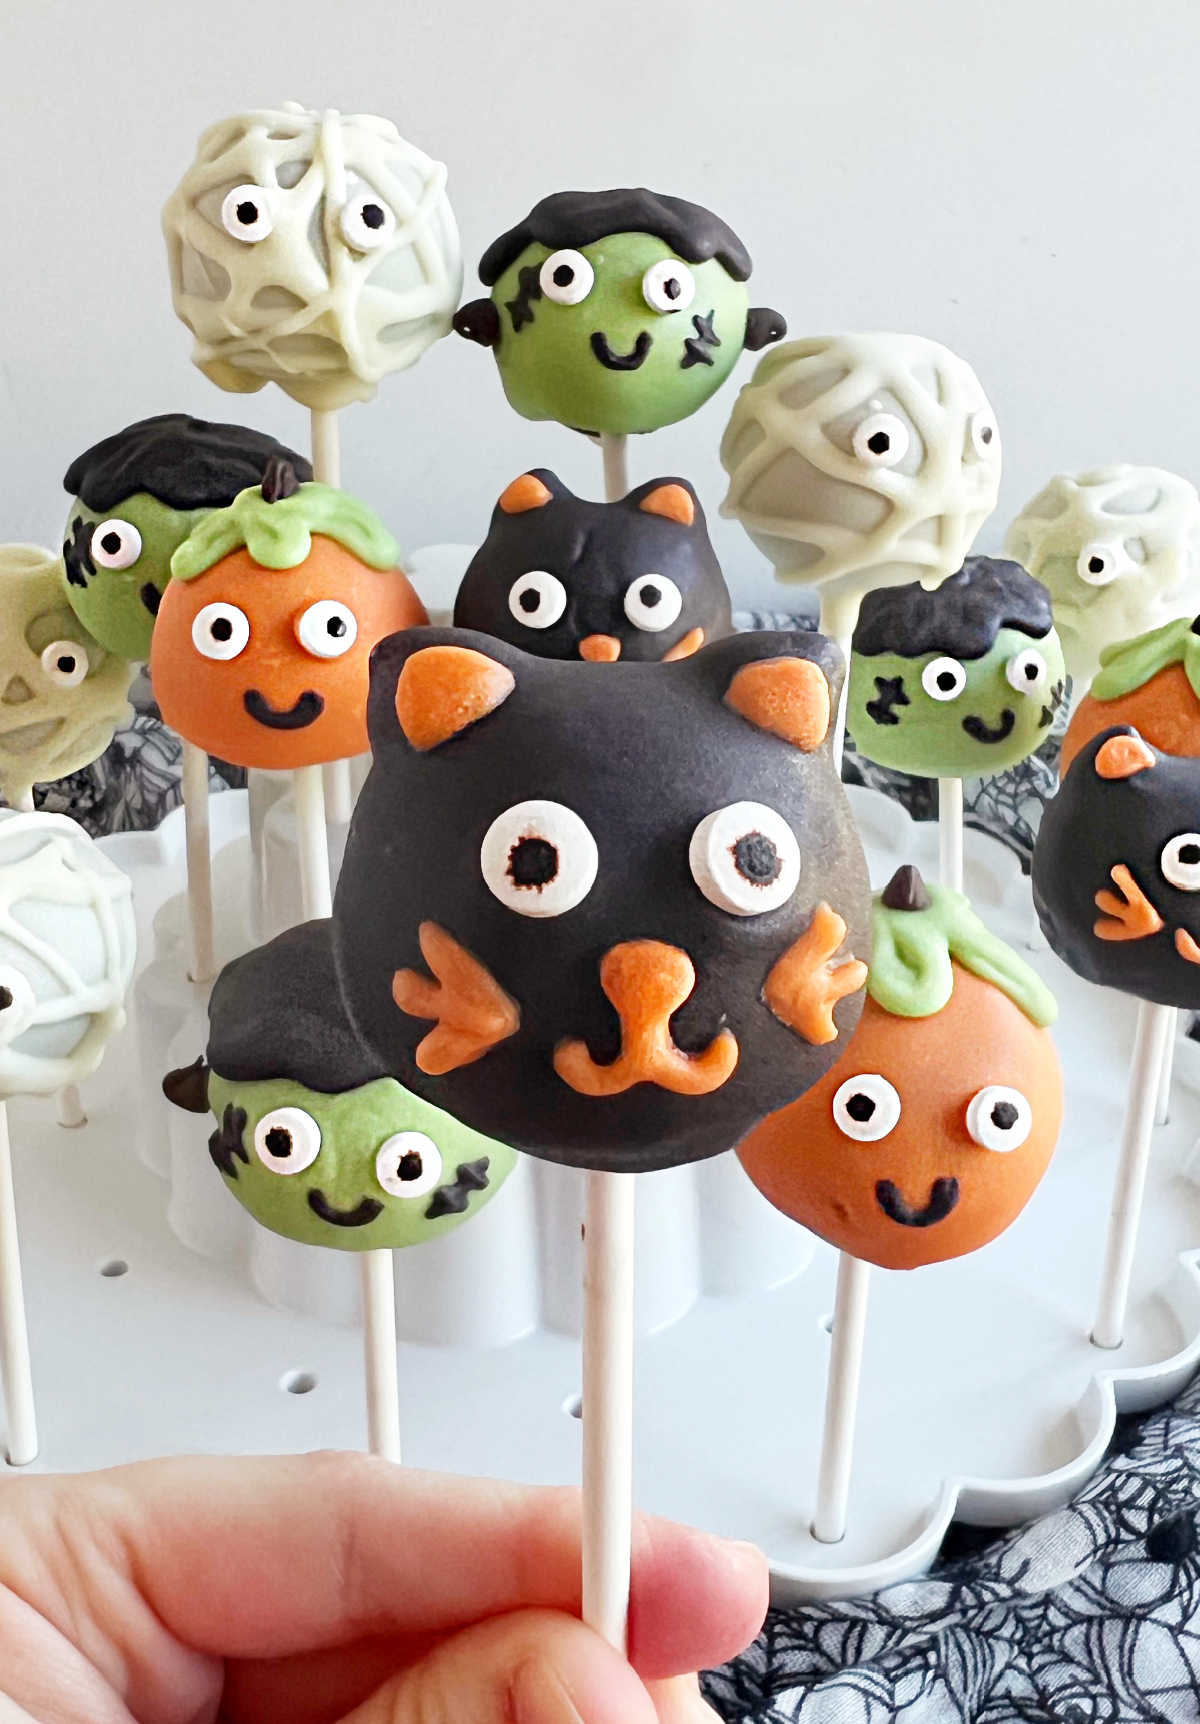
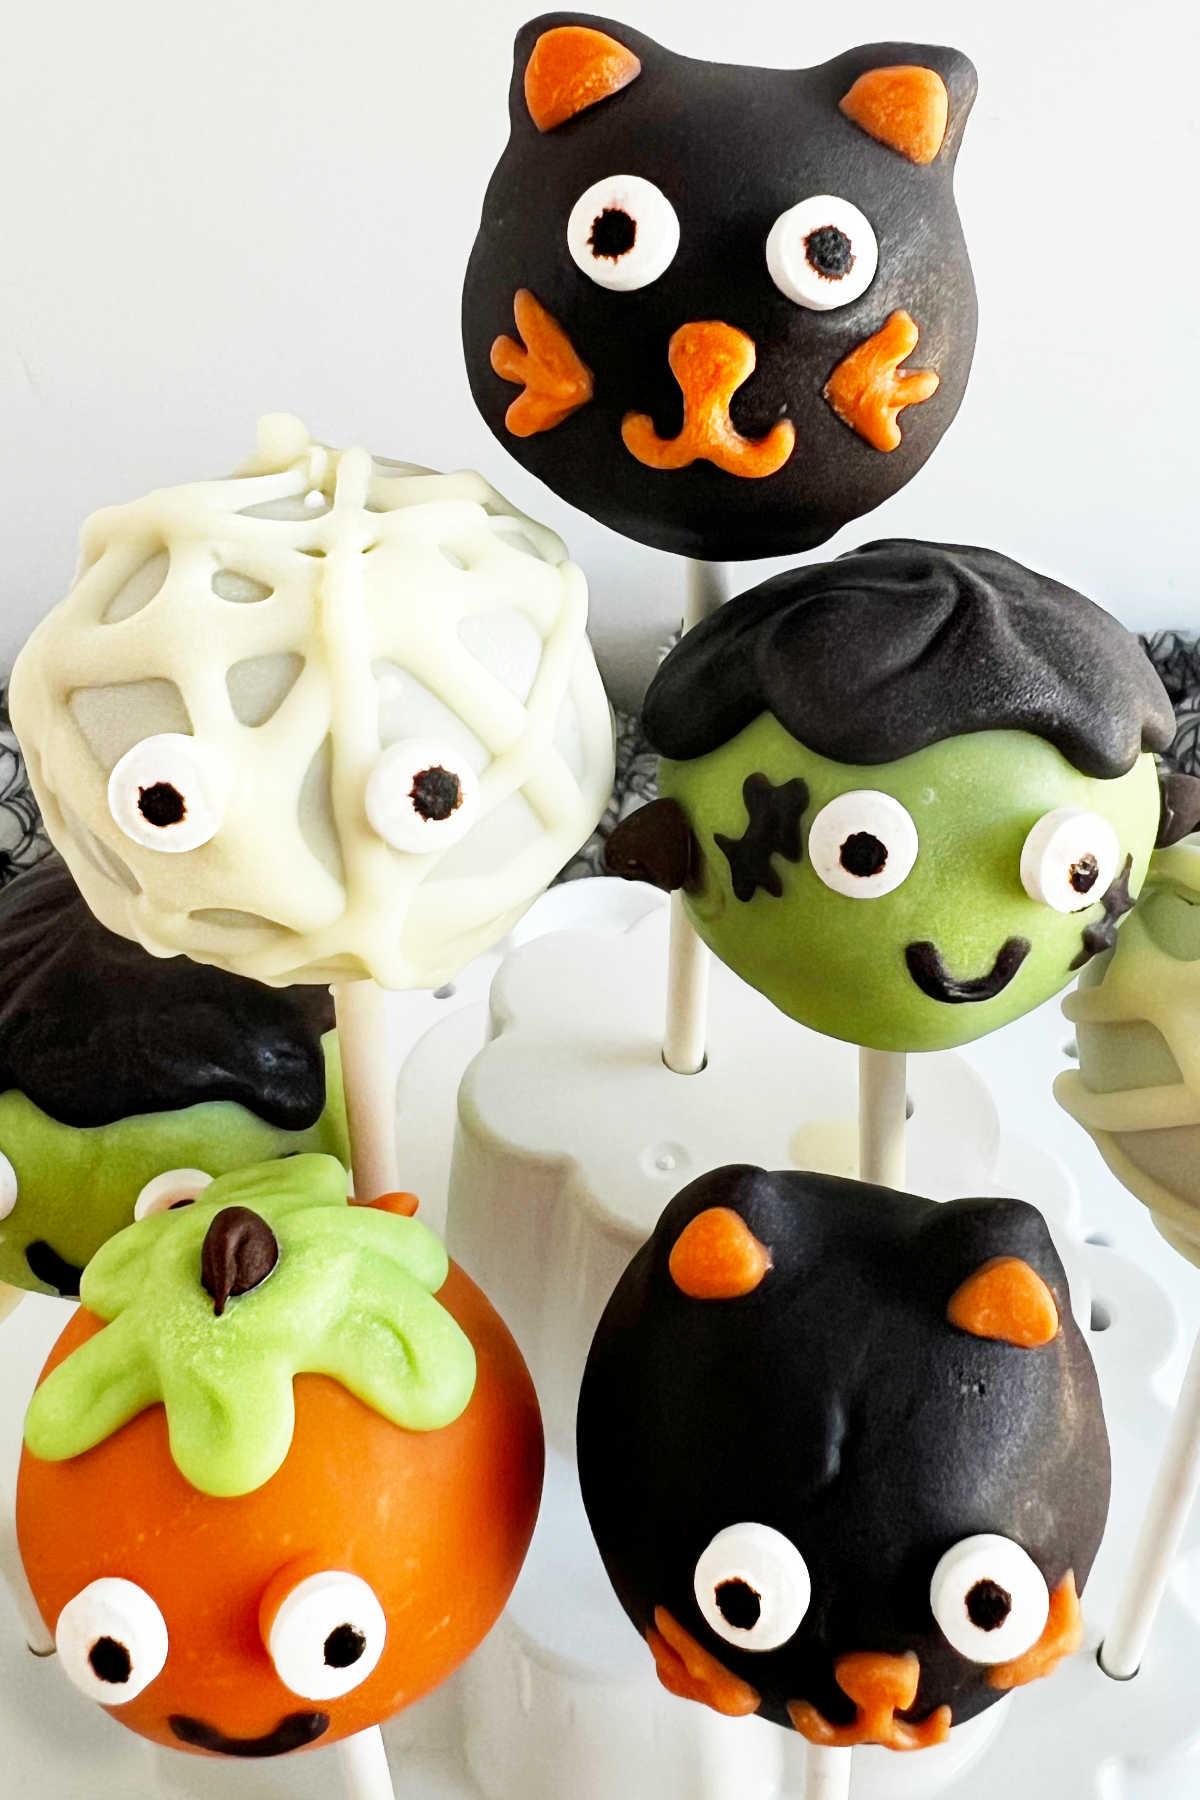
Mummy Cake Pops — Dip the balls into white candy coating or white chocolate. Add candy eyeballs, then drizzle thin lines of melted white chocolate over the cake pop.
You can use a piping bag or a ziploc bag with a small hole in 1 corner to make the “bandages”.
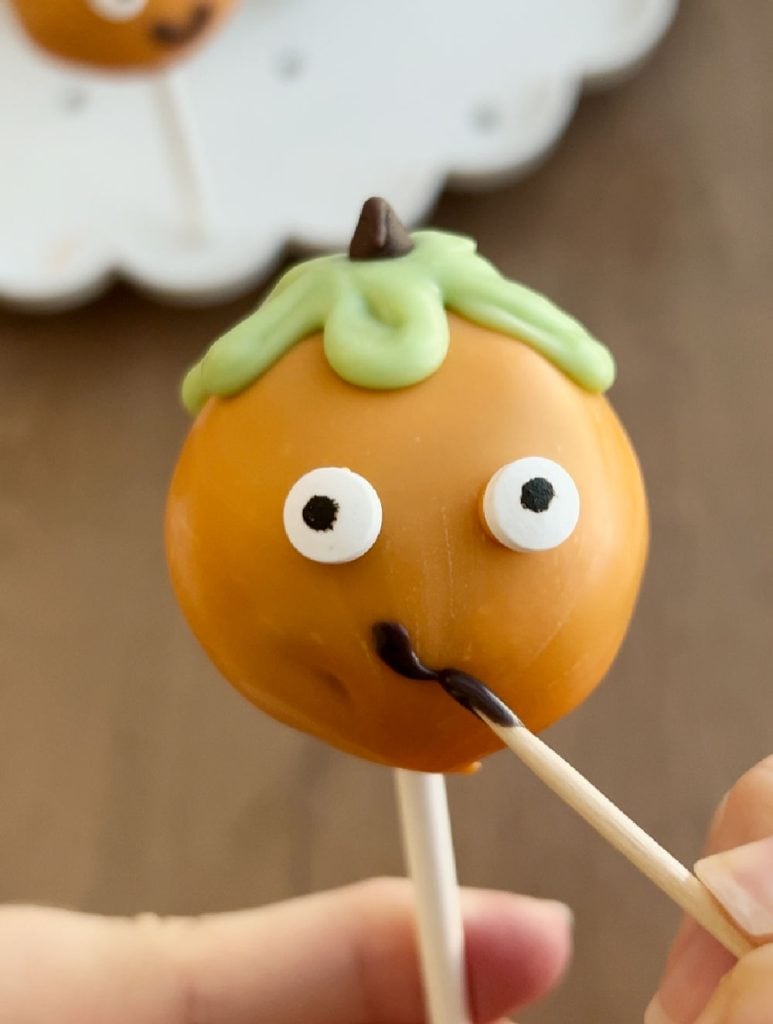
Pumpkin Cake Pops — Dip the cake balls into melted orange coating. Add the candy eyes. Then, use a piping bag to form the leaves on top of the pumpkin. We used mini chocolate chips for the stems.
You can use a toothpick to make the mouth with melted chocolate or black candy coating.
If you want a traditional jack-o’-lantern look, skip the eyeballs and make the face using melted chocolate.
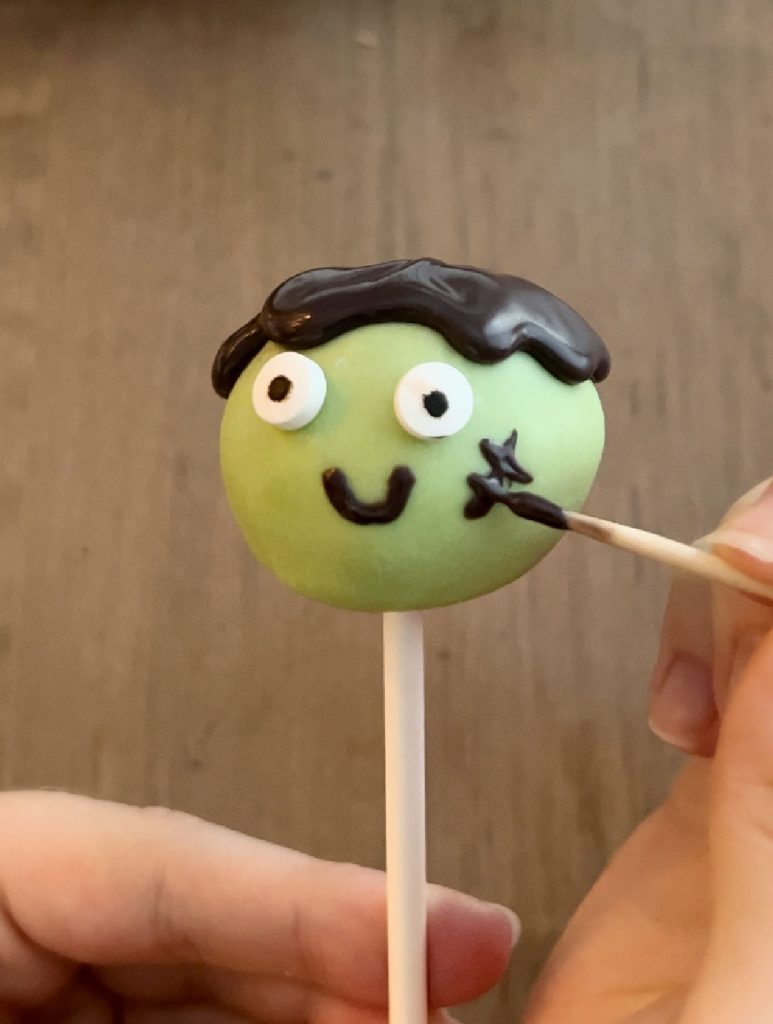
Frankenstein Cake Pops — Dip the cake balls into melted green candy coating. Add the candy eyes, and use chocolate to make the hair, mouth and scars.
You can dip the cake pops into the melted coating for the hair or use a piping bag.
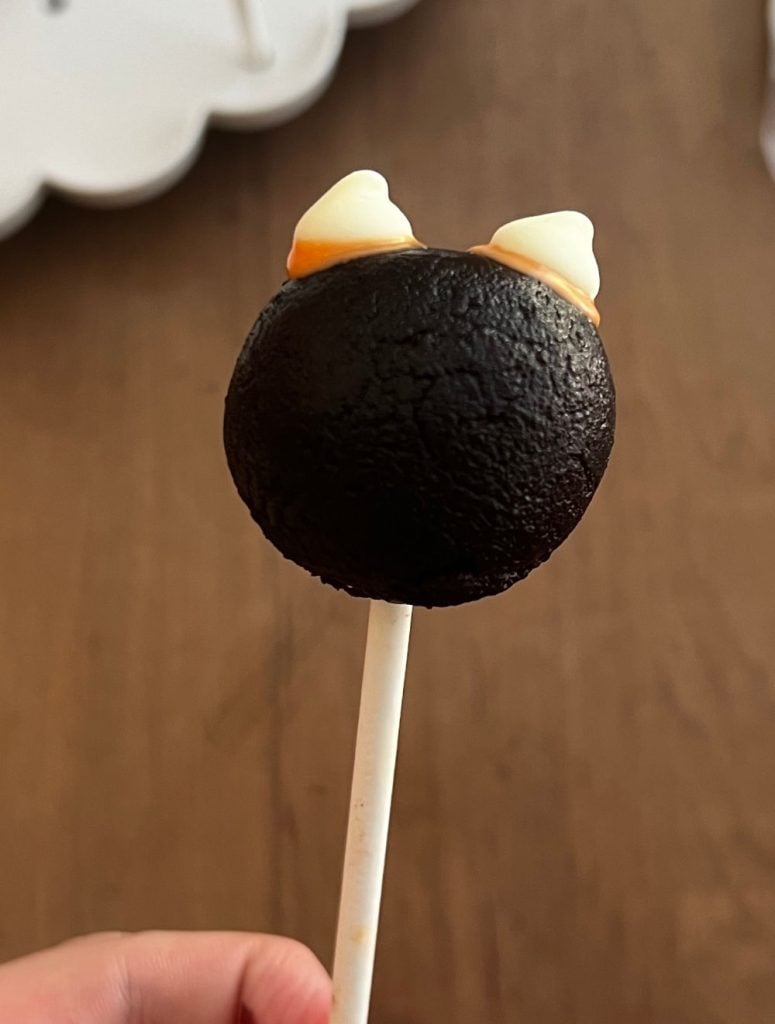
Black Cat Cake Pops — First, use frosting to stick 2 chocolate chips to the top of the cake balls. When the frosting dries, dip the cake ball into melted black candy coating.
Add the eyes, then paint the insides of the ears with orange coating. Use orange coating to make the whiskers and mouth.
How to Store
I highly recommend purchasing an inexpensive cake pops holder, especially if you are making a lot of pops. You can leave the Halloween treats in the holder at room temperature for up to 1 day.
Place the decorated cake pops into an airtight container for longer storage. They stay fresh for 3-4 days. You can freeze plain unfrosted cake ball pops for up to 3 months.
Helpful Tips
If you don’t want to use a microwave, use a double boiler to melt chocolate on the stove.
Be sure to refrigerate cake pops before decorating. The cake needs to be firm enough to dip into melted candy melts or chocolate. I found that freezing the cake pops make them crack.
Let the candy coating dry slightly before you add the eyes. Otherwise, they start to slide. If the coating dries before you add the eyes, use extra coating or frosting for the eyeballs.
Don’t have time to bake? Make shortcut Halloween cake pops using a plain cake or cupcakes from the store. You can also dip coated pops in Halloween sprinkles for easy decorating!
More Halloween Treats
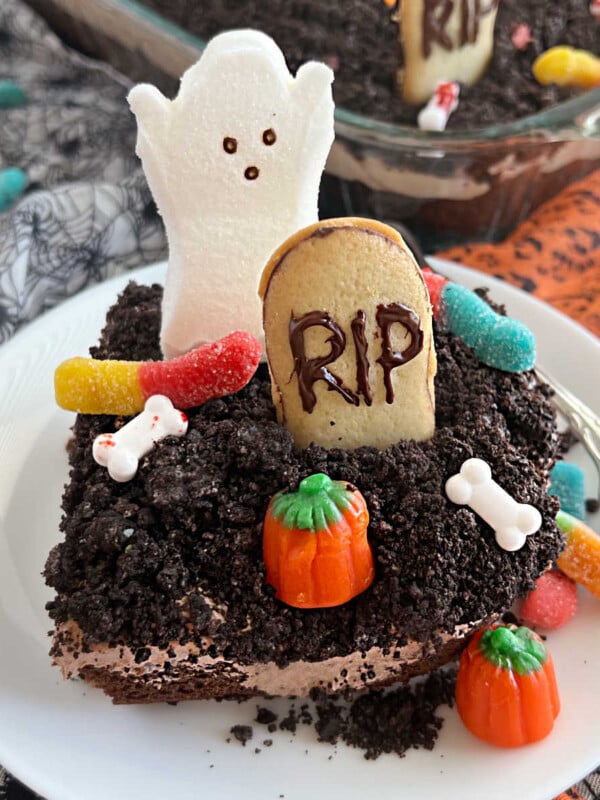
Halloween marshmallow pops are easier than cake pops and just as cute! Halloween Graveyard Cake is another dessert that is so much fun to make! For a no bake Halloween dessert, try my Nutter Butter ghost cookies, and browse more easy homemade Halloween treats!
Halloween Cake Pops Recipe
Ingredients
- 1 15.25 oz box cake mix
- 3 eggs
- 1¼ cup water
- ½ cup vegetable oil
- 1 cup frosting
- 2 cups white chocolate chips divided
- 1 tsp coconut oil
- 12 oz orange candy melts
- 12 oz green candy melts
- 12 oz black candy melts
- candy eyeballs
Instructions
- Prepare and bake the cake mix according to box instructions for a 9×13 inch pan. Let cake cool.
- Break the cake up into small pieces in a medium sized mixing bowl. Add in frosting and mix together until a dough forms.
- Form the dough into 1 inch sized ball and place onto a baking sheet lined with wax paper.
- Melt 2 tablespoons of the white chocolate. Dip one end of the cake pop stick into the white chocolate and then place the stick halfway into the cake dough ball.
- Refrigerate the cake pops foe 1 hour to allow them to chill and set up.
For the Mummies
- Melt the white chocolate and coconut oil together in 30 second intervals, stirring after each interval, until completely melted.
- Evenly dip cake pop into the white chocolate. Allow chocolate to slightly firm up, and then add candy eyeballs in the center of the cake pop. Using a piping bag or ziplock baggie, drizzle excess white chocolate over the cake pop to create bandages.
For the Pumpkins
- Melt orange candy melts in 30 second intervals, stirring after each interval, until completely melted.
- Evenly dip cake pops into the orange candy melts. Allow candy melts to slightly firm up before adding two candy eyeballs in the center of the cake pop.
- Using a piping bag, pipe on some vines with green candy melts. Stick a mini chocolate chip on top as a stem. Draw a smile face with a toothpick and black candy melts.
For the Black Cats
- Melt black candy melts in 30 second intervals, stirring after each interval, until completely melted. Use the melted candy coating to place two white chocolate chips on top of the cake pops as ears. Allow coating to completely harden.
- Evenly dip cake pops into the black candy melts. Allow candy melts to slightly firm up before adding two candy eyeballs in the center of the cake pop. Using a toothpick and melted orange candy coating, draw on whiskers and insides of ears.
Fir the Frankensteins
- Melt green candy melts in 30 second intervals, stirring after each interval, until completely melted.
- Evenly dip cake pops into the orange candy melts. Allow candy melts to slightly firm up before adding two candy eyeballs in the center of the cake pop.
- Pipe on the hair with black candy melts. Draw on the face and stitches with a toothpick.
Notes
Nutrition
Nutrition information is automatically calculated, so should only be used as an approximation.
I hope you enjoy these delicious Halloween cake pops as much as my family does. For more easy recipes and Halloween recipes, sign up for the weekly newsletter and follow on social media.




These are so cute!! My daughter and I made them and it was so fun. She is going to have a haloween party and are going to make a lot of cat ones 🙂
The kids and I made these today! What fun! Thanks for the neat idea!
I made these for a Halloween party last night, and they were a huge hit! Everyone loved them, and they turned out so cute. My personal favorite were the Frankensteins!! Thanks for the great idea, I’ll definitely make these cake pops for Halloween night!
These are adorable! Made these for my friends and they loved them!
These are so fun and cute so I just HAD to make them! They turned out very delicious 🙂
So glad you enjoyed the cake pops, Jessica!