This post may contain affiliate links. Please see disclosure form more information.
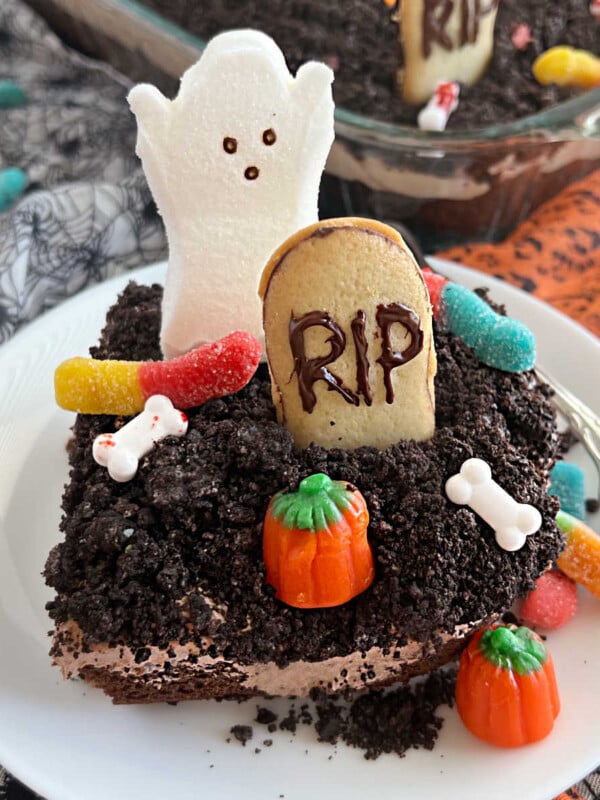
Halloween dirt cups are an easy dessert made with layers of chocolate pudding, crushed Oreos and Halloween candy. These cute graveyard cups are perfect for a Halloween party and enjoyed by kids and adults alike!

Halloween Pudding Cups
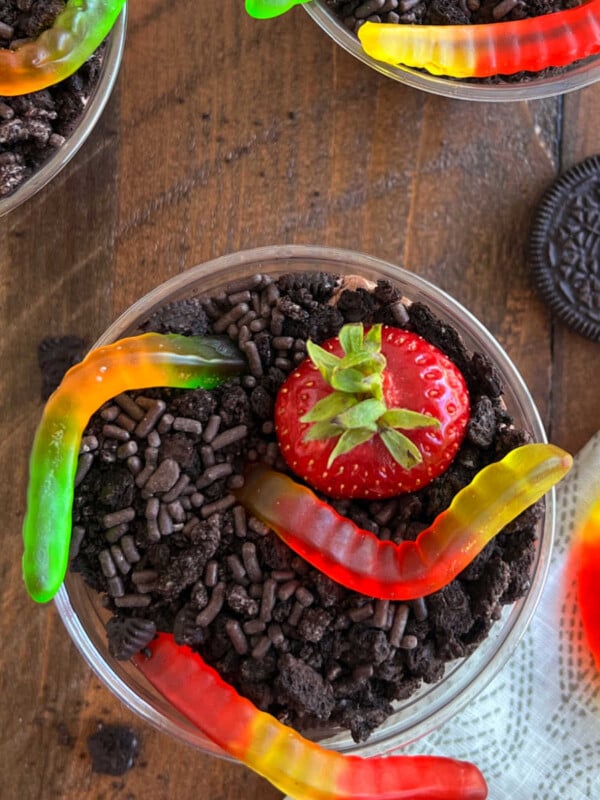
If you’re looking for an easy Halloween treat, try this Halloween dirt cups recipe. This cute Halloween dessert is a spooky version of the dirt and worms cups we make every summer and for Easter, too. It’s perfect when you want individual servings instead of a whole dirt cake!

Ingredient Notes
Here’s an overview of the ingredients needed for graveyard cups. Full amounts are in the printable recipe card below.
- Oreo cookies — We use the Halloween cookies, but you can use regular Oreos or any chocolate sandwich cookies to form the dirt.
- Instant pudding — We use Jello instant chocolate pudding mix, but you can use any brand. Just make sure it is instant and not heat and serve, as the directions are different.
- Milk — to make the pudding
- Cool Whip — or any whipped topping to make the pudding layer nice and fluffy
- Milano cookies and chocolate chips — to make the gravestones. You can use decorating gel or use a different cookie or skip the headstones completely.
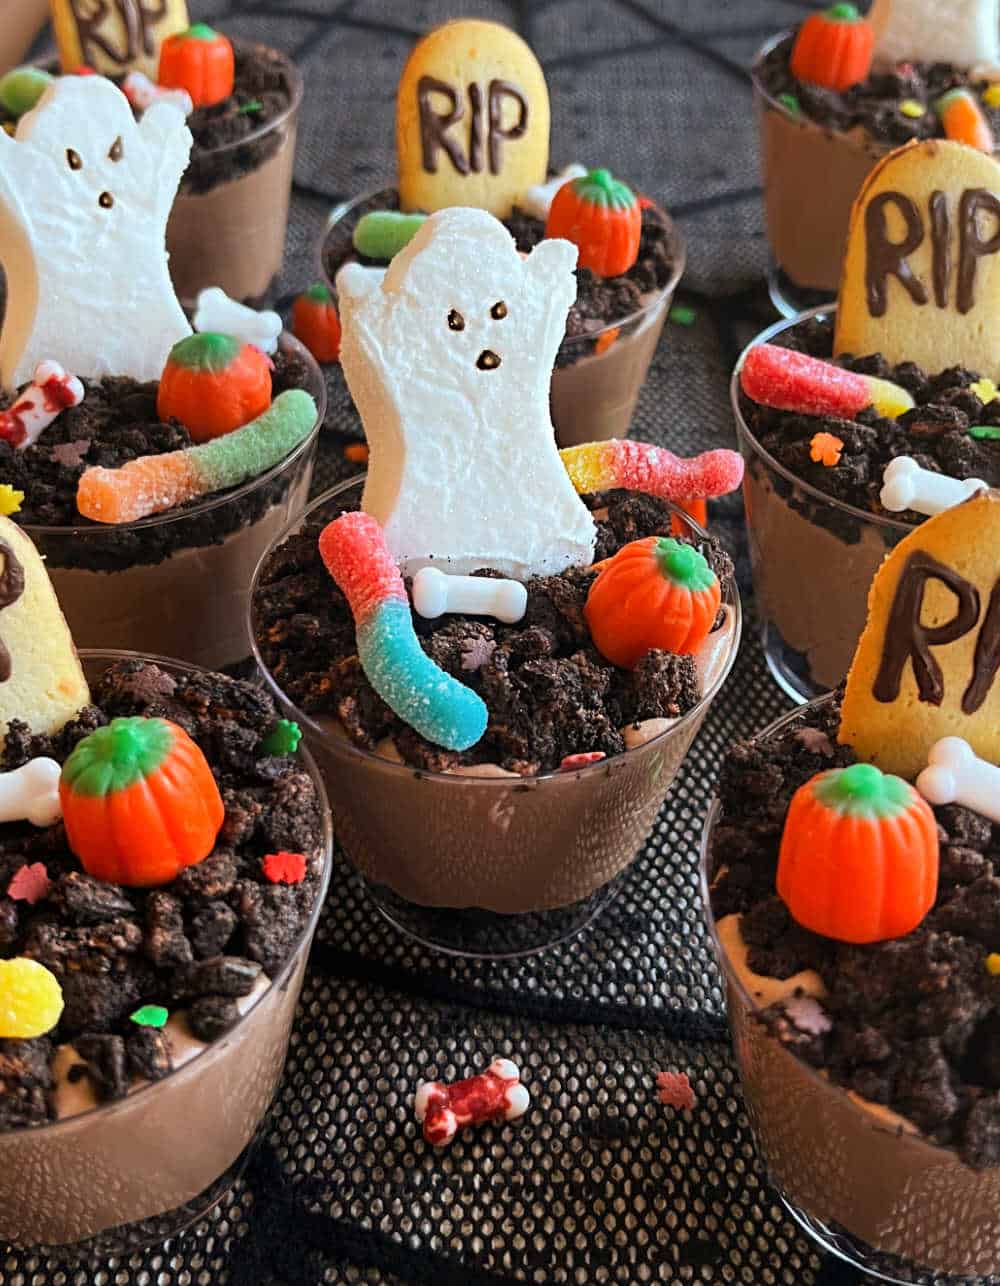
- Candy decorations — we use a mix of Peeps marshmallow ghosts, marshmallow pumpkins, candy bones, gummy worms and fall leaves. Use your favorite candy here.
How to Make Dirt Cups for Halloween
First, crush the cookies in a food processor or in a large zip top bag using a meat mallet or rolling pin. We usually use the rolling pin — one less appliance to clean, and kids can help with this part!
Then, make the pudding in a large bowl. Gently fold in the Cool Whip using a rubber spatula until it is nice and creamy.

Spoon some of the crushed Oreos into the plastic cups. Then, spoon the pudding on top of the cookie layer. Sprinkle more crushed cookies on top of the pudding.
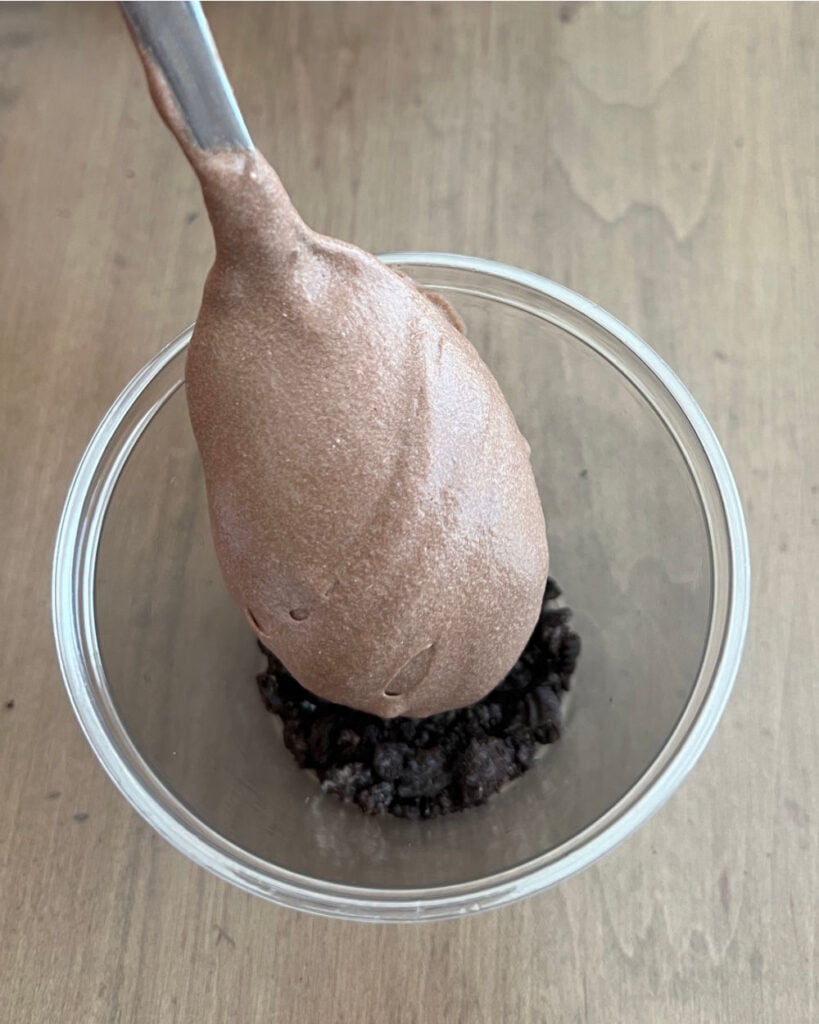
Make the cookie tombstones by melting the chocolate chips and using a toothpick to write the letters RIP on each cookie. Or use the gel frosting for this.

Decorate the top of the dirt with tombstone cookies, ghosts, pumpkins and gummy worms. We made a mix of gravestones and ghosts, but you can do just one if you prefer.
Storage
Store Halloween graveyard pudding cups in the refrigerator until ready to serve. They stay fresh for 2-3 days before the cookie layer starts to get soft. If you are making these ahead of time, I recommend decorating them the day you are serving them so the candy stays fresh.
Recipe Tip
Use toothpicks to hold the ghosts in the graveyard. Just be sure to remove them when serving.
Look for small clear plastic cups with wide rims. They are easier to fill than the taller cups.
More Easy Halloween Treats
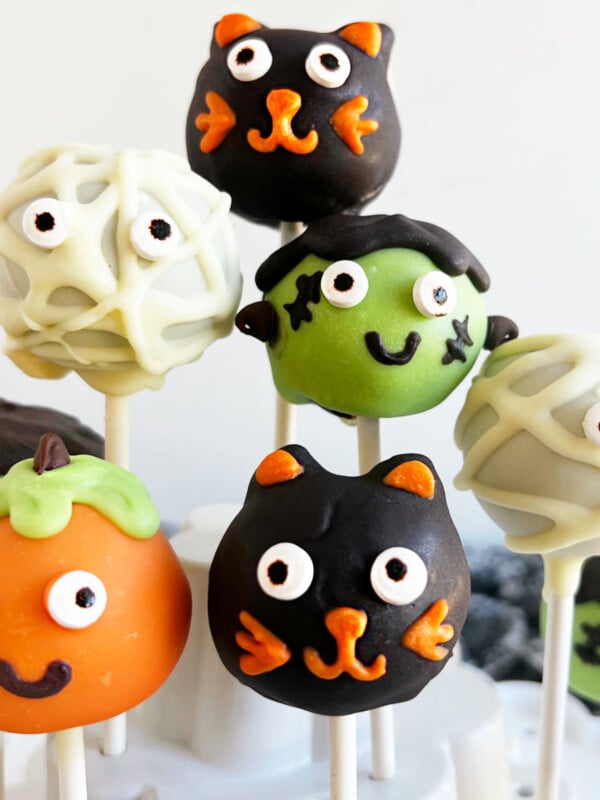
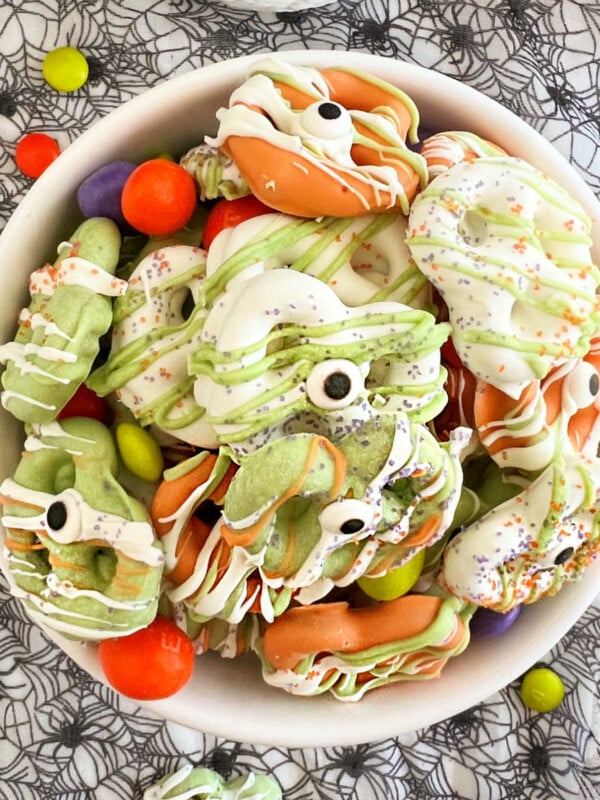
You can never have too many spooky desserts! Try easy Halloween popcorn, Halloween cake pops or marshmallow pops and cookie ghosts or pumpkin Oreos and Halloween muddy buddies. They pair perfectly with mummy dogs and Halloween pretzels!

Halloween Dirt Cups
Equipment
- small plastic cups
- toothpicks
Ingredients
- 2 3.9 oz boxes chocolate instant pudding
- 4 cups milk 2 percent or whole
- 25 Oreo sandwich cookies
- 8 oz Cool Whip whipped topping thawed
- Milano cookies
- ¼ cup chocolate chips
- Peeps ghosts
- marshmallow pumpkins
- fall sprinkles optional
- gummy worms
- candy bones
Instructions
- Crush the cookies in a large zip top bag using a rolling pin or mallet. Or crush them in food processor
- Add chocolate pudding mix to a large mixing bowl, and whisk in milk until well combined. (Follow directions on package)
- Gently fold Cool Whip into pudding, and mix until well combined and fluffy
- Add a thin layer of crushed cookies to each plastic cup
- Spoon pudding mixture over the crushed cookie layer, almost to the top
- Melt chocolate chips in microwave according to package directions. Use a toothpick to write RIP on each Milano cookie
- Sprinkle crushed cookies on top of pudding. Insert toothpick into bottom of each ghost, and top with Peeps ghosts, tombstones, gummy worms, pumpkins, bones and fall leaves.
- Refrigerate until ready to serve
Notes
Nutrition
Nutrition information is automatically calculated, so should only be used as an approximation.
For more easy recipes, follow me on social media, and sign up for the weekly newsletter.



What a fun cute recipe! I have been looking for ideas for stuff to make for my kids Halloween party and these are perfect, easy to prepare and the kids can customize
I love this recipe! I made them for my pumpkin carving party, and they were a hit! Can’t wait to make them again on Halloween 🎃
What fun! The grandkids and I made this for an after dinner treat! Never too early to start celebrating Halloween! Yummy too!
I’m glad everyone liked them — thanks!