This post may contain affiliate links. Please see disclosure form more information.
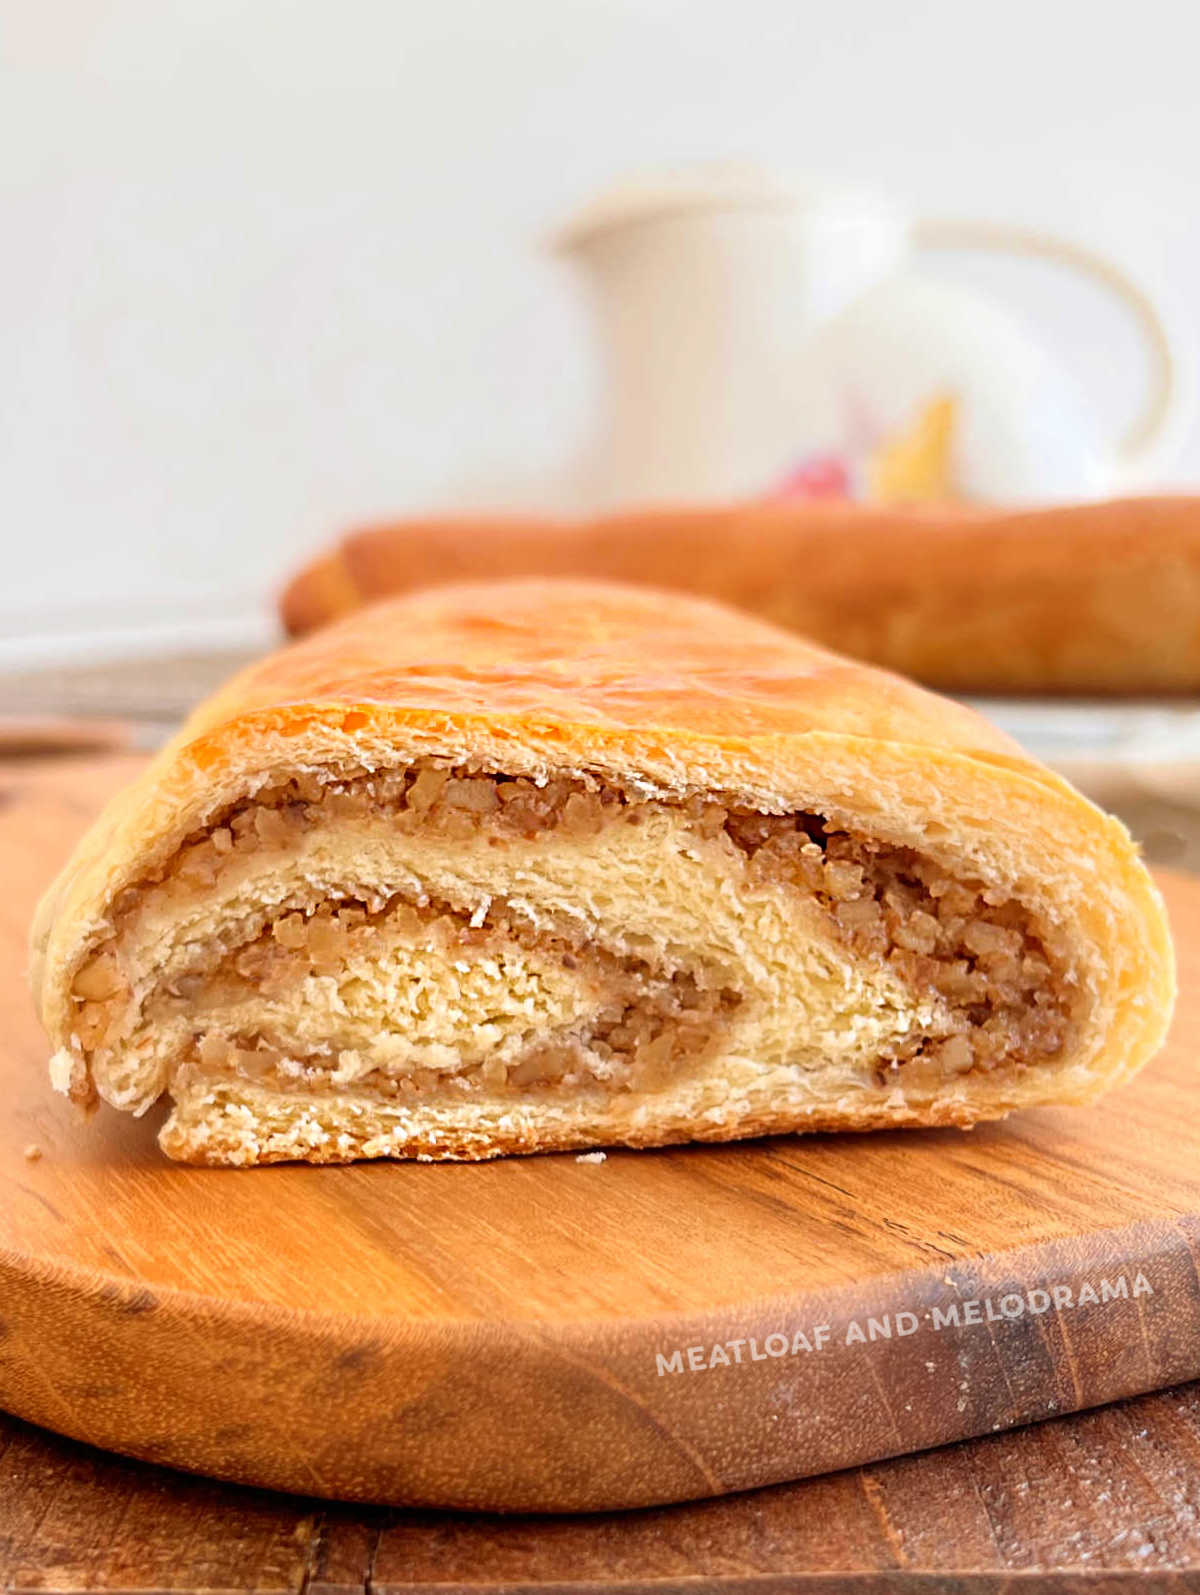
Grandma’s Nut Roll Recipe makes a delicious sweet bread filled with ground walnuts. Homemade Slovak nut rolls are perfect for the holidays and traditional for both Christmas and Easter.
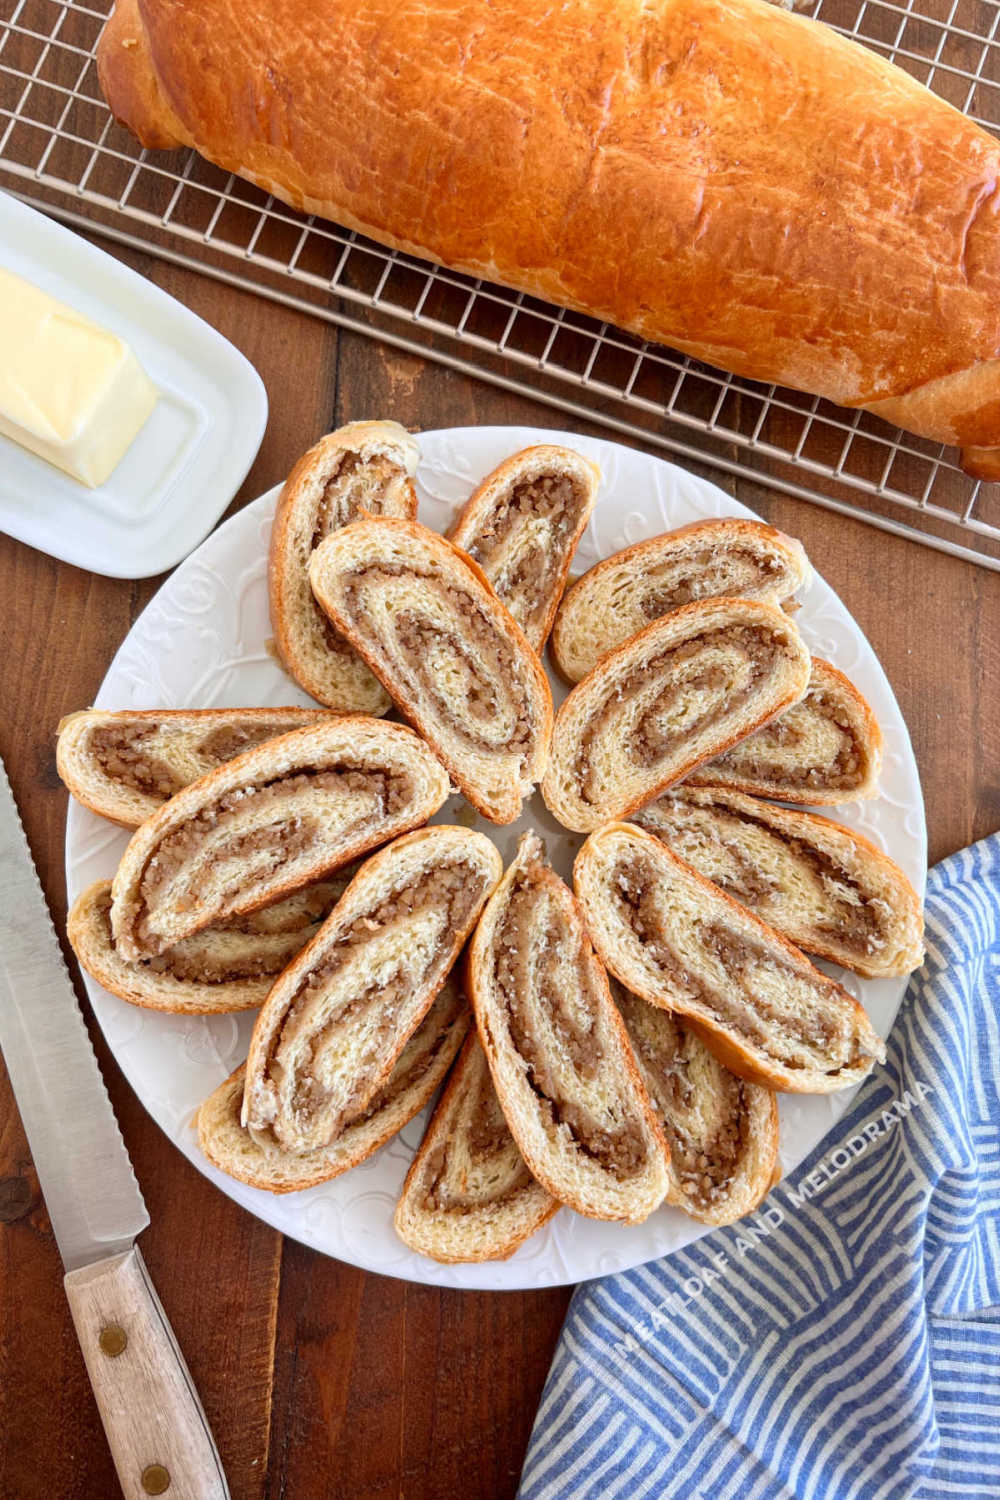
Table of Contents
My grandma baked these absolutely amazing homemade nut rolls every year for Christmas and Easter. Baba was from Pittsburgh and made the BEST pierogi, cabbage rolls (halupki), haluski and fried bologna sandwiches!
This Slovak nut rolls recipe has been in the family for a long time. And, even though I say Slovak nut roll recipe, it’s similar to a Polish nut roll, Ukrainian nut roll, Russian nut roll and Hungarian nut roll.
Same idea different names! You’ll find different names and recipes throughout Eastern Europe. I guess you can even call these Pittsburgh nut roll or Pennsylvania nut roll!
And, even though it’s an old family recipe, it’s gone through changes throughout the years — mostly to use modern ingredients. I’ve made it even easier by using my stand mixer!
If you’ve never made homemade nut bread before, don’t be discouraged if they aren’t perfect the first time. It takes practice, a lot of patience and a lot of love!
Still, this nut roll recipe is fairly forgiving, and the dough is always perfect!
Ingredients
You only need a few simple ingredients for this nut roll recipe. You can find them in the grocery store or online:
- Milk — I use 2 percent
- Active dry yeast — not instant yeast
- Sugar — granulated sugar
- Salt
- Butter — softened for dough, melted for filling
- Sour cream — makes the dough nice and soft!
- Large eggs — beat them slightly first
- All purpose flour
- Walnuts — ground
- Ground cinnamon
How to Make Nut Rolls
First, you start off with the yeast. Heat the milk in a small bowl until it’s between 100 to 110 degrees F. Then, dissolve the yeast in the warm milk, along with 1 teaspoon of sugar.
Pour the yeast mixture into the bowl of a stand mixer. Place the dough hook on the mixer.
If you don’t have a stand mixer, you can make dough in a large bowl instead.
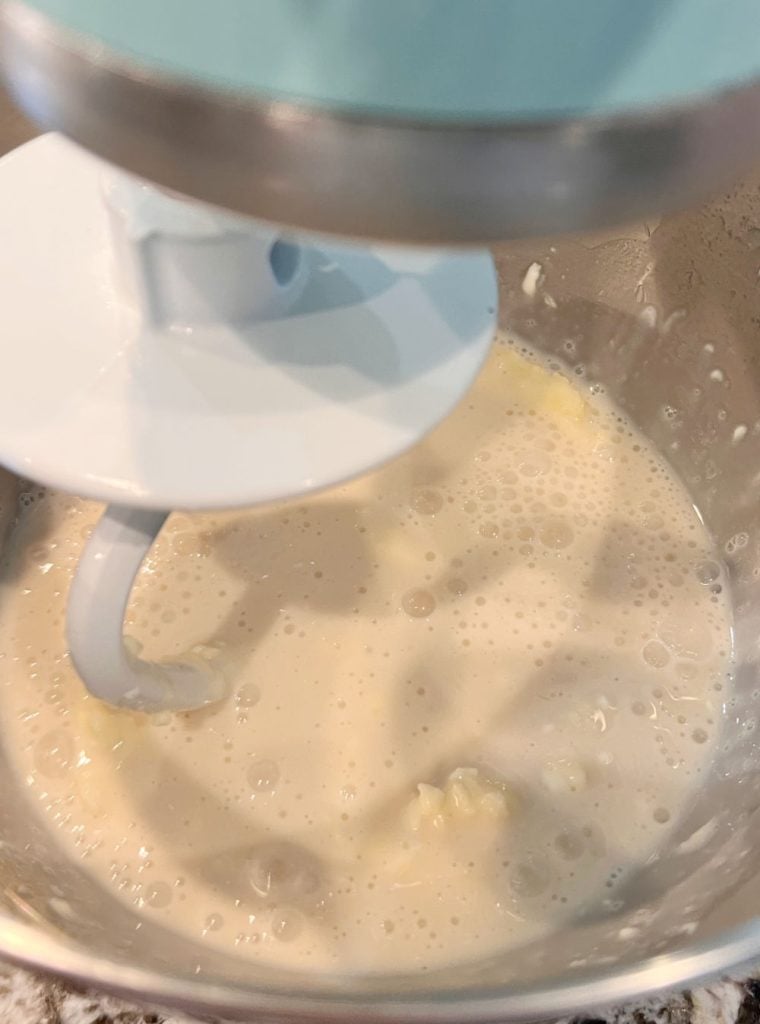
Add the slightly beaten eggs, softened butter, sour cream, sugar and 1 cup of flour, and turn the mixer on medium speed. Gradually, add 2 more cups of flour, and let the mixer do the work!
You might notice the dough working its way up the dough hook, so just scrape it off with a fork. You can also scrape any flour from sides of the bowl with a spatula.
Add 2 more cups of flour, and continue mixing. If the dough is still wet and very sticky, you can add a little more flour until it starts to pull away from the sides of the bowl.
The dough will be slightly sticky, and that’s fine. You don’t want the dough to be too dry. You should be able to form it into a smooth ball.
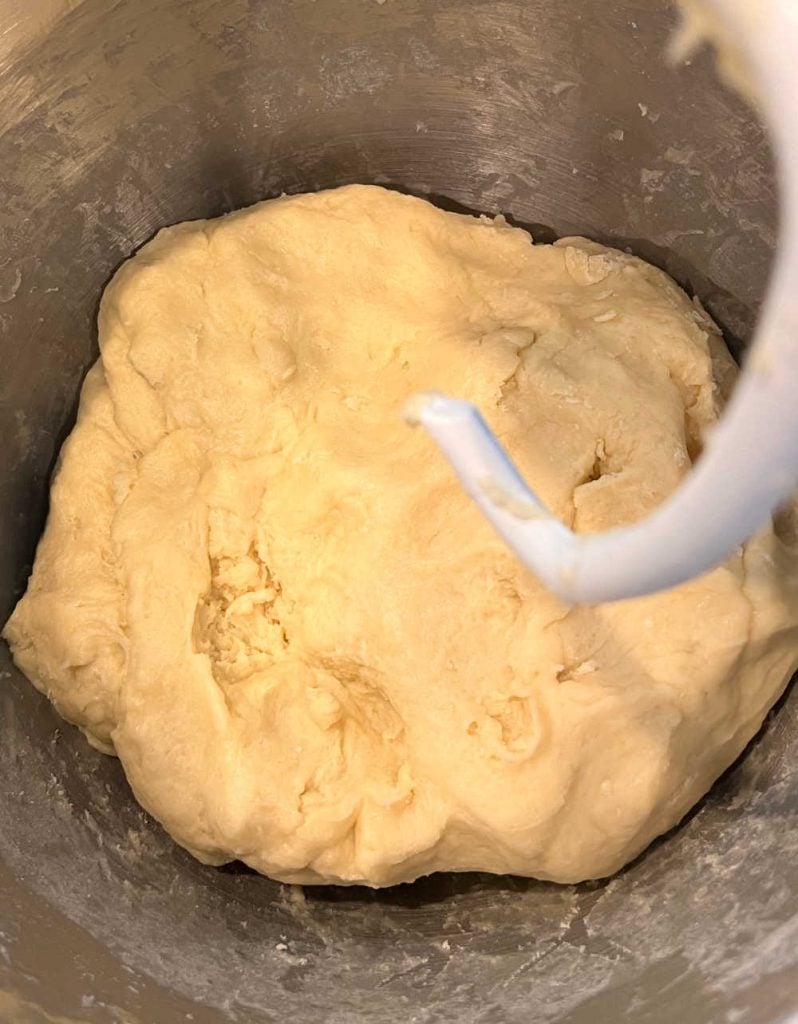
Now, place the dough into a well greased bowl — large mixing bowl, and cover it with foil greased with butter. You can use the one on your stand mixer or a Dutch oven.
Let the dough rise in a warm place. If your oven has a proof setting, you can use that to help the dough rise. I usually turn the oven on to start heating it up a little and then turn it off before placing the dough inside.
Let the dough rise for 1 hour. It should double in bulk, which is why you need to grease the foil before covering it!
While the dough is rising, you can make the walnut filling. Start by crushing the walnuts in a food processor or in a zip top bag, using a mallet or rolling pin.
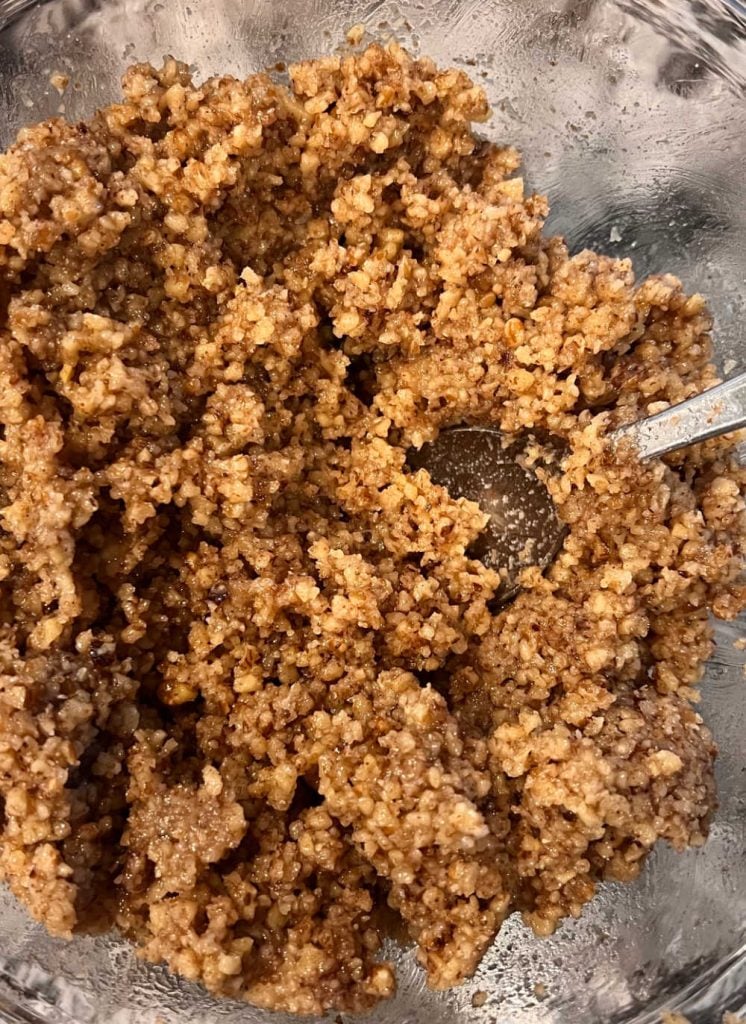
The walnuts should be pretty finely ground, but they don’t have to be super fine. Add the ground nuts to a mixing bowl. Then, mix in sugar, cinnamon, melted butter and milk.
Now, check your dough. It should be double the size, so punch it down.
Then, divide dough into 4 equal portions in the bowl. A pastry cutter or dough cutter makes this easier.
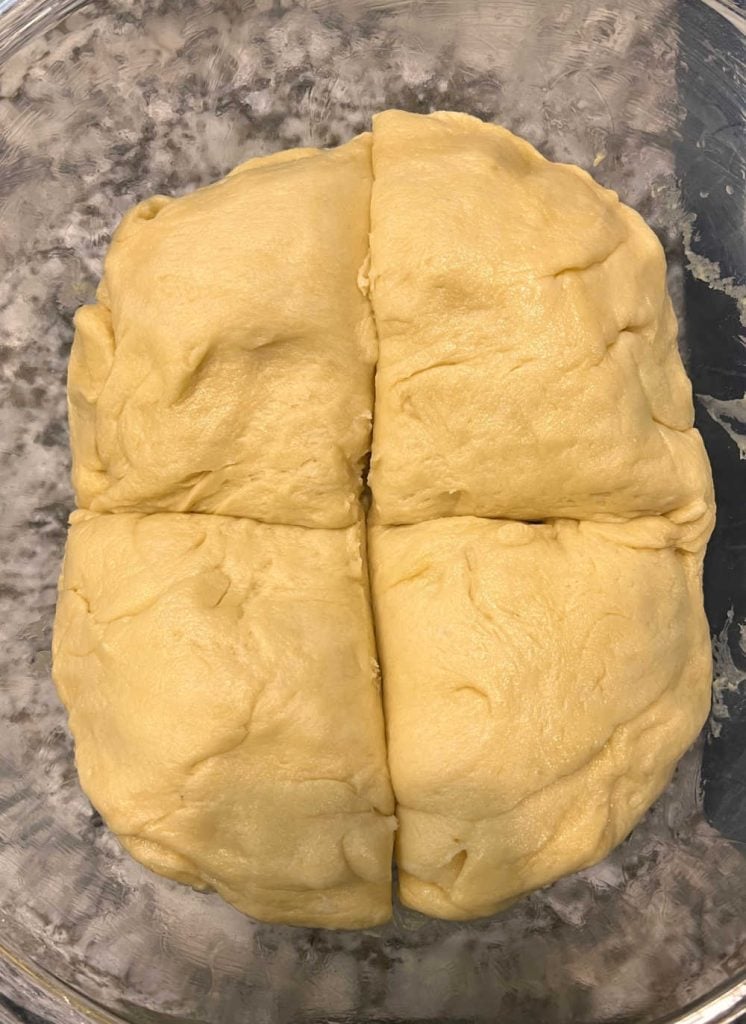
Add a little flour to a clean surface. I like using silicone mats, but a cutting board or your counter is fine.
Place 1 piece of the dough on the flour, and cover the bowl so the remaining dough doesn’t dry out.
Roll dough out in a rectangle, about 12 inches by 10 inches and about 1/4 inches thick.
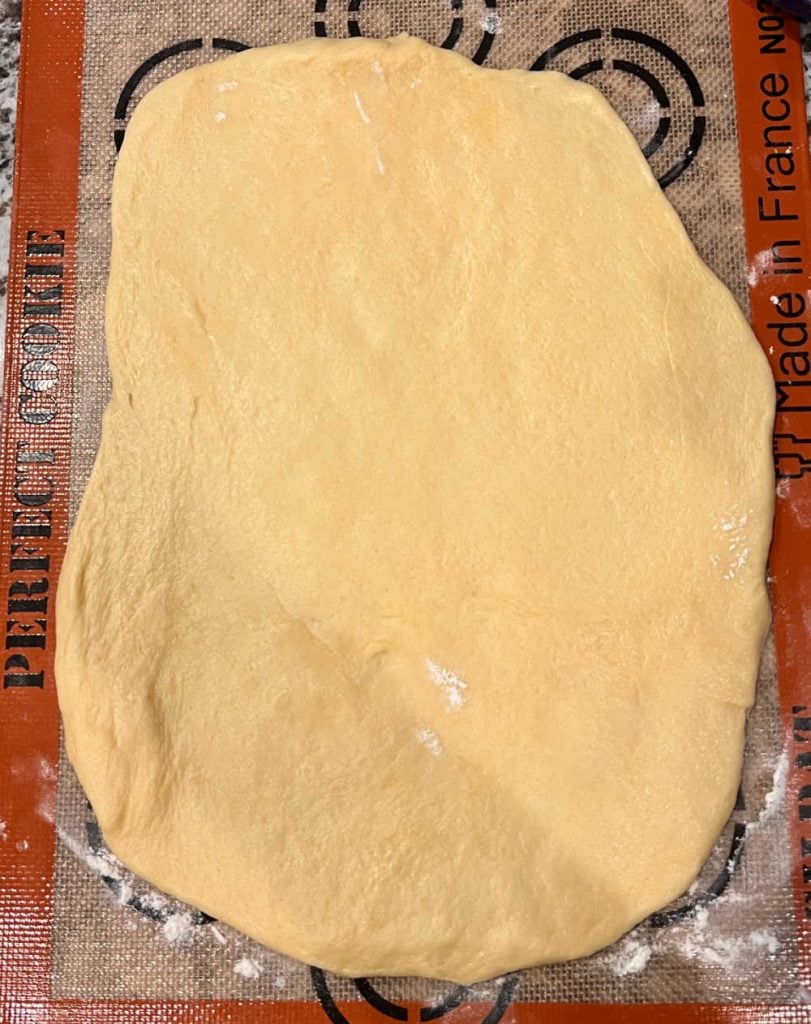
Take 1 cup of nut filling, and sprinkle it evenly over the dough. You want to leave a border, about 1/2 inch or so, around the edges.
I find it easier to press the nut filling gently with your fingers out so that it’s nice and even. You don’t want to tear the dough by using a spatula or knife.
Flip the dough so that the long side is facing you. Then, gently lift the edge up and over the filling tightly.
If you have ever made cinnamon rolls, it’s the same procedure.
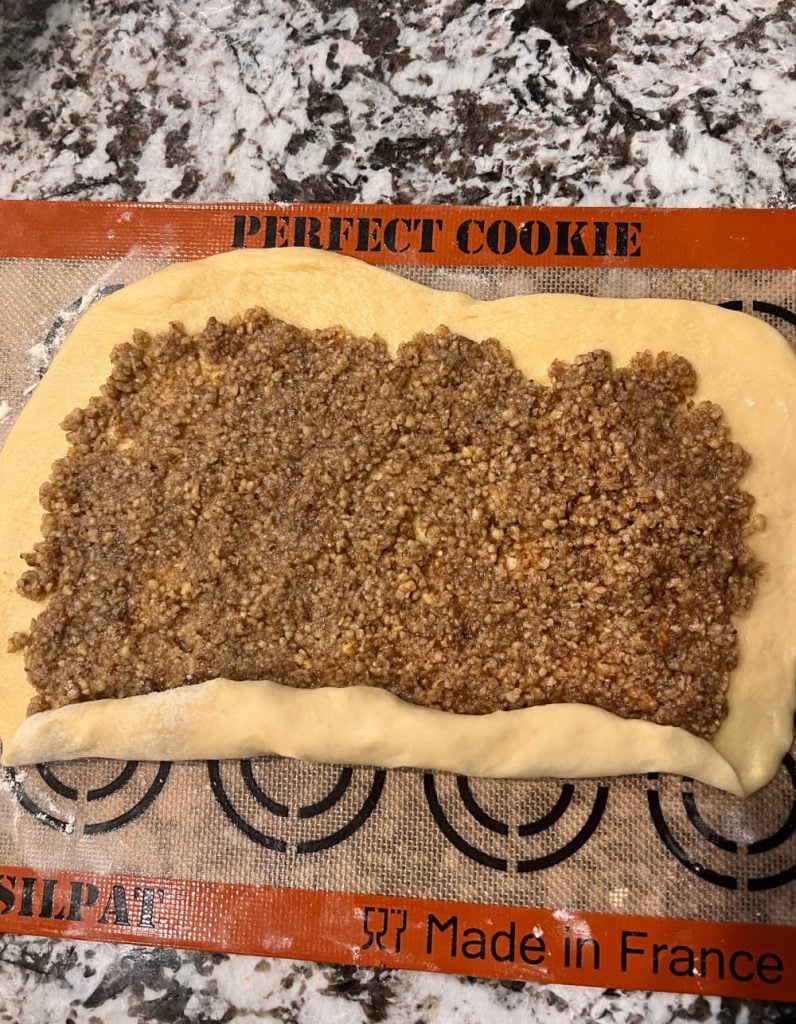
Roll the dough, going from the center to the ends and back until you reach the other edge. Grandma called this jelly roll style. The seam side should be down.
Then, pinch the edges of the roll together, and tuck the ends underneath, pressing tightly to seal them.
Place the nut roll on a baking sheet lined with parchment paper or aluminum foil. Repeat the process until all 4 nut rolls are formed.
You can bake 2 rolls on a large baking sheet at once. For proofing, grease both the prepared baking sheets and the foil to cover the rolls with butter.
Cover with greased foil, and allow to rise for 30 minutes. You can preheat the oven to 350 degrees while the dough is rising.
If you’d like, you can do an egg wash for an even golden brown color.
Baking Time
Bake the nut rolls, uncovered, for 30 to 35 minutes in a 350 degree oven. Every oven is different.
You can check for doneness by tapping the top of the roll. If it sounds hollow, it’s done. You can also check the temperature — it should be at least 160 degrees.
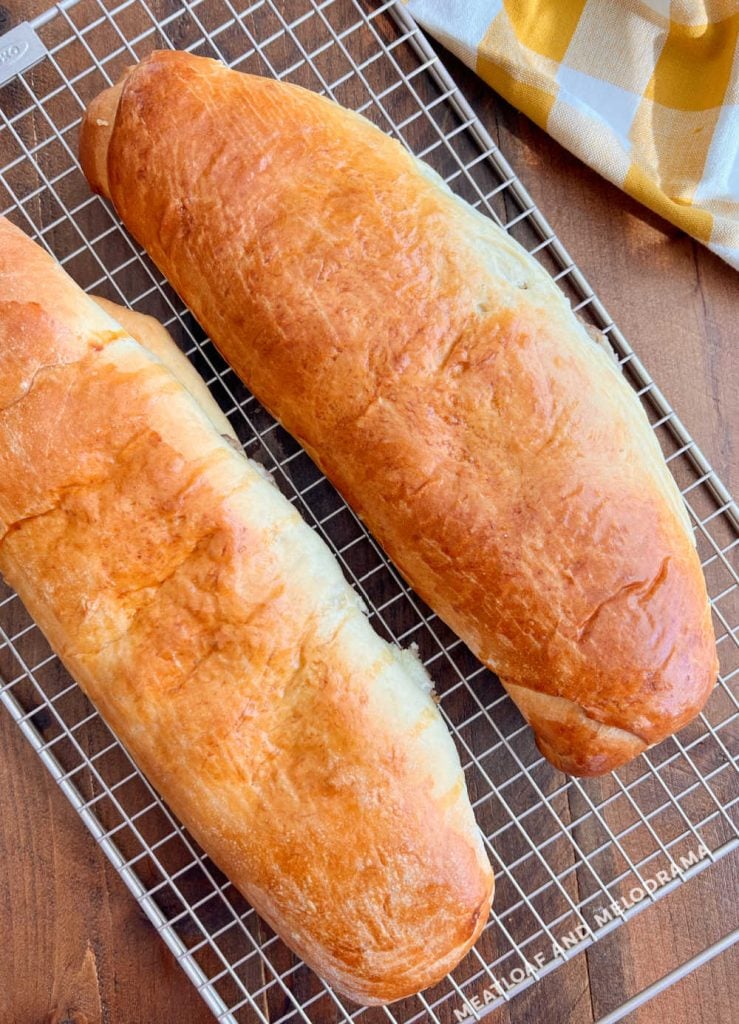
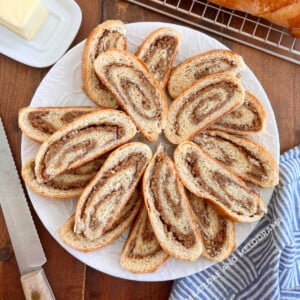
Allow the nut rolls to cool completely before slicing, and slice them about 1 inch thick when serving.
How to Store
Store whole, uncut nut rolls wrapped in aluminum foil. Make sure it’s cooled down first. Store sliced nut bread on a plate covered tightly with plastic wrap.
You can leave the nut rolls at room temperature if your house is cool, and if you’re going to use up the bread within 3 days.
For longer storage, wrap the bread in plastic wrap and then again in aluminum foil, and store it in the freezer. it will keep for 3 months.
I don’t recommend freezing raw dough. It’s just not the same.
Variations
The best way to vary your nut rolls is to use your favorite different fillings!
Instead of the sweet walnut filling, use different nuts, such as pecans. You can also use fruits, such as apricots or prune (lekvar). Some people even add applesauce to the nut filling!
Adding raisins to the filling, or sprinkling a little bit of orange zest on top, is also delicious!
Sometimes, I use the same dough I use for the nut rolls to make makowiec, a Polish pastry roll made with a poppy seed filling. We call them poppyseed rolls.
For a sweeter treat, add a glaze on top of the rolls. A sweet apple glaze is popular for this.
Helpful Tips
Dough is too sticky – As with all yeast doughs, the weather may affect the nut roll dough. If the humidity is high, the dough may need more flour.
Dough is too dry – If it’s cold and dry out, you may need less flour. That’s why you should always gradually add flour instead of adding it all at once.
Dough cracks or splits – If your nut rolls split open while baking, there may be too much filling or the dough was too dry or didn’t rise. It may not look good, but it should taste fine!
Grandma’s Nut Roll Recipe
Equipment
- Stand mixer
Ingredients
Dough
- ½ cup milk
- 2 packets active dry yeast ¼ ounces each
- ½ cup sugar
- 1 teaspoon salt
- 1 cup butter softened, room temperature
- 1 cup sour cream
- 3 large eggs lightly beaten
- 5½ cups all purpose flour plus more for rolling out
Filling
- 1 pound walnuts, ground about 4 cups
- ¼ cup milk
- 2 tablespoons butter, melted
- 1 cup sugar
- 1 teaspoon ground cinnamon
Instructions
Dough
- In a small bowl, heat the milk to 100° to 110° F, and dissolve yeast in milk, along with 1 teaspoon sugar
- Add yeast mixture to bowl of stand mixer, and add sugar, salt, butter, eggs, sour cream and 1 cup flour
- Mix with dough hook on medium speed, then gradually add 2 more cups of flour
- Add 2 more cups of flour, (for total of 5 cups) and mix until dough separates from sides of bowl. You may have to scrape it off the hook and scrape flour from the sides during mixing process.
- Dough should be slightly sticky but not wet. You can add another ½ cup to 1 cup of flour if necessary
- Form dough into ball with your hands. Place in buttered mixing bowl, and cover loosely with buttered aluminum foil. Allow to rise in warm place for 1 hour
- While dough is rising, make the filling
- After dough has risen, punch down with your fist. Cut the dough into 4 equal pieces
- Place dough on lightly floured surface, and gently roll out in rectangle, about 12 x10 and ¼ inch thick
- Sprinkle walnut filling evenly over dough, and press lightly on dough, leaving about a ½ inch border on all sides.
- With long end facing you, start rolling edge of dough tightly up and over the filling, starting in the center and moving to the sides. Roll completely over filling, stopping with seam side down. Pinch edges together, and tuck underneath roll
- Place on prepared baking sheet, covered with parchment paper or foil. Repeat until all nut rolls are formed, and allow to rise for 30 minutes, covered with greased foil
- Preheat oven to 350°
- Bake nut rolls for 30 to 35 minutes or until top is golden brown and sounds hollow when tapped. Temperature should be above 160°
- Allow to cool completely before slicing and serving
Filling
- Add ground walnuts to a mixing bowl, and mix in sugar, milk, melted butter and cinnamon
- Mix until walnuts form a paste
Video
Notes
Nutrition
Nutrition information is automatically calculated, so should only be used as an approximation.
These tasty walnut rolls are not only a delicious treat, but also a beloved family tradition–My kids love this holiday tradition, and we make them every Christmas time in my house.
I am so excited to finally share Grandma’s nut roll recipe, as my copy of the recipe Grandma had is very well worn!
For more festive recipes perfect for Christmas morning or the Christmas cookie platter, be sure to subscribe to the newsletter!




Hi this recipe is the closest to my grandmothers in Indiana county Pa! My problem is the dough isn’t completely cooked in the center… did I roll it too tightly?
Hmm. I have never had that happen. Was the dough rolled thin enough? Maybe it needed more time to bake? Is your oven temperature accurate? Just trying to think of possible reasons.
This was my first try I’m making a nut roll and baking with yeast. I followed the directions exactly, but still ended up with a rather large separated pocket of air between the baked dough and the nut filling on one of the rolls. Can you advise on what had happened and what I should do differently? Perhaps I didn’t roll it tight enough.
It sounds like the dough wasn’t rolled tightly enough around the filling. It does take a little practice to get perfectly formed nut rolls, though. 🙂