This post may contain affiliate links. Please see disclosure form more information.
Hi friends! This is the busiest time of year for my family — think birthdays, dance competitions and other extracurricular activities all piled on top of one another. Oh yeah, and there’s that kitchen project on top of everything else! This year is especially hectic, so I’ve been trying to decorate for spring and Easter while keeping everything super simple. I’m making changes to the fireplace and mantel so that I don’t have to fuss much with every holiday and season.
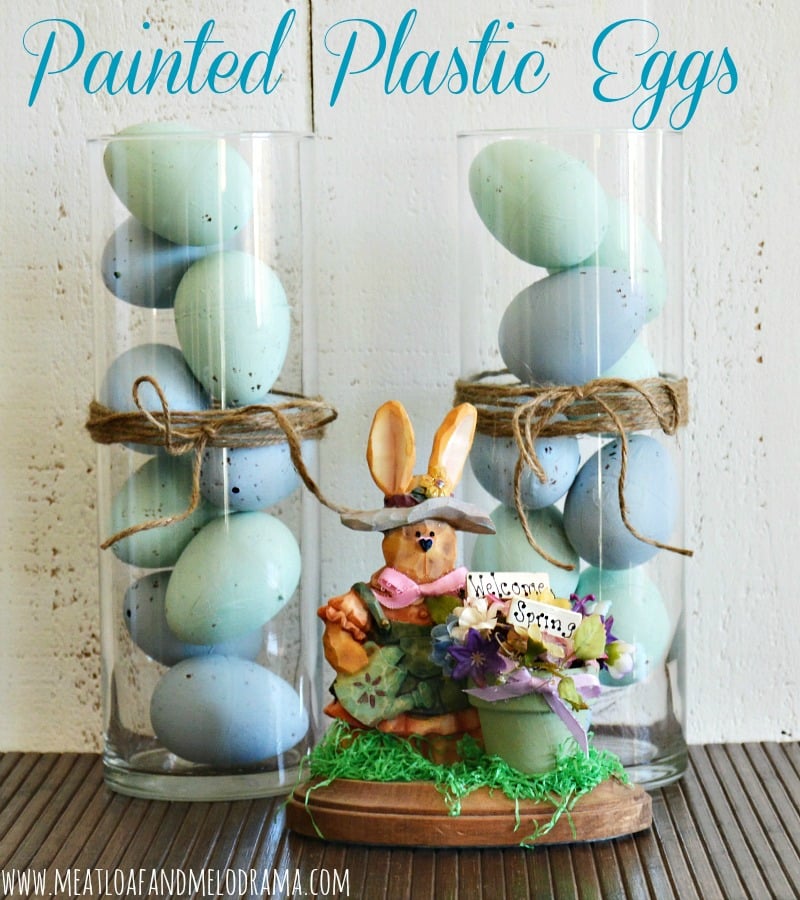
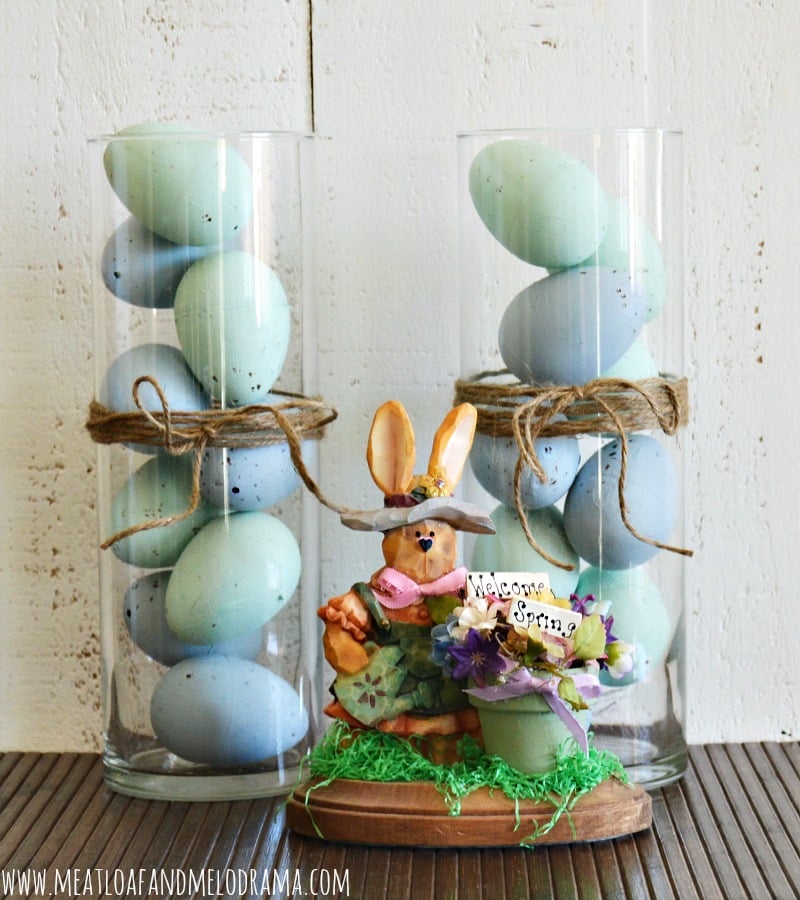
I found an awesome painting to go over the mantel, and can’t wait to show it off. But first, I thought I’d show you a little spring project that the kids and I worked on, which is part of the simple decor that I mentioned earlier. I wanted to add some speckled blue eggs to the mantel, but I didn’t want to spend much money, so I just made some of my own! They turned out pretty good, and these painted plastic Easter eggs are exactly what I was looking for.
We have a ton of plastic Easter eggs left over from last year, and some are probably from at least two years ago. The kids love having egg hunts, so I like to have extra eggs on hand that they can use for this, without having to dump out the goodies they received in the morning. Since we already had the eggs, I just had to see if my idea for DIY robin’s eggs would work.
Have you ever attempted a project that you didn’t think would work but you had to try anyway? I did that at first when I tried painting the eggs with regular acrylic craft paint. I should have known better, and the paint came right off. So, I went out and bought some Americana Chalky Paint, and it worked like a charm. Plus, I had a coupon, so it didn’t cost much at all — cheap cheap!
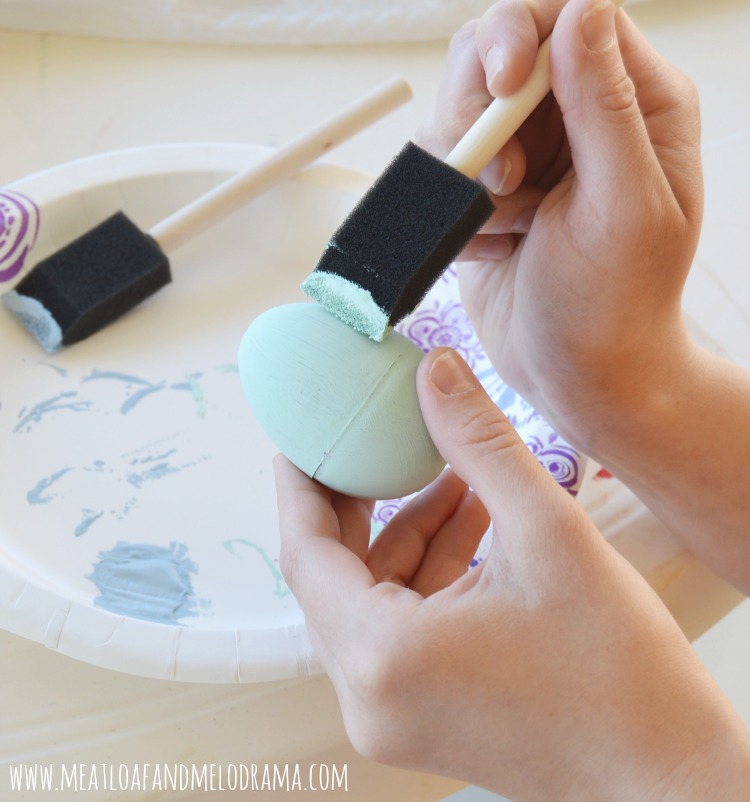
Because I had to paint 18 eggs to fill up the glass vases I wanted to use, I enlisted some help from my trusty crafting assistants. We painted half of the eggs with Serene and the other half with Refreshing — gorgeous springy colors!
You can see the line in this picture, but the eggs closed better after the paint was completely dry. And since they’re going in vases on the mantel, you won’t be able to see any lines unless you go searching for them.
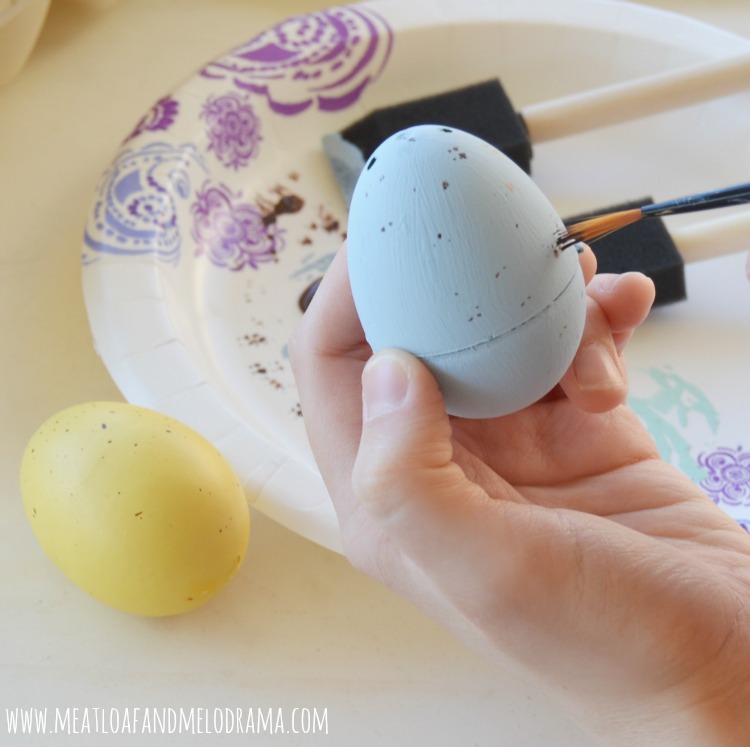
After the second coat of paint was dry, we used a small brush dipped in brown paint, to add speckles around the eggs. I had a yellow egg left over from the Easter egg wreath I made, and we used that as a guide.
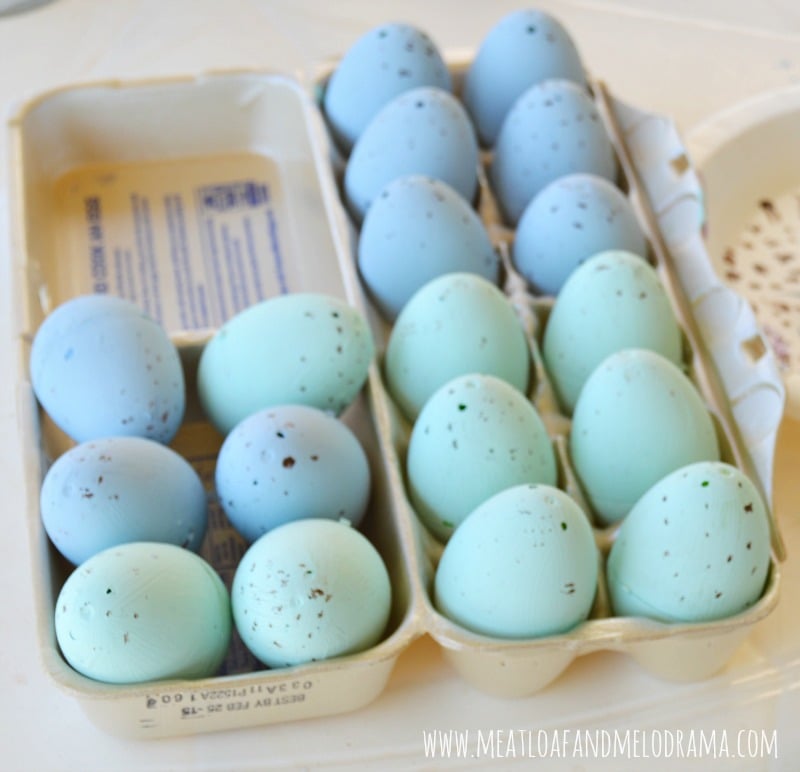
I used an empty egg carton to hold the eggs as we were painting them. We put the freshly painted sides of the eggs facing up so that they could dry without getting smudged. Then we just kept flipping them over until both sides were covered.
When all the eggs were dry, I piled them into two glass vases that I usually use on the mantel, and then I added some twine around the middle. I change the vase filler with the seasons, and the twine fits with just about everything.
Wasn’t that simple? And like I said, you can’t even see any lines in the eggs now, so I love how this frugal little craft turned out.
Have you ever tried painting plastic Easter eggs? I know this isn’t a unique idea, so I can’t be the only one. I guess it’s just new to me!
Thanks so much for visiting.
You may also like





Thanks, Laurie! I'm just glad the kiddos were willing to help. 🙂
I was going to use a spray paint primer before painting, but that seemed like a lot of steps for plastic eggs, so I'm happy the Chalky paint worked! Thanks, Beverly. 🙂
Thanks, Lori. I was surprised that the paint worked as well as it did. 🙂
Thanks so much, Julie! I'm glad they turned out ok! 🙂
I was surprised at how expensive those eggs can be, so I had to try this. I'm glad that this paint did a great job with coverage! 🙂
These look great, Dee! I am always drawn to the robin's blue eggs in the store but they are always the most expensive ones. Now we know how we can easily have the pricey eggs with this inexpensive fix. Usually when I paint the plastic eggs with acrylic paint, the line still shows. I guess the thicker chalk paint fills in it much better.
Hi DeeM, I love your painted easter eggs and the easter egg wreath!
These look so realistic. I have never painted plastic eggs before…great idea Dee.
These came out great, Dee. I bought a few bags of plastic eggs right after Easter last year and I got them out the other day. I've just been looking at them wondering about the best way to paint them. I was thinking of using spray paint, but your idea is a lot better. I love the color you chose. So pretty!
Great idea with the chalk paint! So fun to see the fantastic work by your honorable assistants!